To remove a mount without damage, first assess the surface and adhesive type, then gather the right tools and safety gear. Gently try mechanical methods like peeling at low angles or using plastic scrapers. Applying heat can soften the adhesive, making it easier to lift. If needed, choose a suitable solvent, test it on a hidden area, and gently wipe off residue. For effective removal and surface preservation, follow these steps closely—more tips await if you continue.
Key Takeaways
- Assess surface type and adhesive properties before starting to choose gentle removal methods.
- Use heat (hairdryer or steamer) to soften adhesive without damaging the surface.
- Apply solvents sparingly with cloth or Q-tip, testing on hidden areas to prevent discoloration.
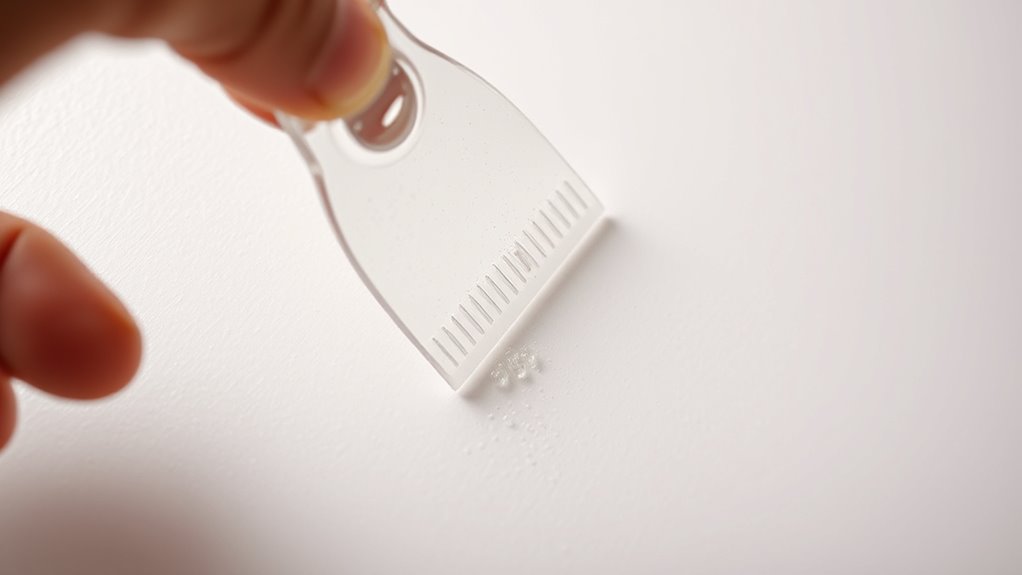
- Employ plastic tools or flexible scrapers to lift adhesive carefully, supporting the surface during removal.
- Clean residual adhesive with appropriate solvents and gentle cloths to restore the surface smoothly.

ROVE Ultimate Dash Cam Hardwire Kit with USB-C Port for R2-4K, R2-4K PRO, R2-4K Dual, R2-4K Dual PRO, and R3 Dash Camera Models, 24Hr Parking Monitoring Kit with Low Voltage Protection
【Compatible for ROVE R2-4K with USB-C Port, R2-4K PRO, R2-4K DUAL, R2-4K DUAL PRO, and R3 Dash Cam...
As an affiliate, we earn on qualifying purchases.
Assess the Surface and Adhesive Type
To effectively evaluate the surface and adhesive type before removal, you need to identify the material and its properties. For porous surfaces like paper, expect toner detachment under a microscope, mimicking skin’s stratum corneum. Non-porous surfaces such as enamel require assessing roughness parameters like Sa, Sq, and Sz using confocal laser scanning microscopy (CLSM) before removal. Painted or lacquered substrates need swelling agents tested for volatility and odor to prevent marring. When working on skin, check if the stratum corneum is intact to avoid stripping during dressing removal. For coated metals or flexible tabs, perform a 180-degree peel test to measure adhesion strength. Recognizing the surface type helps determine the appropriate removal method, reducing damage and ensuring safer, more effective detachment. Understanding the principles of adhesion testing can guide you in selecting the most suitable removal technique and minimize surface damage. Additionally, consulting support breakfast options might provide helpful tips for nourishing your skin or materials during the removal process. Being aware of adhesion properties can further improve your removal strategy by understanding how different adhesives behave under various conditions. Conducting adhesive testing can also help predict and prevent potential surface damage during removal, especially when considering the surface porosity of materials involved. Furthermore, knowing the adhesive strength of materials can assist in choosing the right removal method to avoid unnecessary surface harm.

REDTIGER F7N Dash Cam Hardwire Kit USB C Port, Dashboard Camera Car Charger Cable Kit 12V- 24V to 5V w/Fuse Kit, Low Voltage Protection for Dash Cam Double-4 Fuses
【Wide Compatible】Input:12V-24V; Output:5V/2A. With Type-C ports, this hardwire kit compatible with all of dash cams.
As an affiliate, we earn on qualifying purchases.
Prepare Your Tools and Safety Gear
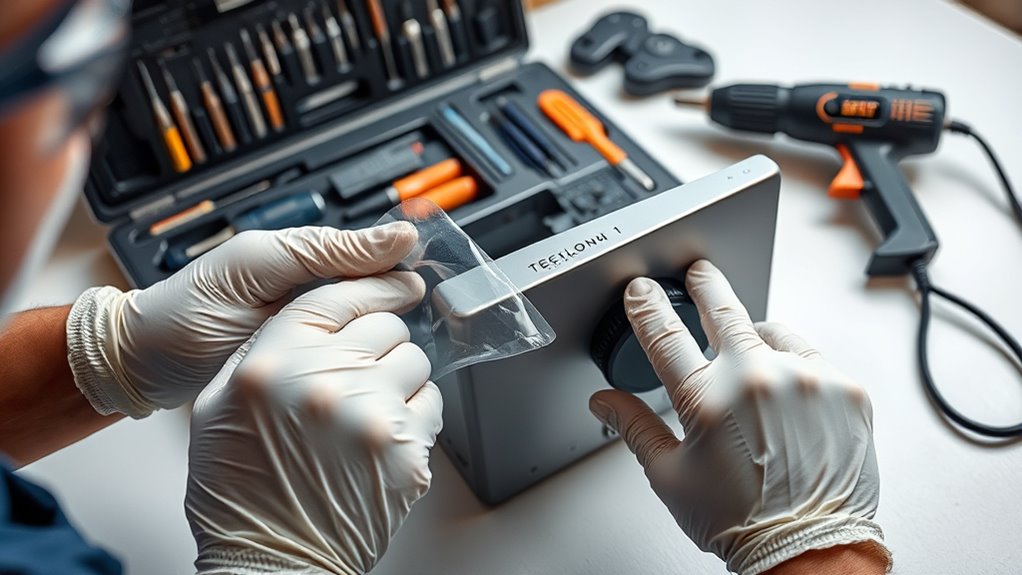
Start by gathering all your protective gear, like safety goggles, gloves, and masks, to keep yourself safe during removal. Then, choose the right tools—plastic scrapers, razor blades, or powered devices—based on the surface and adhesive type. For a safer and more effective process, consider using proper tools and techniques to minimize surface damage. Using the appropriate digital asset management strategies can also help you organize residual adhesives or materials left behind. Additionally, understanding toilet maintenance and repairs can inform you about the best ways to handle stubborn adhesives without harming your surfaces. It is also beneficial to research Lifevest Advisors for tips on avoiding scams and managing your investments safely. Finally, prepare your cleaning supplies, such as solvents and cloths, to guarantee a smooth, damage-free removal process. Leveraging visual and auditory cues can assist in assessing adhesive removal progress and ensuring thorough cleaning. To ensure optimal results, consider using a dedicated tool like our multi-functional scraper, designed specifically for adhesive removal without damaging the surface which is made from durable, hard molded plastic.
Gather Protective Equipment
Before beginning removal of the mount, gather all necessary protective equipment to guarantee your safety. Start with eye protection—safety goggles or chemical splash goggles if splashes are likely. Keep in mind, protective goggles are essential during spills or fire situations. Wear impervious gloves, like polymer laminate or nitrile, to prevent skin contact, especially if handling chemicals or during fire-fighting. Have protective clothing ready to shield your skin from splashes. Make certain you have access to an eye wash station and safety shower in case of accidental contact. For large spills or fires, equip yourself with a Self-Contained Breathing Apparatus (SCBA) and full protective gear. Always follow safety protocols, keep the work area ventilated, and avoid ignition sources to ensure a safe removal process. Proper safety measures are crucial to prevent injury during the removal procedure. Additionally, understanding the importance of vacuum features can help you select the right tools for cleaning up residues afterward. To further ensure safety, consider the use of hazardous material handling techniques when dealing with chemical residues. Being aware of fire safety procedures can also help mitigate risks during the cleanup process. Moreover, being familiar with personal protective equipment guidelines ensures comprehensive safety during hazardous tasks. Regular maintenance and proper oil usage in tools can also prevent unexpected issues during disassembly.
Select Appropriate Tools
Gathering the right tools is essential for a safe and efficient mount removal process. Start with hand tools like plastic scrapers to avoid damaging delicate surfaces, and use metal blades carefully to remove hardened adhesive without gouging. Flexible putty knives help distribute force evenly over large areas, reducing surface scoring. Triangular or multi-shape plastic pry tools let you access behind emblems and trim without deforming substrates. Interchangeable oscillating tool scrapers offer precision in corners and contours, speeding up work on rigid adhesives. Power tools like cordless adhesive removers with eraser wheels help control heat and reduce solvent use, while oscillating multi-tools with scraper attachments provide fine control for edges and curves. Select tools that match your task to ensure effective, damage-free removal. Additionally, understanding power tool safety practices ensures you work efficiently while minimizing the risk of injury or damage. Using the right tools also minimizes surface damage and enhances the overall quality of your work. To further improve your process, consider adhesive properties to choose the most effective removal techniques based on the type of glue or adhesive involved. Knowing the cost implications of different tools can help you balance quality and budget for your project.
Prepare Cleaning Supplies
Having the right cleaning supplies and safety gear ready guarantees a smooth and safe adhesive removal process. Equip yourself with personal protective equipment like chemical-resistant gloves, splash goggles, and a respirator if fumes are present. Wear protective clothing for prolonged or messy tasks. Make certain your workspace is well-ventilated and set up on a stable surface, using trays or drop cloths to contain drips. Gather tools such as lint-free cloths, microfiber towels, plastic or wooden scrapers, and absorbent materials like vermiculite. Prepare cleaning agents like mild detergent and warm water for post-removal cleanup. Keep waste containers nearby for used rags and solvent-soaked materials, following disposal instructions. Being well-prepared minimizes accidents and helps you remove adhesive efficiently without damaging the surface. Understanding adhesive properties can help you choose the most appropriate removal method from the start. Proper tool selection and preparation also prevent surface damage during removal, ensuring a safer and more effective process. Additionally, surface compatibility is crucial in selecting the right cleaning agents to avoid surface damage. Incorporating appropriate safety procedures ensures you handle chemicals properly and reduce potential hazards during the process. Also, considering cleaning and maintenance guidelines can extend the life of your surfaces and prevent future adhesive issues.

Gebildet Dash Cam Hardwire Kit, Type C USB Hard Wire Kit 12V-24V to 5V Hardwire Kit with Low Voltage Protection 13ft/320cm Car Dash Camera Charger Power Cord for Dashcam Supply Radar Detectors
【Low Voltage Protection】 Once the input voltage drops below 11.6V (23.2V for 24V input), the battery drain protection...
As an affiliate, we earn on qualifying purchases.
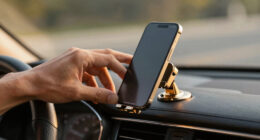
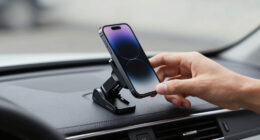
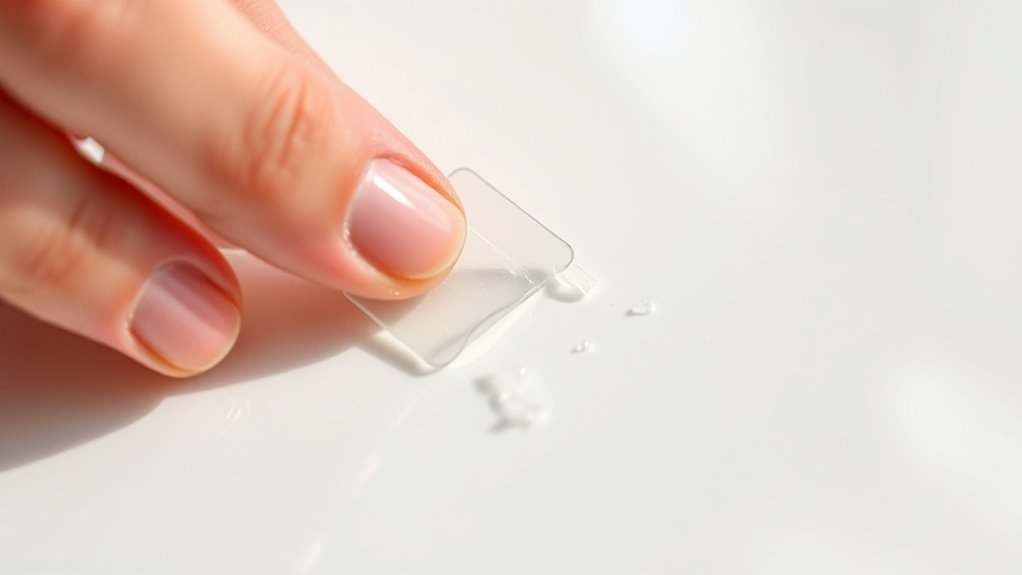
Employ Gentle Mechanical Techniques First
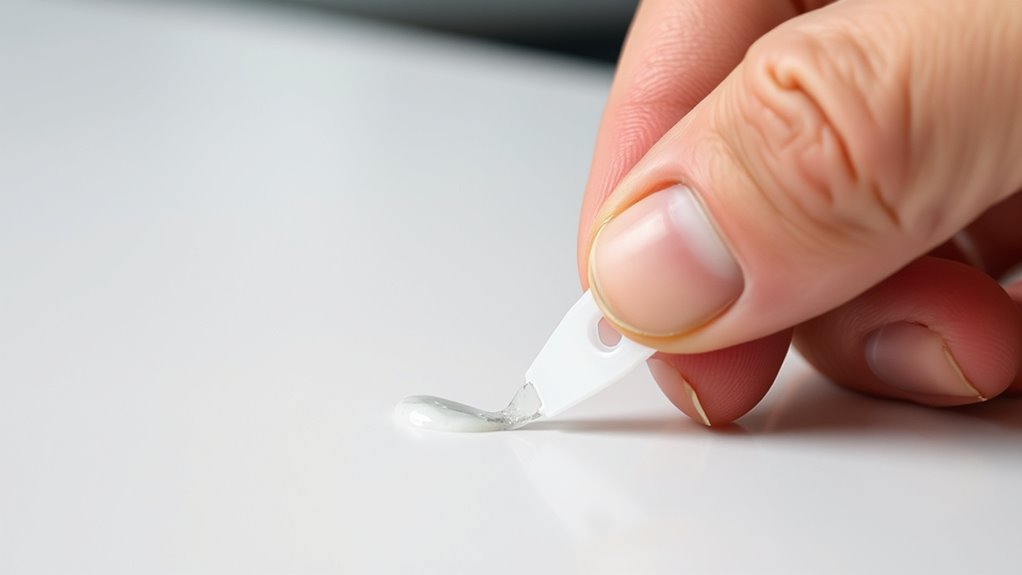
Starting with gentle mechanical techniques is essential to remove mounts without causing damage. Begin at an accessible corner or edge, gently lift the adhesive backing a few millimeters to create a tab for peeling. Support the surface nearby with your finger or a tool to minimize stress during removal. Peel the adhesive back over itself at a low, shallow angle to reduce force and avoid tearing. For stubborn edges, use a blunt, flexible scraper like a plastic card or putty knife, applying steady, light strokes. If residue is dried, let it become brittle before gently chipping or flaking it away. This careful approach helps prevent gouging, fiber distortion, or skin damage, setting a safe foundation before exploring other removal methods. Proper tool selection can make a significant difference in achieving a clean removal with minimal damage. Additionally, gentle heat or solvents can sometimes soften adhesive residues, but should be used cautiously to avoid skin irritation or damage. Using appropriate techniques based on the adhesive type can further improve results and reduce the risk of surface harm.

USB-C Hardwire Kit for Dash Cam with Acc Detection, 4-Level Adjustable Low Voltage Protection & Automatic LED Voltmeter, 3-Lead Power Cable for Dash Camera Parking Mode & Continuous Recording
Voltage Step-Down Power Supply: This product is a special pressure drop line for driving data recorder. Through the...
As an affiliate, we earn on qualifying purchases.
Use Heat to Soften the Adhesive
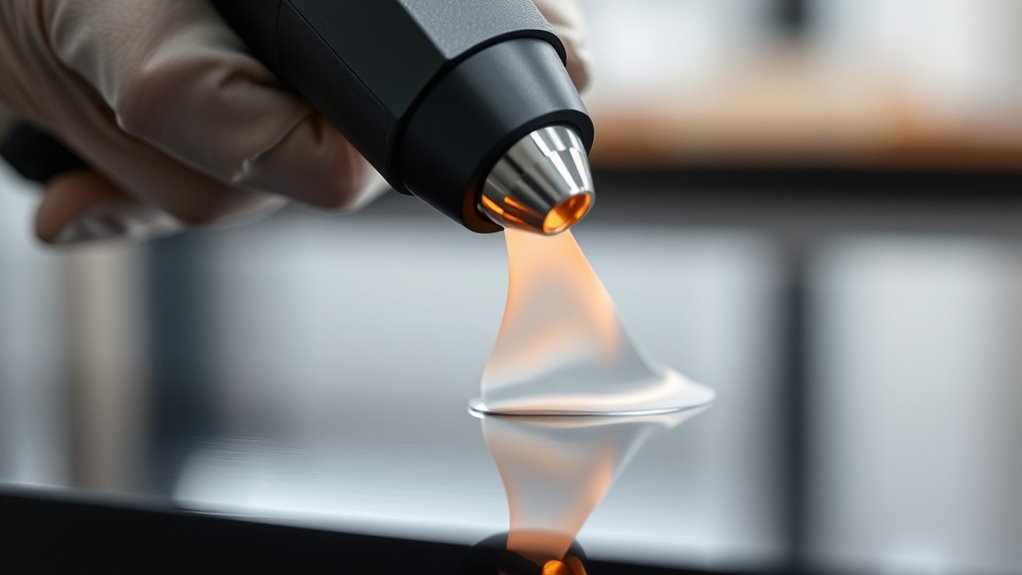
Applying gentle heat can make adhesive soft and easier to remove without damage. Using tools like a hair dryer or heat gun at low settings helps control the process and prevents surface harm. Keep the heat on for about 30-60 seconds to soften the glue effectively before peeling. This method is safe for most surfaces when applied carefully. Additionally, monitoring temperature helps prevent surface damage and ensures the process remains safe and effective.
Gentle Heat Application
Gentle heat can effectively soften adhesives without damaging delicate substrates by increasing the mobility of polymer chains within the adhesive layer. This process makes the adhesive more pliable and easier to lift or peel away. You can imagine:
- A warm, moist cloth gently wrapping a stubborn label, softening the glue beneath.
- A low-temperature hair dryer flickering across the surface, gradually warming the adhesive.
- The subtle steam from a moist heat pack penetrating the adhesive, making it gooey and manageable.
- Using a moist heat pad heated in a microwave can sustain a consistent temperature to soften the adhesive effectively controlled moist heat.
Optimal Heating Tools
Using the right heating tools can make adhesive removal more effective and safer for your materials. Variable-temperature heat guns give you control, with settings from 150°C for delicate adhesives to around 350°C for tougher caulks, helping you avoid damage. Wide nozzles concentrate heat on small spots, while flat nozzles evenly distribute heat over larger areas. For fragile surfaces, conservation hot-air units or hot-air pencils deliver gentle, focused heat. Infrared (IR) heaters soften adhesives without blowing debris, with short-wave IR penetrating thicker layers and long-wave IR providing gentle surface warming. Heated spatulas and specialized blades combine heat with mechanical action, offering precise control. Always use tools with adjustable airflow and temperature monitoring to prevent overheating and protect your surfaces during removal. Proper tool selection based on the type of adhesive can greatly improve the efficiency and safety of the removal process. Incorporating heat application techniques can also reduce the need for excessive force, minimizing surface damage. Selecting the appropriate heating method for your adhesive type is essential to achieve optimal results without compromising your materials.
Softening Duration Tips
To effectively soften adhesives with heat, it’s important to contemplate how long you apply the heat before attempting removal. Applying heat for too long can damage surfaces, while too short may not soften the adhesive enough. For most pressure-sensitive adhesives, 30 seconds to 5 minutes of moderate heat (~60–80°C) softens the glue enough for peeling or scraping. Thick hot-melt beads may need 2–10 minutes at their softening point for proper flow. Epoxy and cured adhesives often require longer, gentler heating over tens of minutes or higher temperatures for effective softening. Remember to use incremental heating cycles—30 to 90 seconds at a time—and check frequently. This careful timing minimizes risk and ensures you soften the adhesive without damaging the surface. Proper heat application is crucial for maintaining the integrity of the surface material, especially in delicate or heat-sensitive applications.
- Picture applying gentle heat, watching the adhesive soften gradually.
- Imagine the glue turning gooey, ready to peel away cleanly.
- Envision carefully monitoring the temperature and duration to avoid damage.
Select the Appropriate Solvent or Remover
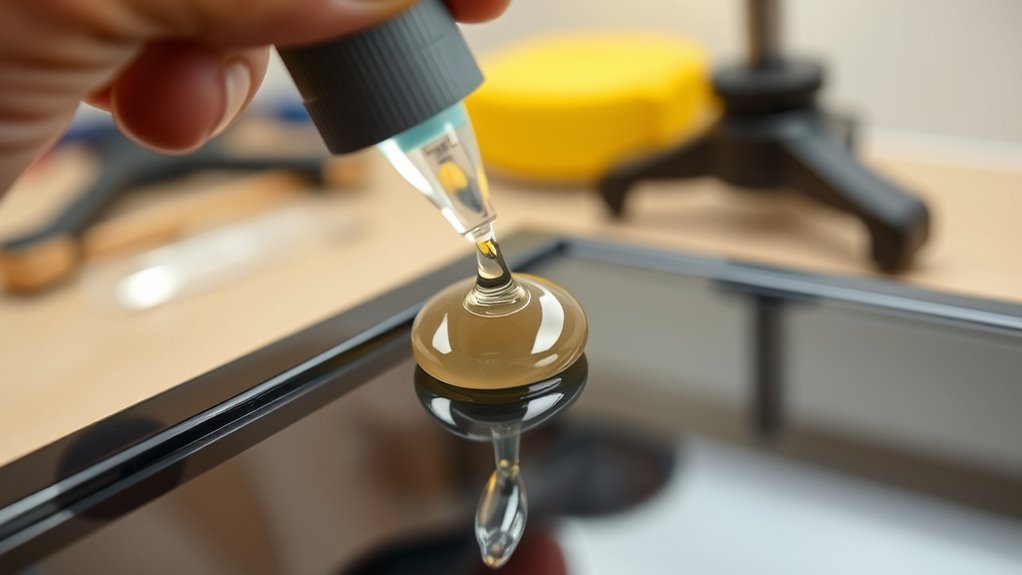
Choosing the right solvent or remover is essential to removing adhesives without causing damage. Start by considering the surface and adhesive type. Household options like vinegar work well on wood and glass, especially when combined with dish soap to emulsify residues. Rubbing alcohol reduces the cohesive strength of pressure-sensitive adhesives on plastics, glass, and metal. For tougher jobs, commercial citrus-based removers like Goo Gone are effective on stickers, tape, and residues, with options like Goo Gone Pro Power handling more stubborn adhesives. Professional-grade removers, such as 3M Specialty Adhesive Remover or Starbond Superglue Remover, offer versatility and safety on plastics. For especially resistant adhesives, strong chemical solvents like acetone excel on super glue and non-porous surfaces. Always match the remover to your surface and adhesive for best results.
Apply Solvent Carefully and Test Compatibility
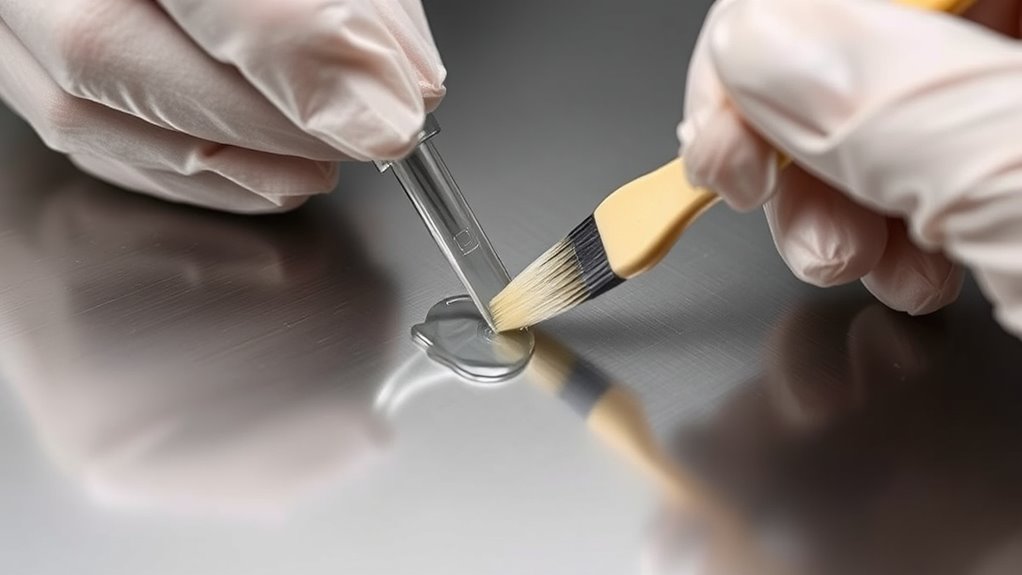
Before applying any solvent, it’s crucial to test its compatibility to prevent unintended damage. You should saturate a Q-tip with the solvent and gently touch all colors on a print to see if the ink remains intact. Additionally, test on a hidden area of the surface to check for any adverse reactions, such as discoloration or finish damage. For resin substrates, evaluate how the solvent affects the material, and consider worker exposure levels before full use. Imagine carefully dabbling the solvent with a lint-free cloth, avoiding oversaturation, or using an eyedropper for pinpoint application. Visualize misting CitrusSolve with heat from a steamer for better penetration, working from the outside inward to lift adhesive without spreading it further.
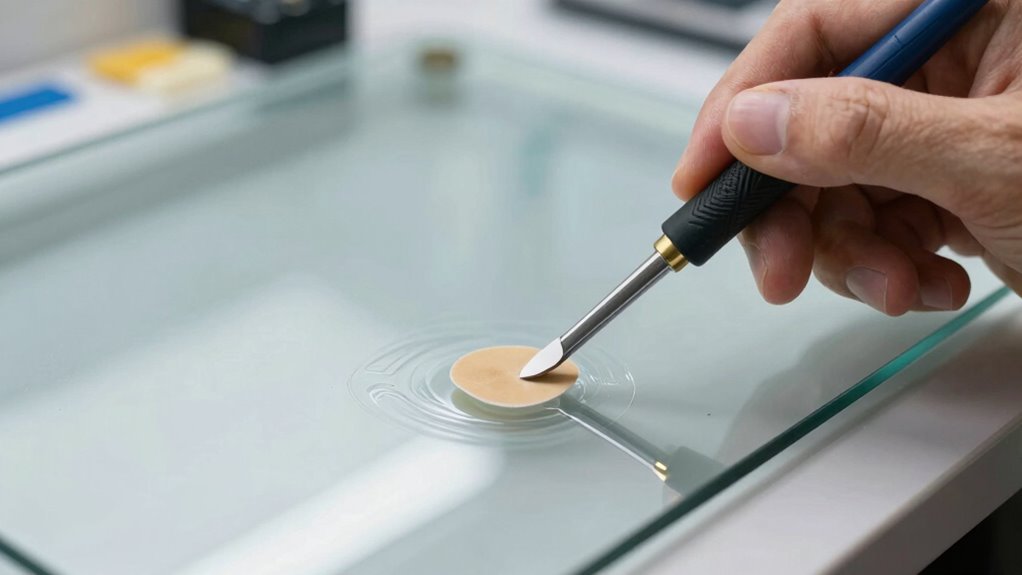
Gently Remove Residue With Blotting and Scraping
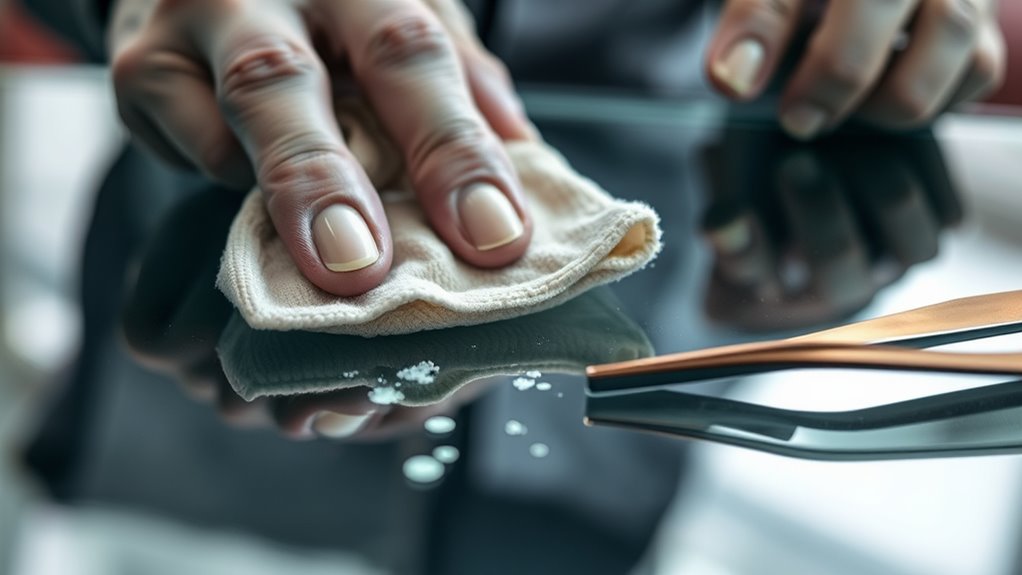
Careful surface preparation enhances the effectiveness of residue removal. Begin by removing loose dust and debris with a soft brush or microfiber cloth to prevent scratching. Test a small, hidden area to confirm the surface can handle scraping or blotting without damage. Slightly warm the adhesive with a low heat hairdryer (40–60°C) to soften it, making removal easier with less force. Use a lint-free cloth to apply solvent sparingly, pressing gently and lifting instead of wiping to avoid spreading residue. For tight spots, employ cotton swabs for precise blotting. When scraping, hold plastic tools at a low angle (10–30°) and apply gentle, steady pressure. Frequently clean your tools to prevent re-depositing adhesive and scratching the surface.
Clean and Restore the Surface After Removal
After removing adhesive residues, it’s essential to thoroughly wipe or rinse the surface to eliminate any remaining traces of the cleaning agents and debris. This step guarantees no leftover chemicals interfere with the surface’s finish or future applications. Use a microfiber cloth to wipe down areas cleaned with vinegar, and rinse thoroughly after using solvents like acetone or alcohol. Visualize the surface shining clean, free of sticky spots or streaks. Proper cleaning ensures the surface remains undamaged and ready for reattachment. – Imagine a smooth, streak-free surface after polishing or buffing. – Picture a clean, residue-free area ready for reattachment or finishing. – Envision a surface that looks refreshed, with its original texture restored. Taking these steps guarantees your surface looks pristine and is prepared for any subsequent work or reinstallation, preventing damage or adhesion issues down the line.
Follow up With Proper Disposal and Documentation

Once you’ve thoroughly cleaned and restored the surface, proper disposal and documentation guarantee safety and regulatory compliance. You must segregate waste properly, such as placing contaminated cloths in sealed biohazard bags and chemical-soaked applicators in puncture-resistant containers. Follow facility protocols for incineration of hazardous waste and rinse containers before recycling per local regulations. Accurately record removal details, including date, product, skin condition, residue, and any MARSI symptoms. Ensure staff initials and technique are documented. Use the table below to keep track of disposal and documentation requirements:
| Disposal Method | Documentation Details | Regulatory Compliance |
|---|---|---|
| Biohazard bags for contaminated cloths | Removal date, skin condition, residue | FDA labeling, OSHA standards |
| Puncture-resistant containers for chemicals | Technique used, volume applied | Billing codes, waste reporting |
| Segregated waste from general trash | MARSI symptoms, hydration status | Final labeling, impurity reporting |
Additionally, understanding the importance of MARSI prevention measures ensures that skin integrity is maintained during dressing removal, minimizing potential injuries and associated costs.
Frequently Asked Questions
How Do I Identify the Adhesive Type on a Surface?
To identify the adhesive type on a surface, start by inspecting its appearance, texture, and smell. Clear, glassy films often mean acrylic or hot-melt adhesives, while yellowed, brittle residues suggest rubber-based ones. Test with acetone or alcohol; if they soften, it’s likely a pressure-sensitive or rubber-based adhesive. Use heat to see if it softens, and consider the residue’s tackiness and removal behavior to determine if it’s a cured epoxy, cyanoacrylate, or another type.
Can I Use Household Products for Adhesive Removal Safely?
Think of household products as your trusty toolkit for adhesive removal. You can safely use rubbing alcohol, vinegar, oils, and dish soap to tackle sticky residues. Dab, soak, or scrub gently, following product instructions. Just remember to work in well-ventilated areas, wear gloves, and test in an inconspicuous spot first. With patience and care, you’ll remove adhesive without damaging your surfaces, like a pro painter over a canvas.
What Are the Signs of Surface Damage During Removal?
You’ll notice surface damage if you see scratches, gouges, or scoring lines that weren’t there before. Discoloration or staining indicates chemical or mechanical harm. Warping, bubbling, or melting suggest heat damage. Residue or white spots from incomplete cleaning show lingering chemical effects. If the surface feels rough, uneven, or deformed, it’s a sign you’ve damaged it during removal. Always proceed gently to avoid these issues.
How Long Should I Wait Before Reapplying Adhesive?
You should wait at least 2.5 minutes before reapplying skin adhesive, especially with cyanoacrylate-based products, to guarantee the first layer fully bonds. For other adhesives like prosthetics or devices, wait until the skin is dry, clean, and at baseline temperature. Avoid reapplying immediately after sweating or showering, and ensure previous residue is fully removed. Patience guarantees a strong, secure bond without damaging the skin.
Is It Safe to Use Heat on Delicate or Painted Surfaces?
Think of delicate surfaces as fragile glassware—you need a gentle touch. It’s generally safe to use heat, like a hairdryer or infrared heater, but only at low temperatures and with caution. Keep the heat soft and controlled to avoid damage or discoloration. Always test on a hidden spot first, wear safety gear, and never overheat. When in doubt, opt for gentler methods to protect your paint or fine surface.
Conclusion
Now you’re ready to tackle adhesive removal like a true pro, saving your surfaces from damage and frustration. With patience and the right techniques, you can eliminate stubborn residue without turning your space into a battlefield. Remember, your skills are more powerful than a superhero’s cape—capable of restoring any surface to pristine condition. So go ahead, confidently remove that mount, and keep your surfaces looking flawless without breaking a sweat!