
The biggest dash cam mistake unrelated to price is neglecting proper power connection, placement, and memory card choices. Many overlook how vital it is to hardwire correctly, mount the camera for maximum coverage, and select high-quality, compatible memory cards. Skipping these steps can cause power issues, poor footage, or data loss. Attention to these details guarantees your dash cam works reliably when needed. Keep going to discover how these factors can make all the difference.
Key Takeaways
- Ignoring proper camera placement can lead to obstructed views and poor footage, regardless of price.
- Failing to verify compatibility and recording quality can result in unusable footage, independent of cost.
- Overlooking the importance of reliable power wiring and grounding increases device failure risk, unrelated to price.
- Neglecting to test GPS and connectivity features can compromise evidence collection, regardless of the dash cam’s price.
- Choosing a model without considering impact detection and sensor calibration may cause false triggers or missed incidents.
Overlooking Power Connection Essentials
Many dash cam buyers overlook the importance of choosing the right power connection method, which can lead to frustration or functionality issues later. The cigarette lighter socket offers quick setup by plugging the cord directly in, but it may turn off when your ignition does, disabling parking mode. Plus, the visible cord can distract you while driving, and it occupies the socket, limiting other uses. Hardwiring directly to the fuse box provides a cleaner, more reliable power source. You’ll need to identify constant power and accessory fuses, using fuse taps or add-a-circuits. A recommended fuse rating of 2A to 5A protects your dash cam, while the original circuit fuse should handle 10A to 30A. Choosing the right method *guarantees* your dash cam functions smoothly without unexpected power interruptions. Proper wiring ensures consistent operation and reduces the risk of damage to your vehicle’s electrical system. Additionally, understanding vehicle electrical systems can help prevent potential issues during installation, especially when considering electrical system complexity and variations among vehicle models. Being aware of fuse ratings is essential to avoid overloading circuits and ensuring safety during installation. Recognizing the importance of installing correctly can save you time and prevent costly repairs down the line, especially given the variations in vehicle wiring that can exist.
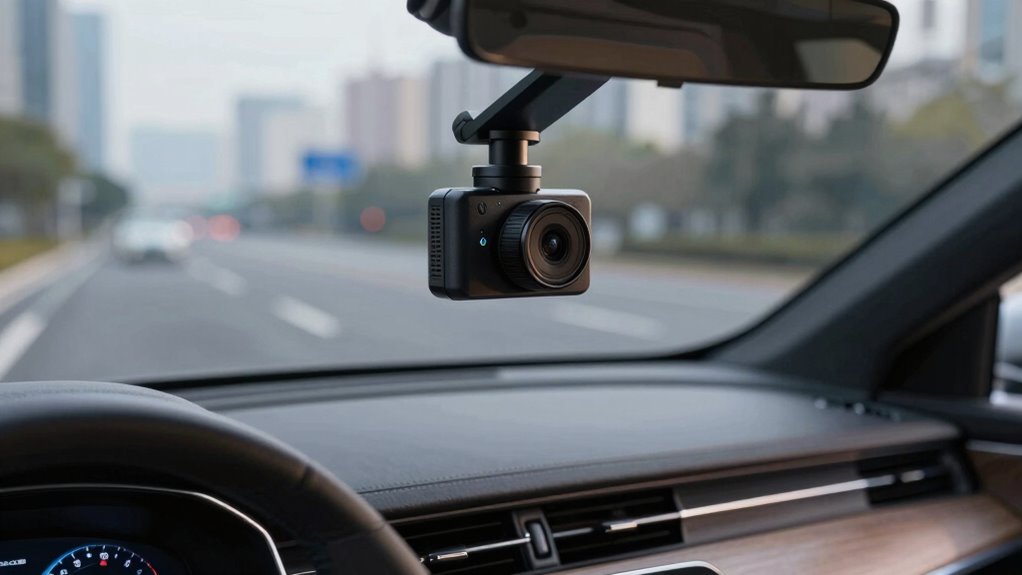
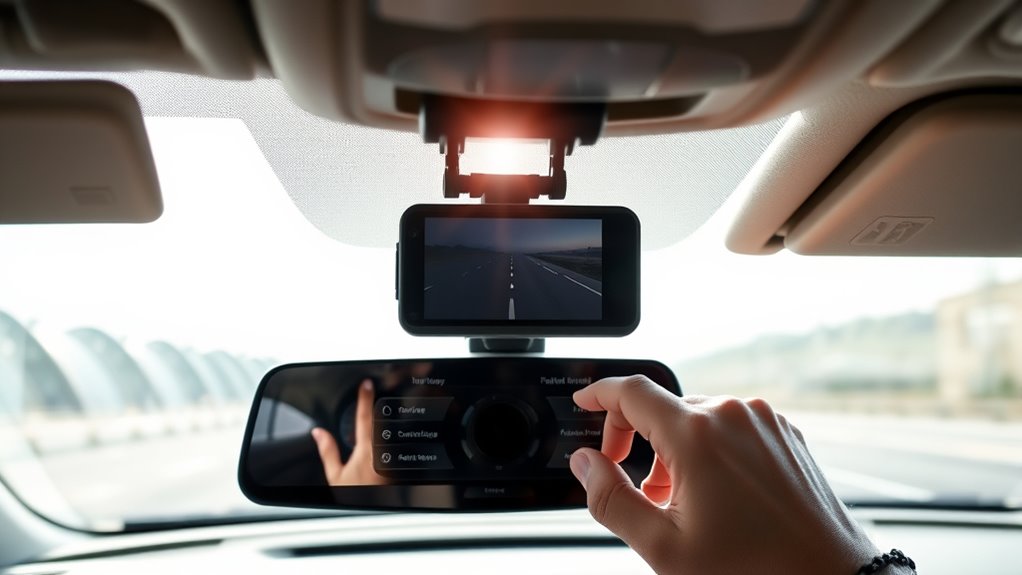
Ignoring Proper Camera Placement
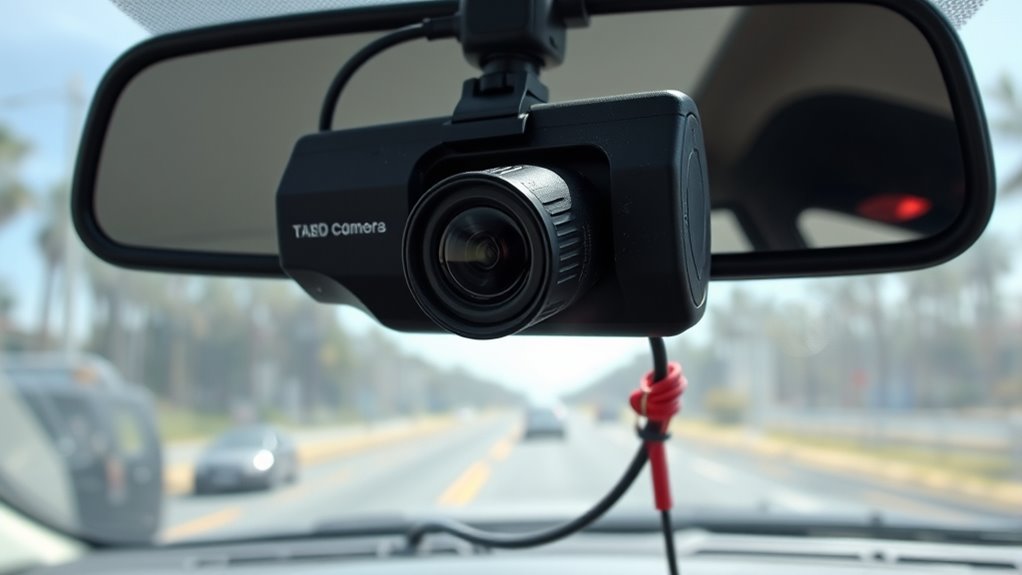
Proper camera placement is crucial for capturing clear and useful footage, so take the time to position your dash cam correctly. Mount it just behind the rearview mirror to avoid obstructing your view while ensuring a broad, balanced field of vision. Position it slightly below the tinted windshield section to minimize glare and reflections that could obscure footage. Aim for central placement to cover both lanes and the horizon, providing comprehensive coverage. Mount high on the windshield top to ensure ideal GPS signal and sensor performance. Avoid placing the camera on the dashboard, which offers inferior angles and may pose legal issues in some states. Proper placement not only improves footage clarity but also keeps your setup discreet and compliant with local laws. Additionally, reviewing the influence of technology on artistic expression can inspire creative ways to customize your dash cam setup for optimal performance. Ensuring your dash cam is correctly positioned can also aid in visual clarity, making it easier to interpret footage accurately in case of incidents. Taking the time to carefully plan your camera placement can prevent blind spots and ensure maximum coverage of the roadway. Incorporating advanced mounting techniques can further enhance stability and footage quality, especially on bumpy roads. Furthermore, considering European cloud solutions can enhance your ability to securely store and access footage with energy-efficient cloud servers.
Using Incompatible or Low-Quality Memory Cards

Choosing the right memory card is essential because an incompatible or low-quality one can cause recording errors, data loss, and footage corruption. Make sure the card meets your dashcam’s capacity requirements—at least 64GB for a few hours, with 128GB or more for longer trips or professional use. Speed class matters too; UHS V30 or V60 cards provide the necessary write speeds for HD or 4K footage, reducing dropped frames. Check manufacturer recommendations, as not all microSD cards are compatible with every dashcam. Brands like Samsung’s Pro Endurance and SanDisk Max Endurance are known for durability. Avoid low-end or incompatible cards, especially those not designed for continuous writing, as they’ll fail prematurely, risking your footage and investment. High-endurance cards are specifically engineered to withstand continuous write cycles and harsh conditions, ensuring reliable performance over time. Additionally, selecting a card with proper durability features can help it survive extreme temperatures and vibrations common in vehicle environments. Understanding the technological requirements for dashcam cards can further improve your recording reliability and peace of mind. Using a reliable brand with proven longevity can significantly reduce the chance of card failure during critical moments. Being aware of Vetting standards for memory cards can help you make an informed choice for your dashcam needs.
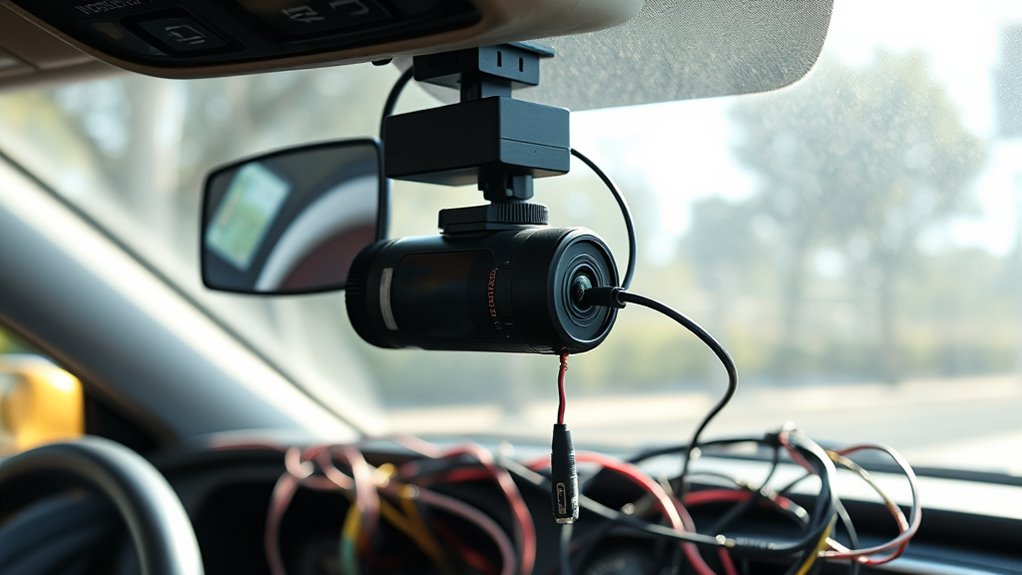
Skipping Correct Wiring and Grounding Procedures
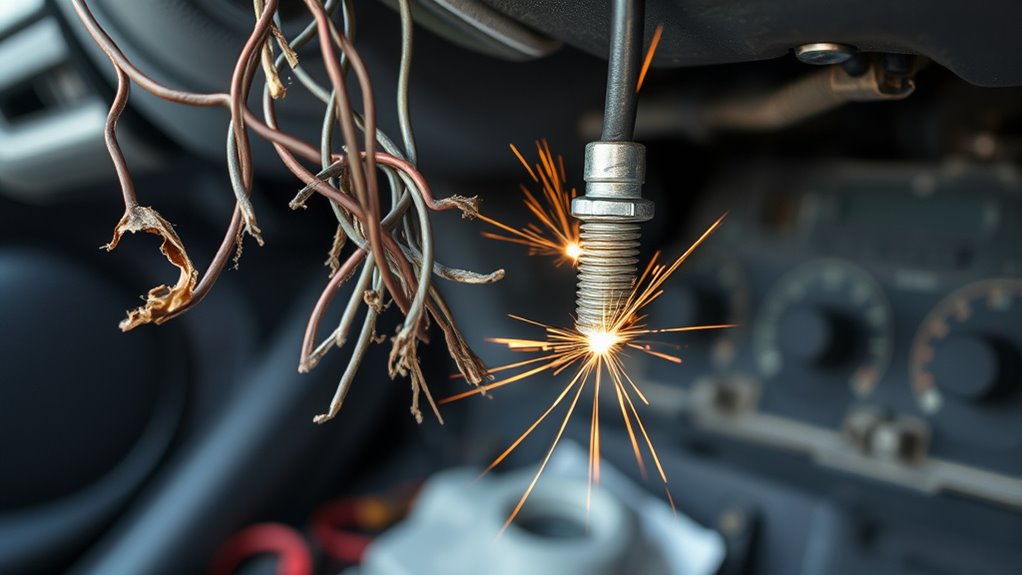
Skipping correct wiring and grounding procedures can lead to intermittent camera operation, power loss, and potential damage to your dashcam. Poor grounding, like using painted or rusty surfaces, increases resistance and causes instability. Factory ground points are ideal because they’re designed for reliable connection. Loose or poorly fastened ground wires create high contact resistance, risking reboot cycles. Routing wires near hot or moving parts can damage insulation and cause shorts. Ensuring proper grounding techniques is essential for maintaining the electrical integrity of your dashcam system, as proper grounding methods help prevent voltage fluctuations that can impair device performance. Additionally, employing proper wiring practices ensures a stable connection and prolongs the lifespan of your device. Following recommended grounding procedures from reputable sources can further reduce the risk of electrical issues, especially when considering grounding standards to ensure safety and reliability.
Rushing Through Settings Configuration

Many users overlook the importance of thoroughly configuring their dash cam settings after installation, which can severely limit the device’s effectiveness. Rushing through setup often results in suboptimal footage and missed evidence. To avoid this, focus on these key areas:
Proper dash cam setup is crucial for optimal footage and reliable evidence.
- Resolution and Bitrate: Increase resolution to 2.7K or 4K and adjust bitrate to balance quality with storage capacity, ensuring clear license plates and faces. Configuring these settings properly maximizes video clarity and reduces the risk of losing critical details. Proper resolution settings are essential for capturing high-quality footage that can be used effectively in legal matters.
- Loop Recording: Set appropriate loop durations to prevent excessive fragmentation or large files, making evidence retrieval easier.
- G-sensor and Event Detection: Calibrate sensitivity levels to prevent false locks or missed impacts, and enable parking mode if needed. G-sensor sensitivity varies between models, affecting how well it detects impacts.
- Time and GPS Settings: Correct timestamps and time zones, and enable GPS for accurate metadata, *vital* for incident reports. Proper time and location data can be crucial for legal or insurance claims. Ensuring accurate GPS data also helps track your routes and can provide helpful context for incidents.
Failing to Test the System Post-Installation
Once your dash cam is installed, you need to test its recording function to guarantee it captures clear footage when needed. You should also check the live feed visibility to confirm the camera’s field of view isn’t obstructed. Skipping these steps can leave you with unreliable footage and blind spots during critical moments. Proper calibration and testing ensure the dashcam functions as intended across different lighting conditions and environments, maximizing its effectiveness when it matters most. Additionally, understanding safe installation practices helps prevent damage or malfunction over time.
Verify Recording Functionality
After installing your dash cam, it’s essential to immediately test its recording functionality to guarantee it’s working correctly. Failing to do so can leave you without vital footage when you need it most. To verify proper operation, consider these steps:
- Record a short test video during daylight to assess clarity, motion fluidity, and color accuracy.
- Drive on main roads at night to evaluate low-light performance.
- Use a vibration table to simulate road bumps, confirming stable recording.
- Manually trigger recording after simulated impacts to ensure files save properly.
- Incorporate connected technology features to monitor real-time status and receive alerts if issues arise. Additionally, understanding the importance of contrast ratio can help identify potential image quality issues during testing. Regularly checking the air purifier maintenance dos and don’ts can also prevent dust or humidity from affecting your dash cam’s components.
Performing these tests helps identify issues like recording failures, file corruption, or inadequate low-light capture, ensuring your dash cam is ready to serve its purpose reliably in any situation.
Check Live Feed Visibility
Have you tested your dash cam’s live feed visibility after installation? If not, you risk missing critical footage during incidents or remote checks. Live streaming depends on stable cellular or Wi-Fi signals; intermittent connections can prevent remote access, making virtual ride‑alongs or live monitoring impossible. Poor connectivity in remote areas often leads to failed training sessions and unreliable telematics data flow. Additionally, verify the camera’s angle and lens alignment to ensure clear visibility, especially in low light or glare conditions. Failing to test these aspects can result in blackouts, blind spots, or degraded image quality. Without confirming live feed functionality, you won’t know if your system will perform when it matters most—during an accident, a remote review, or a real-time alert. Testing post‑installation is essential for dependable performance. Remote Monitoring & Training can be compromised if the live feed isn’t verified, limiting the effectiveness of virtual coaching and oversight. In addition, ensuring your Wi-Fi or cellular setup supports reliable connectivity can prevent frustrating interruptions during critical moments. For optimal performance, it’s also important to consider network signal strength at key locations to avoid unexpected disruptions. Regularly system diagnostics can help identify potential issues before they impact your ability to monitor and respond effectively. It’s also helpful to understand your system’s connection stability to maintain consistent live feed access during crucial times. Conducting a comprehensive signal testing prior to use can significantly improve overall reliability and peace of mind.
Frequently Asked Questions
How Can I Tell if My Dash Cam’s Power Supply Is Stable?
You can tell if your dash cam’s power supply is stable by using a multimeter to log voltage during drives and idling. Watch for sudden drops, flickering LEDs, or failed recordings, which indicate instability. Perform load tests by applying a dummy load and monitoring voltage recovery. Also, verify low-voltage cutoffs and transient tolerance. If you notice irregular power events or inconsistent operation, consider upgrading your wiring or adding a regulated power module.
What Adjustments Improve My Dash Cam’s Video Clarity and Angle?
Think of your dash cam as an artist’s eye capturing every detail. To sharpen video clarity, set the resolution to 1440p or higher, ensuring license plates are crisp. Adjust the camera angle to minimize glare and shadows, giving you a clear view of the road. Enable night vision for low-light conditions, and keep exposure balanced. These tweaks transform your footage into a crystal-clear story of your drive.
Which Memory Card Brands Are Most Reliable for Dash Cams?
You should choose reliable brands like Samsung Pro Endurance and SanDisk High Endurance for your dash cam. Samsung has proven durability since 2018, with excellent user reviews and high endurance ratings, making it ideal for continuous recording. SanDisk offers strong performance, especially in harsh conditions, and longer warranties. Avoid lesser-known brands or fake cards online, as they can lead to video corruption and data loss, compromising your dash cam’s performance.
How Do I Properly Ground My Dash Cam During Installation?
Think of grounding your dash cam as setting the stage for a smooth performance. Start by choosing an unpainted metal chassis bolt or screw attached to your vehicle body. Use a ring terminal or grounding lug, crimped or soldered securely, and tighten it under the bolt head. Confirm good contact with a multimeter, ensuring low resistance. Keep the wire away from moving parts and secure with zip ties for a reliable, noise-free connection.
What Are Common Signs My Dash Cam Needs Firmware Updates?
You’ll notice your dash cam needs a firmware update if it freezes, crashes, or shows poor video quality. Slow app connections and missing features like GPS stamps also signal outdated software. During updates, LEDs blink or change color, and the device might restart automatically. If you see these signs, check your firmware version through the menu or app and update it to fix bugs and improve performance.
Conclusion
So, are you really ready to trust your dash cam without checking these vital steps? Don’t let simple oversights, like poor wiring or wrong placement, compromise your footage. It’s not about spending more money but about doing it right the first time. Take your time with installation, test thoroughly, and guarantee compatibility. After all, isn’t your safety and peace of mind worth those extra minutes? Make smart choices now to avoid costly mistakes later.