
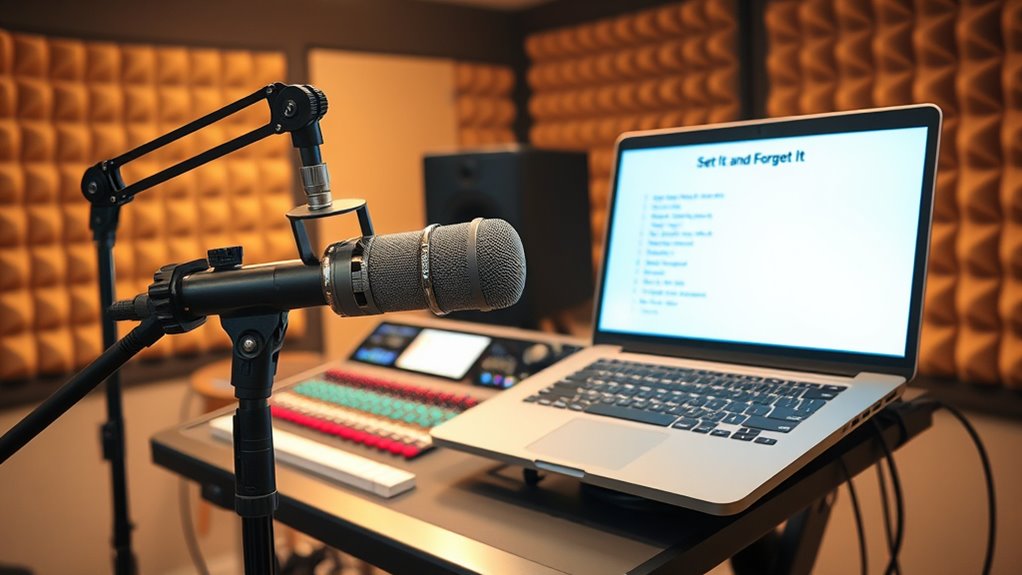
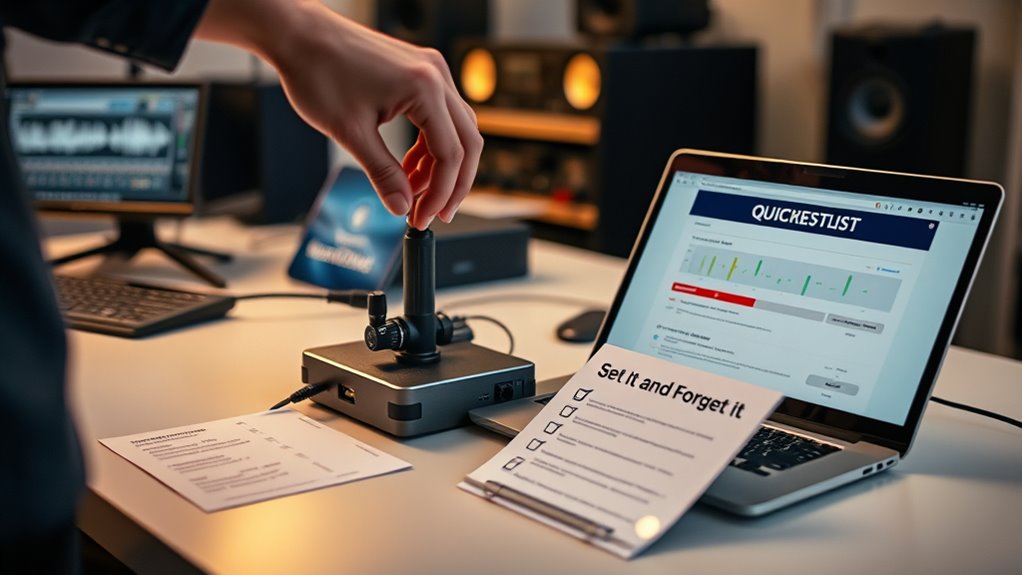
To make certain reliable recording, start by checking your equipment’s condition, connections, and software updates, then run quick tests to confirm everything works smoothly. Adjust audio and video settings for clarity, proper sound levels, and good lighting. Secure your environment by reducing noise and organizing cables. Monitor throughout the session with real-time checks, and always back up your files immediately. If you keep these steps in mind, you’ll greatly improve your chances of a successful, “set it and forget it” process.
Key Takeaways
- Regularly verify and update equipment, software, and firmware to prevent technical issues during recording.
- Conduct thorough pre-recording tests for audio and video calibration, ensuring accurate sound levels and visual quality.
- Monitor audio and visual outputs in real-time with headphones and tools to catch issues immediately.
- Secure the environment by soundproofing, organizing cables, and controlling lighting to minimize disruptions.
- Backup recordings promptly and verify file integrity to safeguard against data loss.

Focusrite Scarlett Solo 3rd Gen USB Audio Interface for Guitarists, Vocalists, Podcasters or Producers to record and playback studio quality sound
Pro performance with great pre-amps – Achieve a brighter recording thanks to the high performing mic pre-amps of…
As an affiliate, we earn on qualifying purchases.
As an affiliate, we earn on qualifying purchases.
Preparing Your Equipment Before Recording
Before you start recording, it’s essential to verify your equipment is ready to perform reliably. Proper equipment maintenance ensures your gear functions smoothly, reducing the risk of technical issues during recording. Check cables, connections, and power supplies for any damage or loose parts. Regularly update firmware and software to prevent glitches. Additionally, well-trained users are key; ensure you understand how to operate your equipment correctly. Familiarize yourself with all controls and settings to avoid mistakes that could compromise quality. Conduct a quick test run to confirm everything works as expected. Paying attention to color accuracy and calibration can also make a significant difference in your final output. Ensuring your setup aligns with European cloud innovation principles can enhance reliability and security. Incorporating regulatory compliance into your setup can help prevent potential legal issues. Staying mindful of equipment lifespan and scheduling timely maintenance can prolong your gear’s effectiveness. Taking these steps minimizes disruptions and guarantees your setup is optimized, so you can focus on capturing high-quality audio and video without worries.

2-Pack LED Video Light Kit, NiceVeedi Studio Light, 2800-6500K Dimmable Photography Lighting Kit with Tripod Stand&Phone Holder, 73" Stream Light for Video Recording, Game Streaming, YouTube
【MULTIPLE COLOR TEMPERATURE & ADJUSTABLE BRIGHTNESS】There are 3 Color temperatures (2800K, 4800K & 6500K) which offer different lighting…
As an affiliate, we earn on qualifying purchases.
As an affiliate, we earn on qualifying purchases.
Optimizing Audio and Video Settings
Start by ensuring your devices are compatible with your recording setup to avoid technical issues. Next, adjust your volume levels and calibrate visual settings for clear, balanced audio and sharp video quality. Taking these steps will help you achieve professional results with less hassle. Additionally, consider local automation options to streamline your recording environment and reduce potential disruptions. Properly managing audio and video calibration ensures consistent quality across different recording sessions. Regularly monitoring equipment performance can also prevent unexpected issues during recording. Incorporating the use of appropriate filtration and pump protection methods can help maintain your recording equipment’s optimal performance and longevity. Paying attention to sound quality and minimizing background noise can further enhance your recordings for a professional finish.
Check Device Compatibility
Ensuring your device is compatible with your recording setup is essential for clear, professional-quality audio and video. Confirm that your hardware meets the requirements of your recording software and peripherals. Keep your device’s software updated to prevent compatibility issues and access new features. Compatibility problems can cause recording interruptions or degraded quality, so test your setup before recording. Use the table below to understand the importance of compatibility and updates:
| Aspect | Significance |
|---|---|
| Device Compatibility | Ensures hardware works seamlessly together |
| Software Updates | Fix bugs and improve performance |
| Peripheral Devices | Maintain connection stability |
| Operating System | Compatibility with recording software |
| Regular Checks | Prevents unexpected technical issues |
| System Compatibility | Proper setup avoids unforeseen disruptions to ensure smooth recording processes |
Adjust Volume Levels
Adjusting your volume levels is essential to achieving clear audio and video recordings. Proper microphone placement helps capture sound accurately and prevents unwanted noise or distortion. Position the microphone close to your mouth or sound source, but avoid direct contact to prevent clipping. Use audio compression during post-processing to balance loud and soft sounds, ensuring consistent volume levels throughout. Test your setup by recording a short clip and listen carefully for any peaks or dips in volume. Adjust input gain settings on your device to avoid clipping or overly quiet recordings. Remember, a well-placed microphone combined with thoughtful volume adjustments creates a more professional, reliable recording. Taking these steps now saves time editing and improves overall audio quality. Additionally, understanding AI’s role in healthcare can influence future equipment and software choices to optimize your recording environment. Proper calibration of your audio equipment, including audio settings, can further enhance your recording reliability and clarity. Regularly reviewing and updating your audio setup ensures consistent performance and top-quality results.
Calibrate Visual Settings
Calibrating your visual settings is essential for capturing clear, professional-quality footage. Start by adjusting lighting to ensure your scene is well-lit without overexposure or shadows. Proper lighting adjustments make your subject stand out and improve overall image quality. Next, focus calibration is critical; take time to manually fine-tune your camera’s focus to keep your subject sharp and crisp. Avoid relying solely on auto-focus, which can hunt or shift during recording. Check your camera’s exposure and white balance settings to match your environment, preventing color casts or dull images. Regularly reviewing your footage during setup helps identify issues early. These simple steps ensure your visual output is consistent, clear, and polished for every recording.

Strumland Music Cable Organizer Set (2-Pack) – Peel-and-Stick Guitar Cable Holder & Studio Cable Hook with Upgraded 3M Adhesive for Desks, Amps & Surfaces (Black)
Compatible with Guitar, Instrument, and Studio Cables: Organize guitar, audio, and instrument cables with ease—ideal for home studios,…
As an affiliate, we earn on qualifying purchases.
As an affiliate, we earn on qualifying purchases.
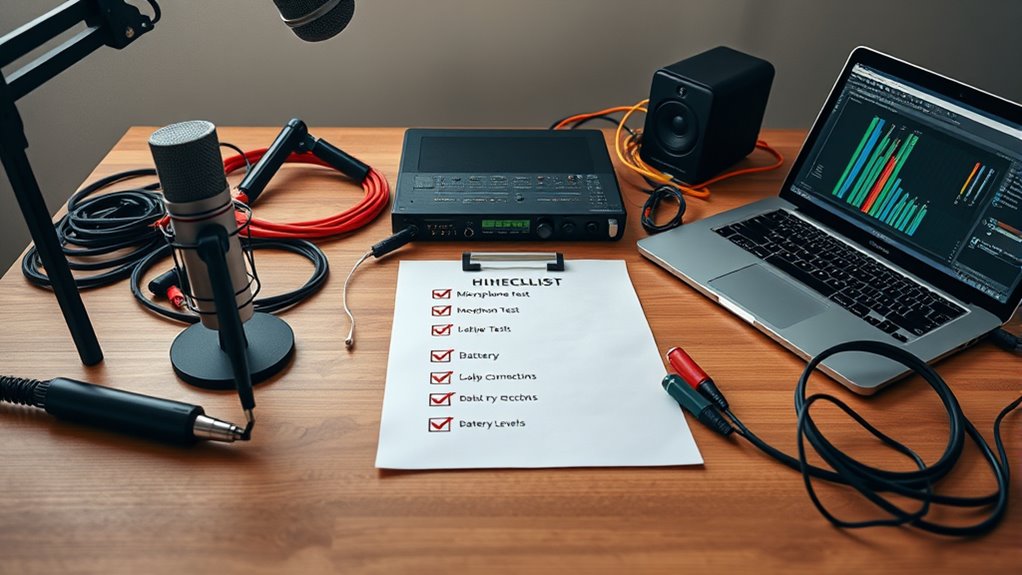
Conducting a Quick Test Run
Before you start recording, do a quick pre-record check to guarantee everything looks good. Test your audio levels to confirm your voice is clear and balanced. Making these adjustments now saves you from troubleshooting later and guarantees a smooth session.
Pre-Record Check
Ever wonder if your recording setup is working perfectly before the actual session? Doing a quick pre-record check minimizes surprises and guarantees everything runs smoothly. Start by reviewing your lighting setup—it should be even and free of glare or shadows that could distract or obscure your face. Then, check your audio quality by recording a brief clip, listening carefully for clarity, background noise, or hums. Make sure your microphone is positioned correctly and your levels aren’t peaking. This quick test helps catch issues early, saving you time and frustration during your main recording. Confirming your lighting setup and audio quality beforehand gives you confidence, so you can focus on delivering your best performance without technical worries.
Test Audio Levels
Have you tested your audio levels recently to make sure everything sounds clear? A quick test run helps guarantee your audio quality is excellent before recording begins. Adjust your microphone placement if needed—closer microphones often capture clearer sound, but avoid too much proximity effect. Speak naturally into the mic and monitor the levels on your recording device or software. Aim for consistent, well-balanced audio without clipping or distortion. Listening back to the test recording allows you to catch issues early, like background noise or uneven volume. You can also use audio monitoring tools to help identify potential problems in real-time. These tools can provide accurate sound levels and help you make precise adjustments before recording your main content. Incorporating connected devices can also help monitor and control your audio environment in real-time, enhancing overall quality. Regularly checking your setup and using sound calibration techniques ensures optimal audio performance every time. Being familiar with audio testing procedures can further streamline your recording process and prevent common issues. This simple step can save you hours of troubleshooting later. Remember, reliable recording starts with properly tested audio levels, so don’t skip this vital step in your setup process.

Seagate Portable 2TB External Hard Drive HDD — USB 3.0 for PC, Mac, PlayStation, & Xbox -1-Year Rescue Service (STGX2000400)
Easily store and access 2TB to content on the go with the Seagate Portable Drive, a USB external…
As an affiliate, we earn on qualifying purchases.
As an affiliate, we earn on qualifying purchases.
Securing Your Recording Environment

Securing your recording environment is vital to guarantee high-quality, reliable audio. A stable setup minimizes noise and distractions, ensuring your recordings are clear and professional. Pay attention to microphone placement, positioning it to avoid picking up unwanted sounds. Maintain lighting consistency to prevent visual distractions that could affect your focus or recordings. Consider the following to secure your environment effectively:
Ensuring a stable, noise-free environment is key to professional, high-quality audio recordings.
- Isolate your recording space from external noise sources
- Use soundproofing or acoustic treatments to reduce echoes
- Keep cables organized to prevent tripping hazards
- Control lighting to ensure consistent illumination
- Secure equipment to avoid accidental disconnections or damage
- Implement proper sound isolation techniques to enhance audio fidelity
- Regularly inspect your setup to identify and address any equipment vulnerabilities that may compromise recording quality
- Utilize environmental controls such as temperature and humidity regulation to further stabilize your recording space
- Incorporate room acoustics adjustments to optimize sound quality within your environment
- Additionally, understanding the importance of outdoor weather conditions can help you plan recordings more effectively when working in less controlled environments.
Monitoring During Recording Sessions
Monitoring during recording sessions is essential to guarantee your audio quality remains consistent and accurate. You should regularly listen to your recordings through headphones to catch any audio feedback issues immediately. This proactive approach helps you identify unwanted noise, distortion, or volume inconsistencies before they become part of your final track. Additionally, keep an eye on your camera angles if you’re recording video as well; proper angles ensure your visuals match the audio and maintain viewer engagement. Adjust your setup as needed, ensuring your microphone placement stays ideal and your monitoring equipment functions correctly. Continuous monitoring allows you to make real-time corrections, saving you time and effort in post-production. Staying attentive during recording helps ensure a smooth process and a professional-quality result. Remember to check your audio equipment regularly for dust or damage, as well-maintained gear contributes to better sound quality. Regularly verifying your audio levels helps prevent unexpected peaks or drops that could compromise your recording. Moreover, understanding industry trends can inform your setup choices and improve your overall recording quality.
Post-Recording Checks and Backup Procedures

After you finish recording, it’s crucial to perform thorough post-recording checks to guarantee your audio quality is intact. Verify your metadata to ensure all details are correct, like timestamps and labels, for easy identification later. Check your files for completeness, clarity, and proper format to avoid surprises during editing. Organize your files systematically to streamline your workflow and prevent misplacement. Backup your recordings immediately to multiple storage devices or cloud services to prevent data loss. Consider these steps essential for a reliable setup:
- Confirm metadata accuracy
- Review audio quality and clarity
- Organize files with clear naming conventions
- Backup recordings in multiple locations
- Verify file integrity post-transfer
Frequently Asked Questions
How Often Should I Update My Recording Software?
You should update your recording software whenever updates are released to guarantee peak performance. Regular software updates improve stability, fix bugs, and enhance security. They also ensure your software remains compatible with the latest hardware and operating systems, preventing compatibility issues. Set a reminder to check for updates monthly or enable automatic updates if available. Staying current with software updates keeps your recording setup reliable, efficient, and ready for any project.
What Are Common Signs of Audio or Video Equipment Failure?
Think of your equipment as a trusted car; if you notice strange noises, inconsistent performance, or warning lights, it’s time for hardware maintenance. Common signs of failure include distorted audio, video glitches, or delays. Regular equipment calibration and vigilant monitoring help catch issues early, preventing major breakdowns. If you see these signs, don’t ignore them—address the problems promptly to keep your recordings reliable and professional.
How Can I Improve My Recording Environment for Better Quality?
To improve your recording environment, focus on soundproofing techniques like adding acoustic panels or heavy curtains to reduce echo and outside noise. Guarantee proper microphone placement by positioning your mic close to your mouth and avoiding reflections from walls or surfaces. Keep your space quiet and organized, and consider using a pop filter. These steps will help you achieve clearer, more professional recordings with minimal background interference.
What Are Best Practices for Storing Recorded Files Securely?
You should implement strong backup strategies by regularly copying your files to multiple secure locations, like cloud storage and external drives. Use encryption methods to protect sensitive data, ensuring only authorized people can access your recordings. Keep your backups updated and test them periodically to confirm they work. By combining proper backups with encryption, you’ll secure your recordings from loss or unauthorized access, maintaining their integrity and confidentiality over time.
How Do I Troubleshoot Connectivity Issues During Live Recordings?
Think of your connection like a garden hose—kinked or blocked, water won’t flow. To troubleshoot live recording issues, first run network troubleshooting to check for outages or weak signals. Then, do hardware diagnostics to make sure your equipment isn’t causing the problem. Restart your router and devices, update firmware, and test with a wired connection if possible. This proactive approach keeps your recording flow smooth and reliable.
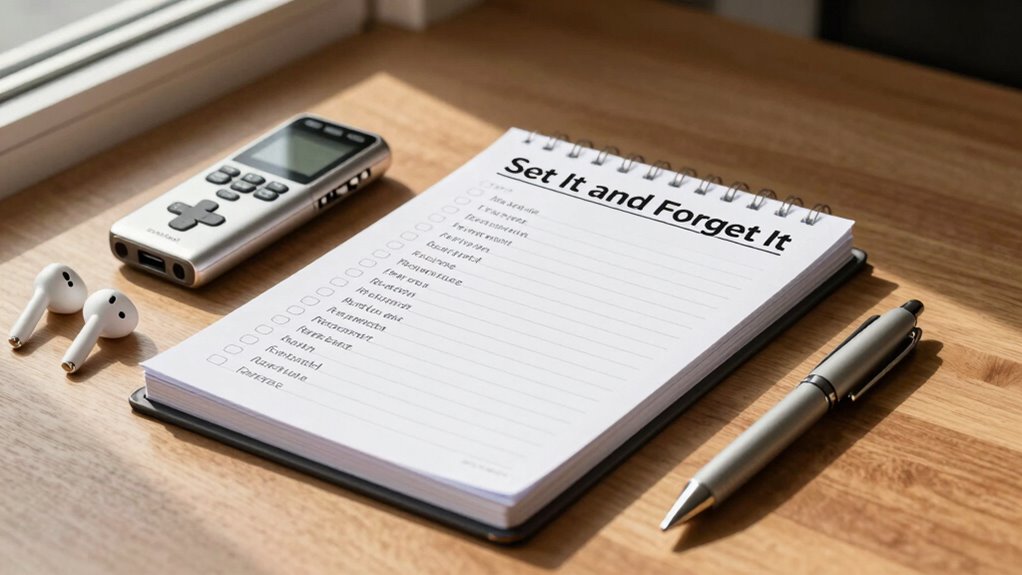
Conclusion
So, there you have it—your foolproof, “set it and forget it” checklist. Follow these steps, and you’ll never have to worry about recording disasters… or so you think. Remember, even the best setup can’t save you from that one rogue microphone or forgotten backup. But hey, at least you’ll look confident while scrambling. Happy recording, and may your files never mysteriously vanish!