
To mount your sunshade without peeling off the camera, start by inspecting your camera for existing mounting points like threaded holes or brackets and use those instead of adding new hardware. Opt for non-invasive methods like external clamps, adhesive mounts, or magnetic fixtures, ensuring surfaces are clean and compatible. Secure hardware firmly with weatherproof fasteners, and test the setup for stability. For more tips on a damage-free mount, keep exploring further tips below.
Key Takeaways
- Use existing mounting points or external brackets to avoid peeling the camera off during installation.
- Opt for non-invasive methods like adhesive mounts, suction cups, or magnetic fixtures for damage-free mounting.
- Ensure surface compatibility and clean surfaces thoroughly before applying adhesives or tapes.
- Avoid drilling or fasteners that could crack or damage the camera enclosure, especially in fragile materials.
- Regularly inspect and tighten mounts to maintain security without causing stress to the camera.

ROVE Ultimate Dash Cam Hardwire Kit with USB-C Port for R2-4K, R2-4K PRO, R2-4K Dual, R2-4K Dual PRO, and R3 Dash Camera Models, 24Hr Parking Monitoring Kit with Low Voltage Protection
【Compatible for ROVE R2-4K with USB-C Port, R2-4K PRO, R2-4K DUAL, R2-4K DUAL PRO, and R3 Dash Cam...
As an affiliate, we earn on qualifying purchases.
Assess Your Camera and Enclosure for Existing Mounting Points
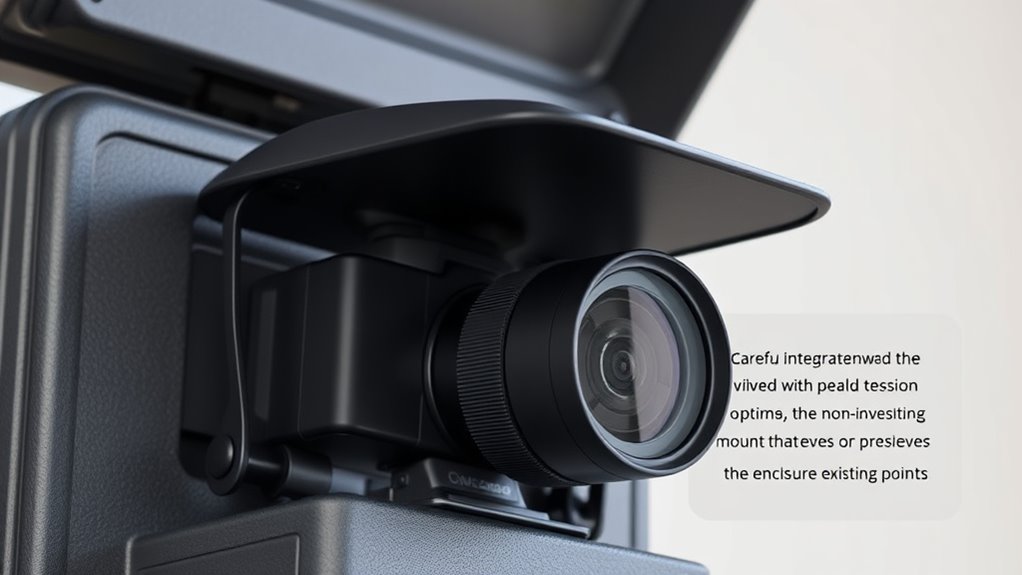
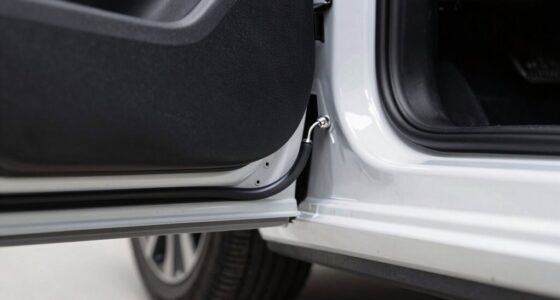
Before installing a sunshade, you should carefully examine your camera and enclosure for existing mounting points. Check if your camera has standardized threaded mounts like 1/4″-20 or 3/8″-16, which can directly accept brackets or shims. Look for dedicated accessory tabs or integrated mounting flanges that allow bolt-on attachments without modification. Verify the camera’s mounting hole pattern—metric or imperial—to ensure compatibility with your chosen bracket. Many professional cameras feature removable base plates or quick-release interfaces, enabling non-destructive mounting and easy repositioning. Also, identify if there are captive hardware, such as screws or inserts, or exposed threaded bushings—these simplify attaching external mounts without drilling. Similarly, inspect the enclosure for built-in bosses, threaded inserts, or pre-cut flange plates, which serve as dependable mounting points. Additionally, mounting poles or junction boxes can provide alternative secure points if the existing camera setup lacks suitable fixing options. Being aware of your camera’s mounting compatibility can save time and prevent damage during installation. Recognizing the importance of standardized mounting patterns can also streamline the process and ensure secure attachment. Furthermore, understanding the type of mounting hardware used can help you select the right tools and accessories for a safe and stable setup. Proper awareness of these features can also facilitate future upgrades, making maintenance more straightforward.

REDTIGER F7N Dash Cam Hardwire Kit USB C Port, Dashboard Camera Car Charger Cable Kit 12V- 24V to 5V w/Fuse Kit, Low Voltage Protection for Dash Cam Double-4 Fuses
【Wide Compatible】Input:12V-24V; Output:5V/2A. With Type-C ports, this hardwire kit compatible with all of dash cams.
As an affiliate, we earn on qualifying purchases.
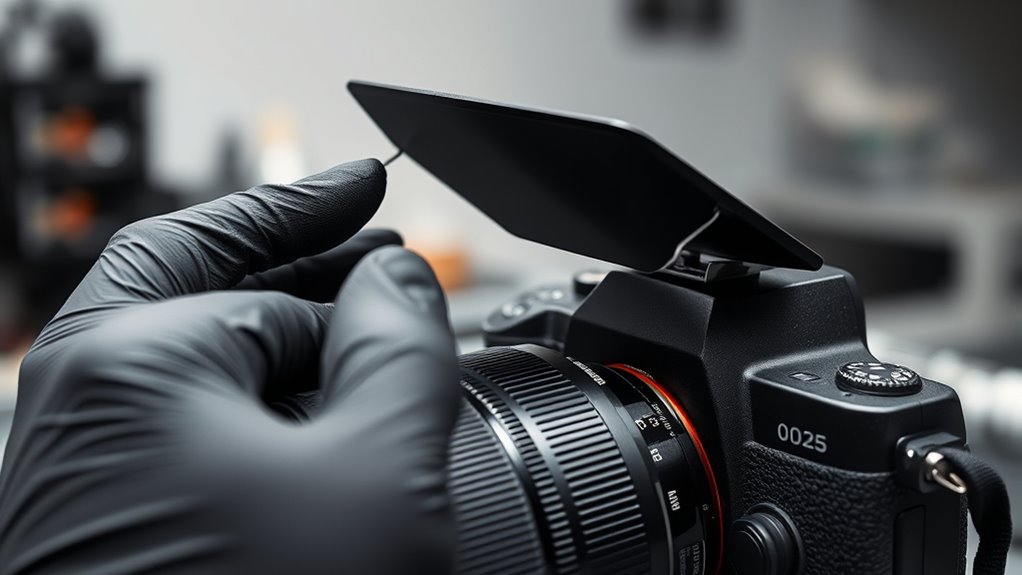
Choose Non-Destructive Attachment Methods
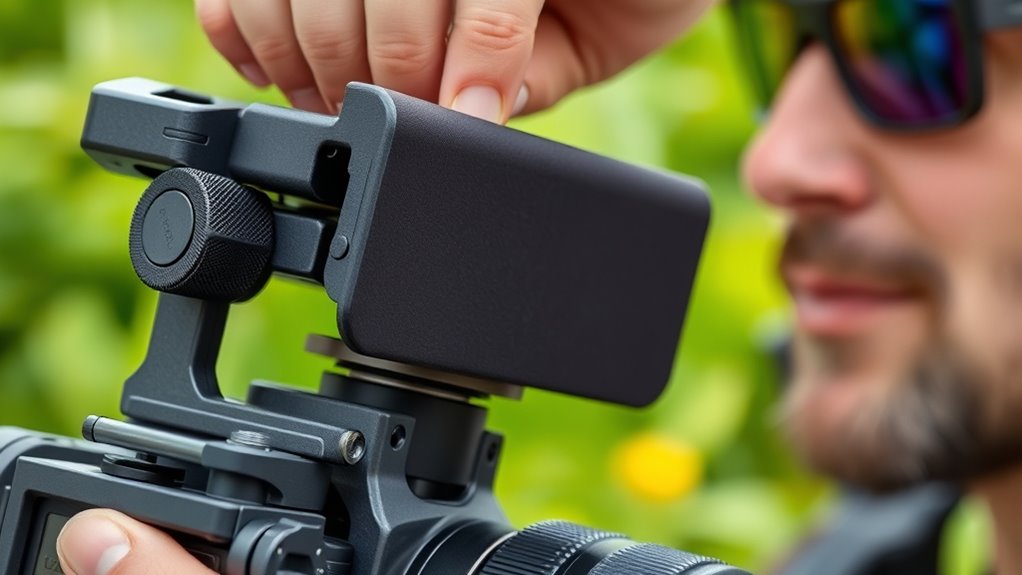
When attaching a sunshade, it’s best to use existing mounts whenever possible to avoid damaging your equipment. External clamps and brackets offer secure options without permanent modifications, while magnetic fixtures provide quick, non-invasive attachment. Choosing the right method guarantees your gear stays safe while maintaining flexibility. The OG Mount is designed to be lightweight and easy to attach without damaging devices, making it an ideal choice for outdoor streaming setups. Utilizing non-destructive attachment methods helps preserve the integrity of your devices and ensures easy removal when necessary. Additionally, selecting adaptive mounting solutions allows for versatility in various environments without compromising device safety. Incorporating versatile mounting options can also help tailor your setup to different device sizes and configurations, enhancing overall stability and security. Being mindful of thermal behavior ensures your attachments do not interfere with heat dissipation, maintaining optimal device performance. Moreover, considering device compatibility is crucial to ensure that the chosen mounting method suits all your equipment.
Use Existing Mounts
Using existing mounts is an effective way to install your sunshade without causing damage to your property. Adhesive mounts, like removable strips, let you attach cameras to brick or vinyl siding without drilling. Strong, weather-resistant tapes, such as 3M or Gorilla squares, secure cameras on doors or walls temporarily or permanently. Magnetic mounts are perfect for metal surfaces, providing a secure hold without screws or adhesives, ideal for renters or quick setups. Suction cups work well on smooth indoor surfaces or temporary outdoor placements, easily removable without residue. Double-sided tape hides wiring and mounts lightweight cameras on various materials, offering a discreet, damage-free solution. Leveraging these existing mounts helps you set up your sunshade efficiently while preserving your property’s integrity. Using these methods is also cost-effective and quick to implement. Additionally, understanding mount compatibility ensures your chosen method will work effectively with your specific surfaces. To ensure a secure fit, consider surface material and weather conditions when selecting your mounting method. Being aware of lifevest advisors can help you avoid potential risks with improper mounting or damage. Furthermore, selecting appropriate mounting techniques can enhance the stability and longevity of your setup. Proper knowledge of surface types and repair fundamentals can help you choose the most suitable method for your needs.
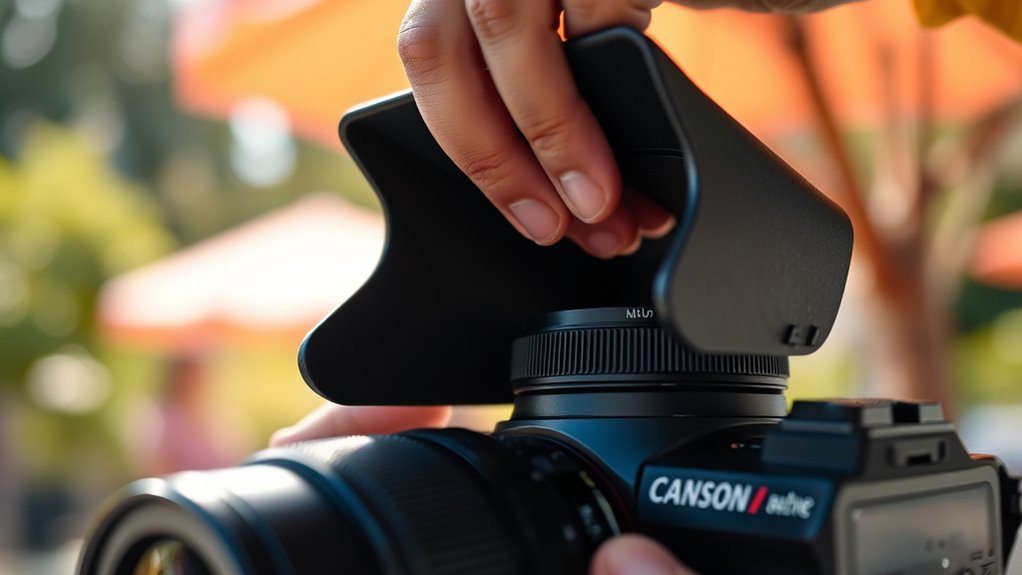
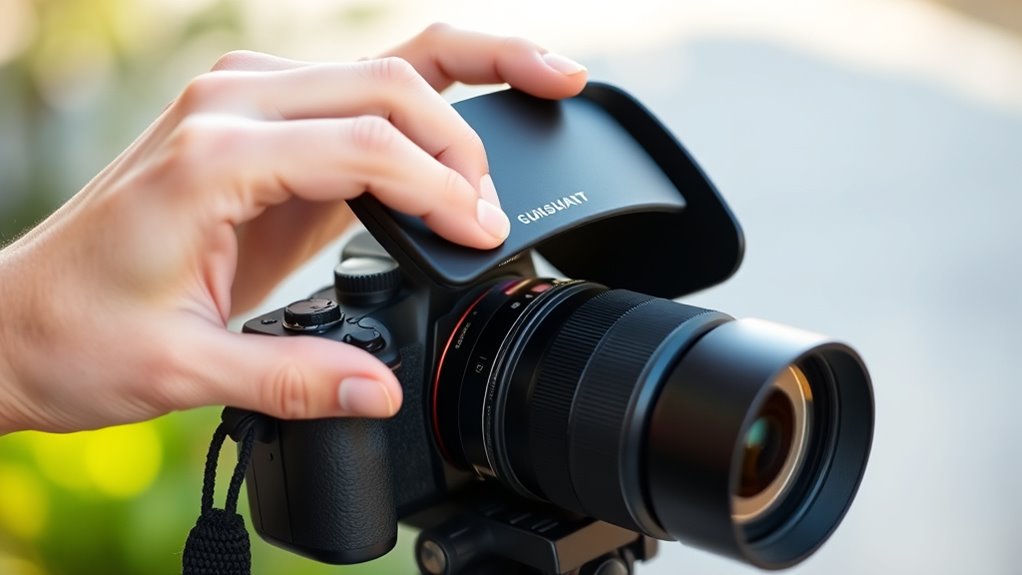
Employ External Clamps
Employing external clamps offers a versatile, damage-free way to secure your sunshade without drilling or adhesives. Buckle clamp mounts, like the SunnyLife holder, rotate 360 degrees for precise positioning and tighten securely with a hex screw. Simply slide the buckle onto your sun visor, and it clicks into place with side grips—no glue needed. These clamps are compatible with various cameras, including Insta360 GO3, One R, GoPro, and DJI Action, via a 1/4-inch adapter. Alternatively, bungee cord clamps attach to hard points using angled brackets and bungee cords, providing stability without damaging surfaces. They’re especially useful on trampolines or uneven decks. Both options allow quick, non-permanent attachment, giving you flexible, damage-free mounting solutions for your sunshade. Secure mounting methods can also be adapted to damage-free secure your camera setups in various environments without damaging surfaces. Additionally, selecting clamps with adjustable tension ensures a snug fit without risking surface damage or slippage.
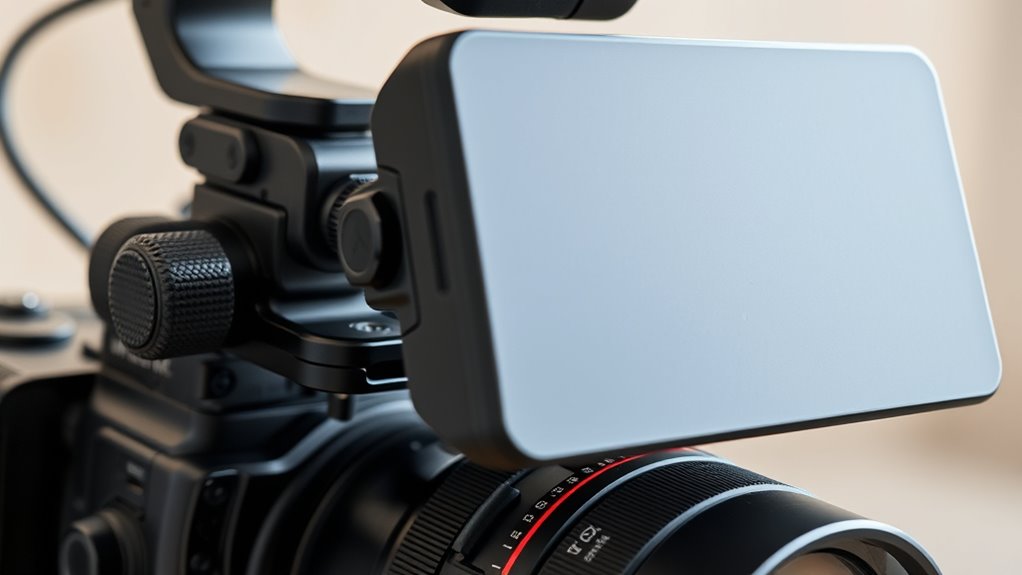
Opt for Magnetic Fixtures
Opting for magnetic fixtures offers a non-destructive way to attach your sunshade without leaving marks or requiring adhesives. Magnetic mounting basics include rare-earth magnets like neodymium N52, which provide strong pull forces in a small footprint. Consider these options:
- Adhesive-backed magnetic frames—attach a thin magnetic plate to a protective layer, then magnetically connect to the sunshade, leaving your camera surface untouched.
- Magnetic hook-and-socket systems—adhere a small metal plate to your camera or case, allowing the sunshade to magnetically snap on and off easily.
- Clamp magnetic mounts—combine magnets with mechanical cradles or brackets, sharing load and preventing slippage on round or irregular surfaces.
These methods ensure secure, non-invasive attachment while keeping your camera pristine and easily removable. Magnetic fixtures are also compatible with various camera models and LCD sizes, making them a versatile choice for photographers who want to protect their gear without permanent modifications.

USB-C Hardwire Kit for Dash Cam with Acc Detection, 4-Level Adjustable Low Voltage Protection & Automatic LED Voltmeter, 3-Lead Power Cable for Dash Camera Parking Mode & Continuous Recording
Voltage Step-Down Power Supply: This product is a special pressure drop line for driving data recorder. Through the...
As an affiliate, we earn on qualifying purchases.
Select Appropriate Hardware and Fasteners for Outdoor Use
Selecting the right hardware and fasteners is essential to guarantee your sunshade stays secure and durable outdoors. Use sharp metal drill bits to create precise holes in the 5mm thick perspex, ensuring clean cuts that prevent cracking. Set your torque control to low to avoid shattering the material during installation. Place at least two screw holes under the bend for a firm hold, and space them to allow easy access with a screwdriver or drill bit. Avoid overtightening to protect the integrity of the material. Choose weatherproof fasteners made of durable plastic or metal that resist rust and UV degradation. Compatibility is key—use hardware designed for universal mounting on cameras like Blink, Arlo, or Ring. Proper hardware ensures your sunshade withstands outdoor conditions while remaining securely attached. Incorporating water-resistant fasteners can further extend the durability of your setup in outdoor environments. Additionally, selecting fasteners with corrosion resistance is crucial for long-term outdoor use, especially in humid or rainy climates. For added longevity, consider using fasteners with UV protection to prevent degradation from sunlight exposure. Using hardware with UV resistant coatings can significantly enhance the lifespan of your outdoor mounting components. Moreover, choosing fasteners with outdoor-grade materials can provide extra assurance against environmental wear over time.

VIOFO HK4 Hardwire Kit with 8pcs Full Set Circuit Fuse Tap, Type-C Port, for A329 series/A229 series/A119Mini2/A139Pro/WM1/T130 Dash Cam
【24 Hours Parking Surveillance】When the engine is off, HK4 hardwire kit provides continuous power to the camera, any...
As an affiliate, we earn on qualifying purchases.
Prepare Surfaces and Verify Material Compatibility
Before preparing your surface for installation, it’s crucial to assess the substrate material and verify its compatibility with your chosen adhesives or fasteners. First, identify the material—whether aluminum, concrete, plastic, or glass—to determine suitable cleaning and bonding methods. Second, check for existing coatings like paint, galvanization, or anodizing, as some finishes need specific pretreatments or primer removal for proper adhesion. Third, measure surface roughness or profile; this influences whether you need mechanical abrasion or special primers. Additionally, test for surface contaminants such as oil or salts using simple water-break tests or solvent swabs. Confirming thermal and UV sensitivities ensures you avoid solvents or heat treatments that could damage the substrate or sunshade components, securing a durable installation.
Ensure Proper Wind and Environmental Load Handling
To guarantee your sunshade can withstand environmental forces, you need to understand and incorporate proper wind and load handling into your design. The ASCE 7 standards specify wind loads of 13 psf on the top half and 3.5 psf on the bottom half for open structures with pitched roofs. Wind pressure varies across configurations, as shown in tunnel tests of 63 setups and 28 directions. Lightweight canopies face significant wind risks, especially during hurricanes. Use the following guidelines:
| Aspect | Key Point | Application |
|---|---|---|
| Wind Pressure | Varies by configuration and exposure | Design for highest net pressures |
| Structural Response | Flutter can invalidate uniform load assumptions | Avoid designs prone to flutter |
| Material Selection | Must handle dynamic pressures and wind gusts | Opt for durable, wind-resistant materials |
Proper handling ensures your sunshade stays secure and functional. Designing for wind resilience involves accounting for dynamic effects like flutter and resonance, which can compromise the structure if not properly addressed. Additionally, understanding vetted wave and wind data helps in predicting maximum environmental loads for safer design. Recognizing the impact of environmental loads on structural integrity is essential for long-term durability and safety of the installation. Incorporating wind load analysis during planning can significantly improve the structure’s ability to endure severe weather conditions. Being aware of local building codes is also crucial to ensure compliance and safety standards are met. Moreover, considering dynamic wind effects can help prevent unexpected structural failures during extreme conditions.
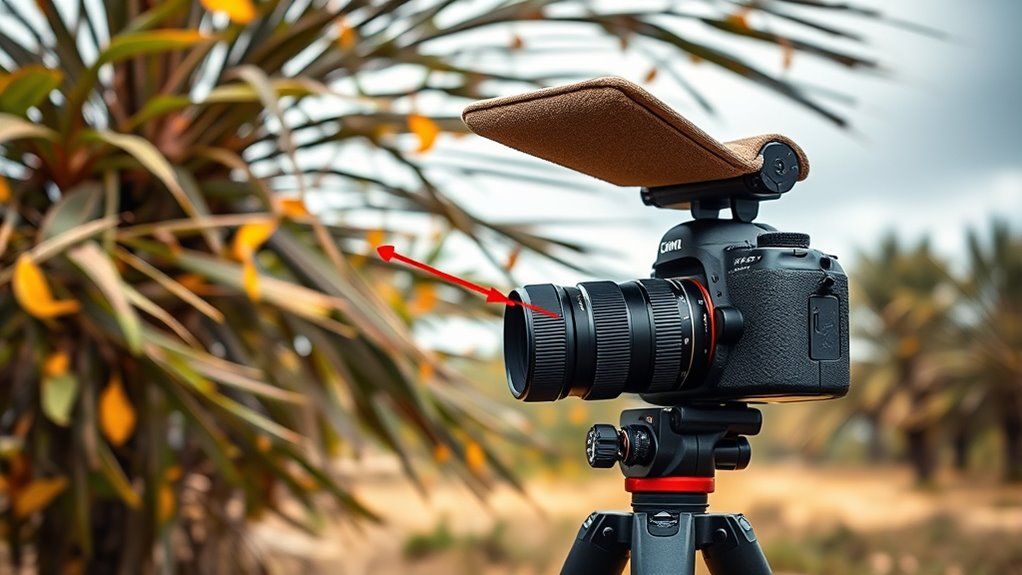
Optimize Sunshade Placement for Effective Coverage
Proper sunshade placement directly impacts its ability to provide effective coverage and control lighting conditions. To enhance placement:
- Position the sunshade about 2 feet from the lens front when the sun is out of frame, aligning it to block direct sunlight.
- Orient your hand or shade vertically for side sunlight, creating a shadow from the lens edge to prevent glare.
- Place subjects at the shade’s edge, facing open sky for backlit shots, and ensure the sun is behind shade sources like trees, peeking out slightly.
- Using proper placement techniques can significantly reduce lens flare and improve image clarity. Maximize the distance from the lens to avoid casting shadows into the frame, and adjust the shadow precisely to barely cover the lens glass. Monitoring in real-time during test shots helps fine-tune the placement for ideal coverage. Additionally, understanding lens flare prevention techniques can further enhance your results. Incorporating light control methods can also assist in achieving more consistent and professional-looking images.
Secure Mounting With Locking and Vibration-Resistant Hardware
Securing a sunshade effectively requires the use of locking hardware designed to withstand vibration and prevent loosening over time. Threaded security bolts with tamper-resistant heads offer reliable mechanical retention when torqued properly, resisting vibration and theft. Quick-release clamps with secondary locking pins allow for fast removal while maintaining a secure lock against rotation and shear forces. Cam-lock brackets convert clamp force into high-friction contact, minimizing micro-movement between the sunshade and camera housing. Anti-rotation plates prevent torsional creep from repeated vibrations without adding bulk. To further ensure stability, use redundant fasteners like safety wire, cotter pins, or locking clips. Applying thread-locking compounds and following proper torque practices also help maintain a secure mount, reducing the risk of loosening over time. Constructed from Neoprene Rubber for vibration absorption, which enhances the mount’s stability by dampening vibrations and protecting sensitive camera components.
Test Fit and Adjust Before Finalizing Installation
Before tightening all mounting hardware, it’s important to test fit and adjust your setup to guarantee ideal coverage and performance. This step ensures your camera captures the right area without surprises later. Here’s what you should do: 1. Position the ladder at your intended mount height, then climb to eye level to check the camera’s view, making sure there are no obstructions like gutters or trees. 2. Perform a dry run using tape or a temporary fix to test the camera’s functionality, Wi-Fi strength, and visibility of your target area. 3. Test the sunshade and solar panel placement, ensuring no reflections, proper fit, and maximum sun exposure without shading the camera lens. Making these adjustments beforehand helps you avoid reinstallation and guarantees peak performance. Proper camera placement helps ensure you get the best coverage and avoids the need for repositioning later.
Maintain and Inspect Mounts to Prevent Damage
You should regularly check your mounts’ fasteners to make sure they stay secure and aligned. Keep protective coatings, like paint or sealant, in good condition to prevent corrosion and damage. Staying on top of these inspections helps your sunshade system stay stable and functional over time. Regular inspections of mounting hardware are essential to detect and address any issues early before they lead to peeling or dislodging.
Regular Fastener Checks
Regular fastener checks are essential to make certain your sunshade mounts remain secure and free from damage. Regularly inspect all mounting hardware to catch issues before they escalate. Here’s what you should do:
- Verify that screws, like M3x16mm Torx T10 and TP6x32mm, are tight and properly threaded.
- Ensure expansion bolts are fully inserted and secure.
- Check that nuts, washers, and corner mount accessories are fastened firmly and correctly.
These steps help prevent loosening or corrosion that could lead to mount failure. Rotate and tighten the base screw after adjustments, and look for signs of wear or rust. Keeping fasteners secure guarantees your camera stays mounted without risking damage or downtime.
Protective Coating Maintenance
Maintaining the protective coatings on your camera mounts is essential to prevent damage and guarantee long-term performance. Regular inspections help identify issues like streaks, clouding, or abrasion, especially in high-exposure environments. Use water-beading tests and contact-angle measurements to assess coating effectiveness; significant reductions signal the need for reapplication. Always document inspection results, including environmental conditions and visual evidence, to monitor trends. Make sure surfaces are thoroughly cleaned with manufacturer-approved non-alcoholic, non-ammonia cleaners before inspecting or re-coating. Protect adjacent areas from coating overspray by masking. Follow recommended recoat intervals based on warranty and exposure ratings. Consistent maintenance preserves coating integrity, maintains water repellency, and extends the lifespan of your mounts, ensuring your camera stays secure without damage.
Frequently Asked Questions
Can I Attach a Sunshade Without Modifying My Camera or Enclosure?
Yes, you can attach a sunshade without modifying your camera or enclosure. Use adhesive aluminum foil tape to create a removable shade that overlaps the camera body, ensuring it stays in place without residue or damage. Cut the tape diagonally for downward-pointing mounts, and peel it off easily when needed. This method offers protection from sunlight and weather without altering your camera’s structure.
What Are the Best Non-Permanent Mounting Options for Outdoor Environments?
For outdoor mounting, you want options that are secure, adaptable, and non-permanent. Use adhesive mounts for quick, damage-free setups on clean surfaces, but check weather resistance for durability. Clamp and tension systems provide sturdy, adjustable support on poles or door frames without drilling, perfect for temporary needs. Siding and corner hooks offer secure placement on siding or corners, while Command hooks let you reposition easily without leaving marks.
How Do I Prevent Damage to My Camera When Installing a Sunshade?
To prevent damage when installing a sunshade, make sure you match the mounting pattern to your camera housing and avoid adhesive-only solutions. Use mechanical fasteners like stainless steel screws with appropriate torque, and add backing plates or brackets to distribute loads. Protect seals and finishes with spacers or coverings, and position the shade to avoid heat buildup. Regularly inspect and replace weather seals to maintain camera integrity and avoid stress on the enclosure.
Are Magnetic Mounts Suitable for All Types of Metal Enclosures?
Magnetic mounts work best on ferromagnetic surfaces like steel, but they’re not suitable for all metal enclosures. If your enclosure is aluminum or non-ferrous, the magnets won’t hold effectively. To guarantee a secure fit, check if your enclosure is steel or another ferrous metal. If not, consider using adhesive discs or alternative mounting methods. Always verify compatibility to avoid damage or unstable mounting.
How Often Should I Inspect My Sunshade Mount for Environmental Wear?
You should inspect your sunshade mount every three to six months, especially in harsh environments like coastal areas. For example, a security team in a seaside park found that biannual inspections prevented corrosion and sun damage. Regular checks allow you to tighten screws, verify stability, and replace worn seals, ensuring the mount stays secure and protects your camera. Neglecting this can lead to misalignment, water damage, and reduced image quality.
Conclusion
By following these tips, you can mount your sunshade securely without damaging your camera. Did you know that improper mounting can reduce a camera’s lifespan by up to 30%? Ensuring a gentle, non-destructive setup not only protects your equipment but also extends its durability. Keep an eye on your installation regularly, and you’ll enjoy reliable coverage and peace of mind, rain or shine. Proper mounting truly makes all the difference.