
To achieve a clean rear camera route in your sedan without loose wires, use factory grommets and existing trim seams to hide the cables. Route the wires through the A- to C-pillars, along the headliner, and beneath the carpets, securing everything with clips and zip ties. Tuck excess wiring behind panels and inside door sills, then connect to the reverse light for power. For step-by-step tips on perfecting this setup, keep exploring the details below.
Key Takeaways
- Route wires along factory trim seams, grommets, and existing gaps to keep wiring hidden and minimize visible loose ends.
- Pass cables through OEMly designed entry points like license plate light holes and trim gaps for a seamless look.
- Secure wires behind B-pillar trim and beneath carpets, using factory clips and zip ties to prevent sagging and exposure.
- Protect exterior cables with split-loom tubing or braided sleeves, routing them along the roofline and inside door sills.
- Conceal wiring completely by reattaching trim panels and sills, ensuring no loose or hanging wires remain visible.

Pelsee S12 Pro Mirror Dash Cam with STARVIS 2 Sensor, Rear View Mirror Camera 5.8GHz WiFi, 4K Front and 1080P Rear Backup Camera for Car, ADAS, Voice Control, Color Night Vision, 64G Meomory Card
STARVIS 2 Night Vision Master: The STARVIS 2 sensor in this dashcam mirror delivers superior low-light performance, balancing...
As an affiliate, we earn on qualifying purchases.
Optimal Camera Placement for Sedans
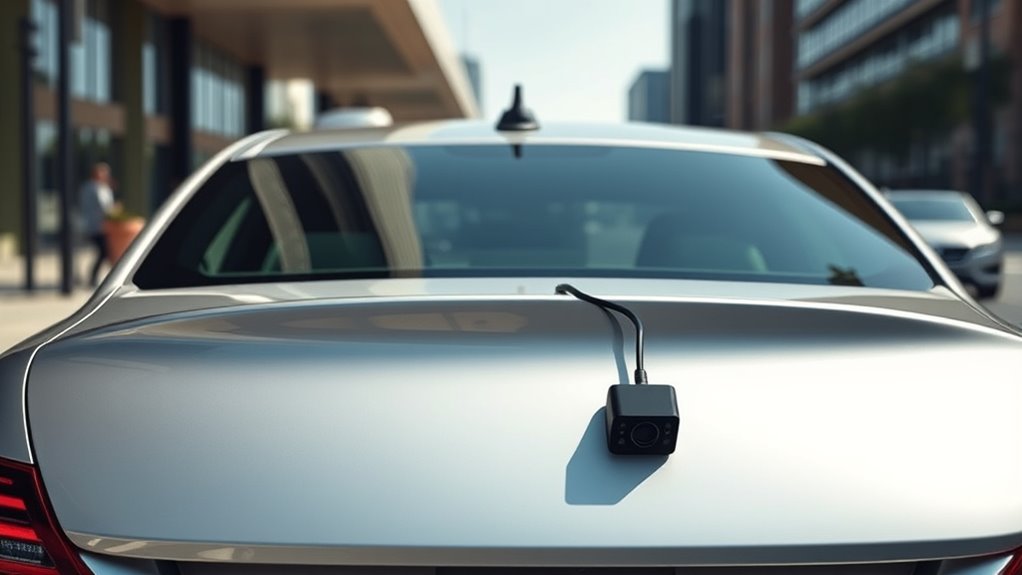
To achieve the best rear visibility in sedans, placing the backup camera in the license plate area is highly effective. This location offers an ideal downward angle, giving you a clear view of the rear bumper for accurate obstacle distance estimation. It captures about 60 degrees side-to-side, including traffic, which enhances safety when reversing. OEM cameras are typically positioned above the license plate, providing a thorough rear view while complying with LTO regulations that prohibit mounting on top of the plate. Installing the camera within the license plate light hole ensures a sleek, integrated look. This placement balances bumper reference with side traffic detection, making your reversing experience safer and more precise without adding clutter or loose wiring. Proper positioning and angle adjustment are essential to maximize the camera’s effectiveness and safety benefits. Ensuring the camera’s installation height is correctly set helps maintain optimal visibility and minimizes blind spots. Additionally, choosing a secure mounting method prevents vibrations that could distort the camera’s image, further improving safety during reversing maneuvers. Proper camera angle adjustment can also help optimize the view and avoid unwanted blind spots. Incorporating correct water-resistant features into the camera design is also crucial for durability and consistent performance in various weather conditions. Considering weather-resistant camera designs ensures your system remains reliable over time.
Amazon Product B08FT4VC37
As an affiliate, we earn on qualifying purchases.
Planning the Wire Routing Path
Planning your wire routing path involves starting by choosing concealed entry points along trim seams and factory gaps to hide cables neatly. Make sure to minimize exterior exposure risks by passing through existing grommets and avoiding sharp edges or moving parts. Additionally, secure and protect the wires with clips and proper strain relief to prevent damage from vibrations or accidental pulls. Properly managing the routing path also involves considering projector technology to ensure the cables do not interfere with sensitive components. Additionally, selecting routing paths that avoid contact with airbags or other sensitive components helps ensure safety and long-term durability considering routing options that do not interfere with side curtain airbags. Incorporating wire management techniques can further enhance the neatness and safety of the installation, reducing the risk of accidental disconnections or damage over time. Using cable protection methods such as sleeves and conduits also contributes to maintaining the integrity of the wiring, especially in areas prone to wear and tear. Employing proper insulation can help prevent electrical issues caused by environmental factors or accidental contact.
Choose Concealed Entry Points
Choosing the right concealed entry points is essential for maintaining a clean, professional wiring job. Start with factory trim gaps along the A-pillar and into the headliner to hide wiring without drilling or panel modifications. Follow OEM wiring looms to reduce visibility and avoid stressing the cable. Keep wires away from airbag zones by routing along pillar edges where clips and channels exist. Secure cables with factory clips or low-profile zip ties to prevent movement and rattles, preserving the concealed look. When running cables through the trunk or cargo area, use existing grommets or protective boots, avoiding unnecessary holes. Inside the cabin, tuck wires under door sills and along rocker panels, ensuring they stay hidden and protected. Properly choosing entry points keeps your install neat, safe, and durable. Proper planning of entry points is crucial to prevent damage or interference with vehicle safety features.
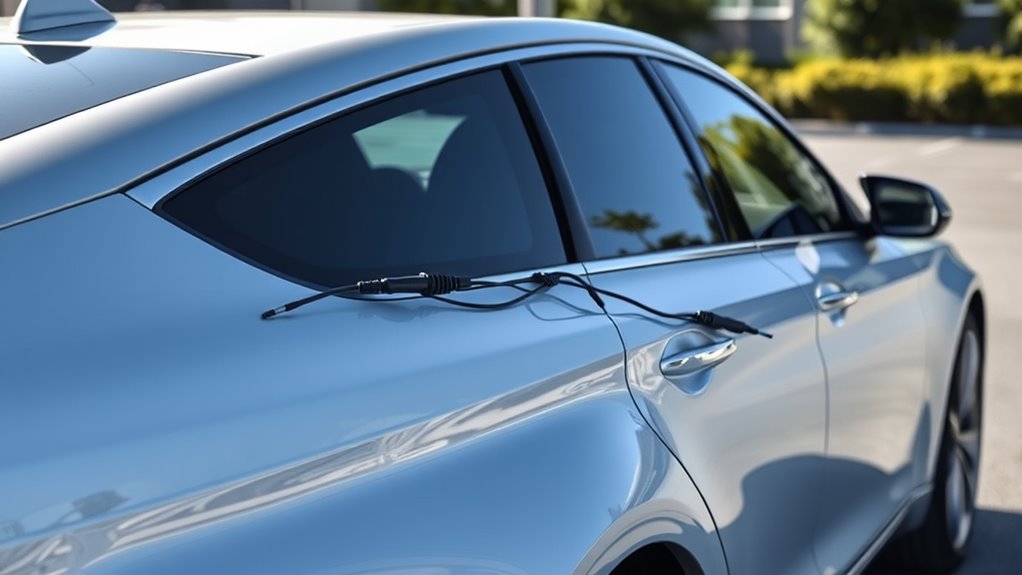
Minimize Exterior Exposure Risks
Planning your wire routing path carefully helps protect the cable from weather, UV damage, and physical wear. Using the roofline trim path keeps the wire inside the cabin, following factory seams from the A-pillar to the C-pillar, which minimizes exterior visibility. This route reduces exposure to rain, debris, and UV rays, helping preserve the cable’s integrity. To further enhance durability, consider wire protection measures such as protective tubing or conduits where necessary. Additionally, employing proper cable management techniques can help keep the wiring organized and reduce potential clutter that may lead to damage. Proper planning also involves understanding the vehicle’s rhythm failure components to avoid interference with critical systems. Alternatively, descending internally along the A-pillar and under the carpet avoids roof exposure altogether, further lowering risks from weather and debris. Securing the wire behind B-pillar trim, tucked away from airbag zones, maintains concealment and shielding. Ascending through the C-pillar and into the rear glass keeps the wire protected inside the vehicle structure. Bundling excess wire in the trunk along OEM harnesses shields it from moisture and damage, ensuring a clean, durable installation. Proper routing prevents interference with safety systems, further ensuring the vehicle’s safety and the longevity of your dash cam wiring. Incorporating quality wire routing practices can also prevent unnecessary strain on the cable and connectors.
Secure and Protect Wires
Securing and safeguarding wires along the factory trim seams and behind panels ensures a neat, professional-looking installation. To do this effectively, follow existing wiring harnesses in the trunk, securing them with zip ties to organize excess cable. Use the upper trim path, especially for rear camera cables, to minimize exposure. Position wires on the rear-facing side of the B-pillar to avoid airbag deployment paths. Tuck cables behind the headliner and along the roofline for sedans, keeping everything discreet. Remember, avoid staples or sharp fasteners near airbags, and use plastic trim tools to remove panels without damage. Properly bundling wires next to doors or pillars helps prevent loose hanging wires, maintaining both safety and aesthetics. Additionally, inspecting and adhering to factory wiring standards helps ensure a safe and reliable installation. Paying attention to vacuum features such as proper cable routing can also prevent damage and improve overall safety. Ensuring that the wiring remains protected from movement prevents wear and potential disconnection over time. Incorporating proper cable management, including considering professional wiring techniques, is essential for a clean, durable installation that withstands daily use.

WOLFBOX G850 12" 4K Rear View Mirror Camera with 5.8GHz WiFi and Voice Control, Smart Mirror Dash Cam Front and Rear, Backup Camera with 1080P, Dash Cam with WDR, Includes 64GB Card & GPS
LARGE SCREEN & REAL 4K: With its 12-inch 4K front camera and WDR rear camera, the G850 mirror...
As an affiliate, we earn on qualifying purchases.
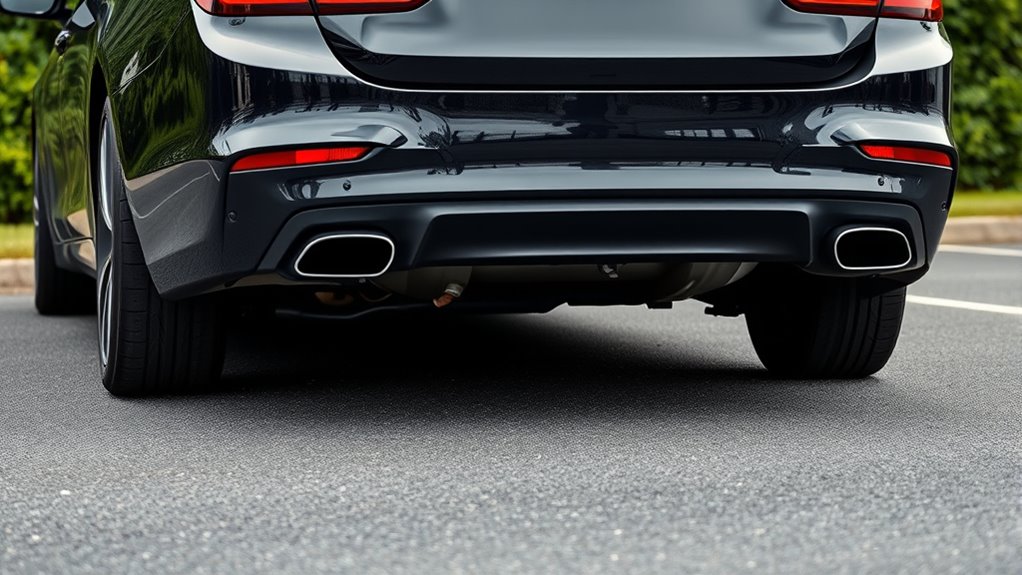
Utilizing Factory Grommets and Hidden Channels
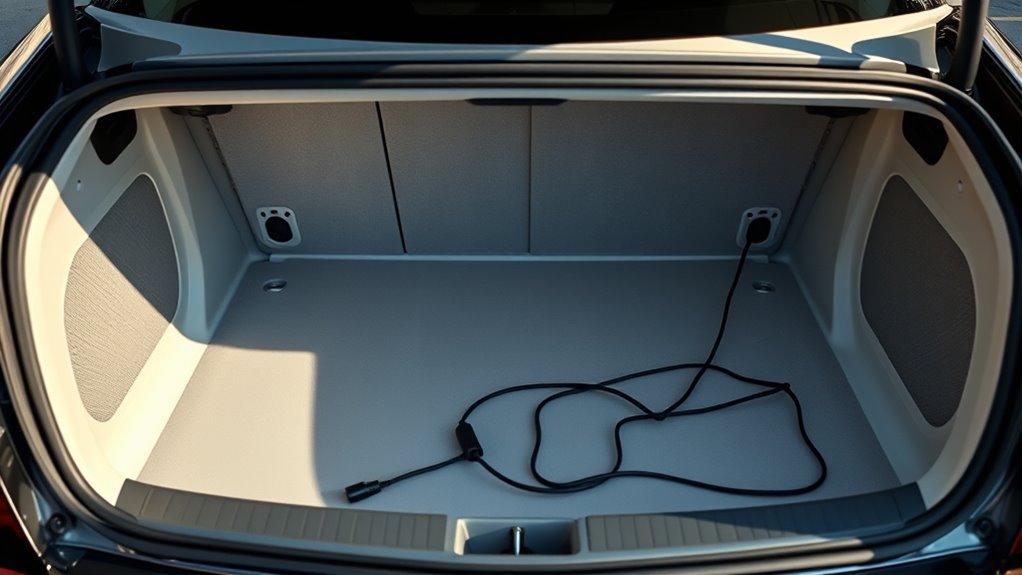
Ever wonder how to make your rear camera wiring look clean and professional? Using factory grommets and hidden channels is the way to go. Start by identifying existing grommets near the tail lights and trunk, which protect cables from sharp metal edges. You can find the right-sized grommets, suited for RCA, power, ground, and reverse trigger wires, often available on Amazon for around $10. When installing, drill carefully through the trunk exterior, insert the grommet before feeding cables, and apply touch-up paint to prevent rust. Inside, route wires along factory harnesses, passing through firewall grommets near the steering column. Tuck excess cables under door sill trims or inside OEM channels, using tools and protective loom to keep everything neat and secure. Utilizing factory wire routing channels helps maintain a clean appearance and reduces the risk of damage over time. Incorporating professional cable management techniques ensures durability and a professional finish. Additionally, employing high-quality fasteners and clips can further secure wires and prevent movement that might cause wear or noise. Properly sealing grommets with weatherproofing materials can also help protect against moisture and corrosion.

4.3inch Rear View Mirror Monitor, Auto-Dimming Rearview Monitor,480 * 272, 500 cd / m2 HD Reverse Camera System for Trucks & Van,Camera Monitor Parking Aid with Bracket
1.【4.3-inch screen】: Our car rearview mirror display is a 4.3-inch color screen with a resolution of 480*272 and...
As an affiliate, we earn on qualifying purchases.
Securing Cables to Prevent Slack and Rubbing
To prevent slack and rubbing in your rear camera wiring, you should employ tension management techniques that keep cables taut and out of harm’s way. Tuck cables under the roof lining to eliminate dangling and twist wires around existing loops for added tension. Route cables through rubber seals to prevent sagging and secure excess into dashboard panels, ensuring no loose ends. Use adhesive clips to anchor wires to panels without drilling, and bundle extra length neatly with electrical tape or crimp connectors. These methods keep the wiring tight, prevent contact with sharp edges, and reduce movement that could cause wear or noise. Incorporating cable organization techniques and accessories can further enhance cable organization and overall system reliability. Additionally, applying secure fastening methods helps keep cables firmly in place over time, reducing the risk of disconnections or damage. Proper cable management is essential for maintaining a safe and clean installation, and employing cable management accessories such as conduits or sleeves can provide extra protection and a cleaner appearance.
Concealing Wires Along the Sill and Carpeted Areas
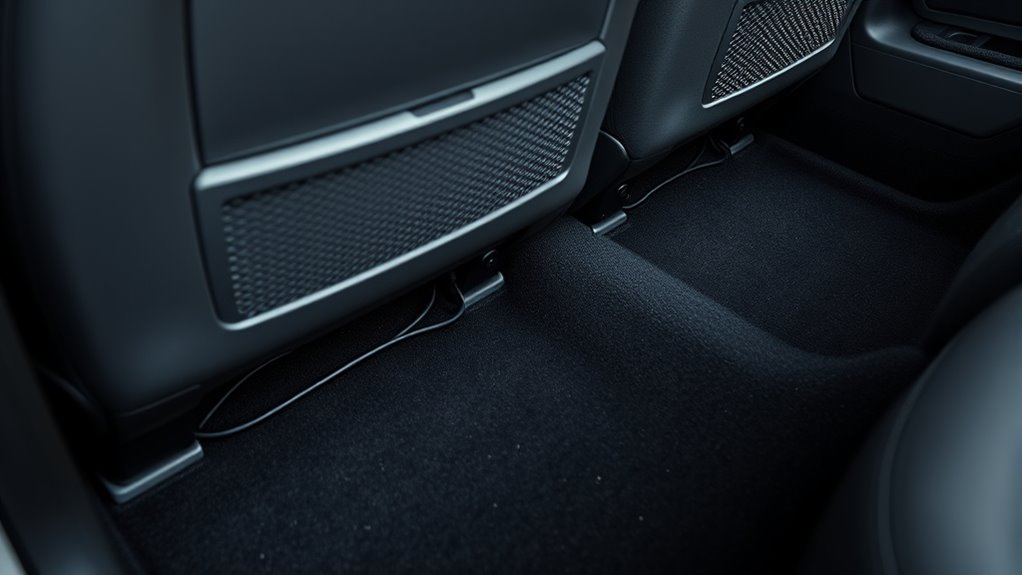
You can hide wires along the sill and carpeted areas by using factory channels and existing gaps to keep everything neat. Tucking cables into seams and behind trim prevents visible runs and reduces wear. Properly securing wires guarantees they stay concealed and protected from damage over time. Using grommets or zip ties helps maintain organized wiring and prevents movement that could lead to damage.
Hidden Cable Pathways
Concealing wires along the sills and carpeted areas requires careful routing to maintain both functionality and aesthetics. You’ll pry back sill trim panels to access hidden gaps, then tuck wires beneath weather stripping along sill edges for flush concealment. Route wires along sill contours to avoid visible exposure during door movements, using existing crevices between the sill and carpet to guide cables downward. After placement, secure wires in sill channels to prevent shifting under foot traffic. For carpeted areas, lift edges to reveal underlayment spaces, feeding cables beneath seams toward the rear seats. Position wires under the carpet pile to hide from view, bundling multiple strands flat to minimize bulk. Re-seat the carpet firmly afterward to restore the original floor appearance. Properly managing wire tension can help prevent sagging or unnecessary strain on connections.
- Pry back sill trim panels for access
- Tuck wires beneath weather stripping
- Use crevices for guided routing
- Lift and re-seat carpet edges
- Secure wires in sill channels
Secure and Conceal Wires
Securing and concealing wires along the sills and carpeted areas is essential for a neat, professional finish. Begin by removing plastic trim along the door sills to access routing space. Gently pry up the edges of sill panels and tuck the wires underneath, securing them every 12 inches with nylon zip ties to keep everything tight. Follow factory wiring contours to prevent damage, then reattach the trim to fully hide the routed wires. For carpeted areas, lift the edges in footwells and rear zones, feeding wires under the carpet toward your desired location. Use fishing line or stiff wire to push cables through tight gaps, then flatten the carpet back over the wires for a seamless look. Secure the wires with clips or zip ties to existing harnesses, ensuring they stay firmly in place.
Choosing the Right Connectors and Protective Materials

Choosing the right connectors and protective materials is essential for guaranteeing a reliable and durable rear camera installation in a sedan. Proper connectors prevent signal loss, corrosion, and disconnections, while protective materials shield against moisture, vibration, and wear. Using RCA connectors offers broad compatibility, but 4-pin aviation-style connectors simplify routing by combining power and video. Waterproof cable glands and heat-shrink tubing with adhesive ensure sealed, moisture-resistant joints, especially in exterior areas. Silicone dielectric grease protects contacts from corrosion, and rubber grommets prevent insulation damage at body penetrations. Proper routing and securing with nylon zip ties, split-loom tubing, and foam padding reduce wear and noise. These choices ensure your rear camera remains clear, functional, and long-lasting under varying conditions. Choosing the right connectors also helps maintain signal quality over time, ensuring your system remains reliable in all driving environments.
Powering the Camera With Reverse Light Trigger

To power your rear camera effectively, you should tap into the reverse light circuit for switched power. This guarantees the camera turns on automatically when you shift into reverse, saving you from manual switches. Connecting to the reverse light trigger also helps prevent unnecessary battery drain by turning the camera off when not in use.
Tap for Switched Power
Using a relay to tap into the reverse light circuit provides a reliable way to power your backup camera only when needed, without overloading the vehicle’s wiring. It isolates the camera power from the reverse circuit, protecting your wiring and preventing bulb dimming. The relay’s terminals connect to the fused battery, reverse light trigger, and camera, ensuring high-current loads stay separate from control circuits. An inline fuse near the battery safeguards against shorts, while a proper relay type (4-pin SPST or 5-pin SPDT) offers flexibility for switching needs. Grounding the coil to a clean chassis connection prevents noise, and routing wires through existing grommets keeps installation neat. This setup ensures your camera powers only during reverse, maintaining system reliability and a clean look.
- Use a fuse close to the battery for safety
- Choose the correct relay type for your needs
- Route wires through factory grommets for a clean install
- Ground coil to a solid chassis point to avoid noise
- Keep wiring neat with waterproof connectors
Use Reverse Light Trigger
Connecting your backup camera’s power to the reverse light trigger guarantees it turns on automatically only when you shift into reverse. This setup prevents the camera from drawing power during normal driving, preserving your vehicle’s battery life. It also eliminates the need for an extra switch on the dash, simplifying operation. When wired correctly, your head unit’s reverse-trigger input will switch to the camera feed as soon as you engage reverse, keeping the display synchronized with vehicle behavior. Additionally, using the reverse light circuit minimizes visible wiring and prevents loose wires hanging in the cabin. To verify reliable operation, splice the camera’s power wire into the reverse light positive lead and connect the ground securely to the chassis. Proper connectors and wiring practices reduce corrosion and intermittent connections, ensuring a clean, dependable installation.
Ensuring Reliable Grounding and Fuse Protection

Reliable grounding and fuse protection are essential for ensuring your rear camera functions properly and remains safe from electrical issues. Proper grounding involves attaching the ground wire to clean, bare metal near the camera mount, avoiding painted or rusty surfaces for a solid connection. Use a ring terminal crimped securely to prevent loose contacts and test continuity with a multimeter. Fuse protection involves installing an inline fuse holder on the positive wire close to the power source, using a fuse rated at 1-3 amps matching your camera’s specs. Choose weatherproof fuse holders for exposed areas, and replace blown fuses immediately. Proper power connection, routing, and tension management further ensure system reliability, preventing shorts, overloads, and interference. FMVSS 111 compliance also emphasizes the importance of secure and reliable electrical connections to enhance overall vehicle safety. Protect wiring with loom or split tubing and test continuity before final assembly.
Testing the System Before Reinstalling Trim

Before reinstalling the trim, it’s essential to thoroughly test the camera system to verify everything functions correctly. Use a CCTV/backup-camera tester to supply 5V/12V and view live video output on the bench. Probe harness pins with an RCA-to-probe adapter to confirm the presence of a video signal without disconnecting wiring. Measure supply voltage at the camera power pin while triggering reverse or using a test tool to ensure a stable 12V under load. Use an oscilloscope or waveform tester to check video sync and amplitude for noise or interference. Confirm ground continuity and shield integrity with a continuity tester. Activate reverse gear to verify the camera image appears correctly, check lighting conditions, and ensure overlay features are accurate before sealing the trim. Proper testing procedures are essential to prevent future issues and ensure optimal camera performance.
Final Checks for a Sleek, Professional Finish

To achieve a sleek, professional finish, meticulous attention must be paid to cable routing, fastening, and weatherproofing. Guarantee cables follow factory grommets or drilled holes with rubber grommets to prevent chafing and water intrusion. Secure cables behind interior trim panels with automotive-grade clips or adhesive mounts at 4–6 inch intervals to prevent sagging. Use heat-shrink or soldered connections covered with protective tubing for corrosion resistance. Check that slack at moving joints is minimal and routed through hinge cavities or flexible conduit. For exterior runs, protect cables with split-loom tubing or braided sleeves against abrasion and UV.
- Confirm all connections are secure and sealed
- Test camera operation in reverse with stable voltage
- Verify proper grounding and minimize electrical noise
- Ensure trim panels fit flush without wire bunching
- Replace damaged clips with OEM‑fit fasteners
Frequently Asked Questions
How Do I Access Factory Wiring Without Damaging Interior Panels?
You access factory wiring by using purpose-made plastic pry tools to gently disengage trim clips and panels, avoiding damage. Work from edges and seams, pulling lightly to locate clips without forcing them. Use existing service holes, access panels, or factory grommets to reach wiring points instead of drilling new openings. Label hardware or take photos during disassembly, and reassemble in reverse order, ensuring all clips and grommets are properly seated to maintain the interior’s integrity.
What Are the Best Tools for Working With Automotive Grommets?
You should use a combination of hand grommet presses, like the adjustable manual eyelet punch machine, and pneumatic or electric grommet installation tools for best results. These tools guarantee precise, secure grommet placement and can handle high-volume work. For wire routing, a wire insertion tool like the Performance Tool W2935 safely feeds wires through firewall grommets without damage. Always choose the right die set and accessories for your specific grommet size and material.
How Can I Prevent Future Wire Chafing Over Time?
Want to keep your wiring pristine and chafe-free over time? You should regularly inspect your harnesses, replacing worn or damaged sleeves and connectors before issues worsen. Use braided sleeving for flexibility and abrasion resistance, and secure all wiring firmly to prevent movement. Applying protective measures like spiral loom near sharp edges and leaving slight slack helps absorb vibrations. Why wait for damage to appear? Prevent it now with proactive, durable protection!
Is It Necessary to Waterproof All External Cable Connections?
Yes, you should waterproof all external cable connections. Water exposure can cause corrosion, short circuits, and malfunctions, especially in harsh environments. Waterproofing protects your connections from moisture, dust, and vibrations, ensuring reliability and longevity. Using sealed connectors, protective caps, or waterproof coatings helps prevent damage and safety hazards. It’s a vital step for maintaining peak performance, reducing maintenance costs, and safeguarding your electrical system against environmental stressors.
How Do I Ensure the Camera Angle Remains Optimal After Installation?
You guarantee the camera angle stays ideal by testing and adjusting it during installation, especially during reverse. Make sure the vehicle hood occupies about 1/4 to 1/8 of the screen, and verify the view covers the ground directly behind. After installation, recheck the angle by reversing to confirm visibility. Periodically inspect and re-adjust if you notice shifts caused by vibrations or vehicle movement, especially at motorway speeds.
Conclusion
By carefully planning your camera placement and hiding the wires, you’ll keep your sedan looking sharp and clutter-free. Secure everything tightly and double-check connections before reassembling. With a little patience, you’ll have a clean setup that’s both functional and professional-looking—no loose wires hanging around to spoil the aesthetic. Remember, a job done right is worth doing once, so take your time and enjoy the satisfying results of your effort.