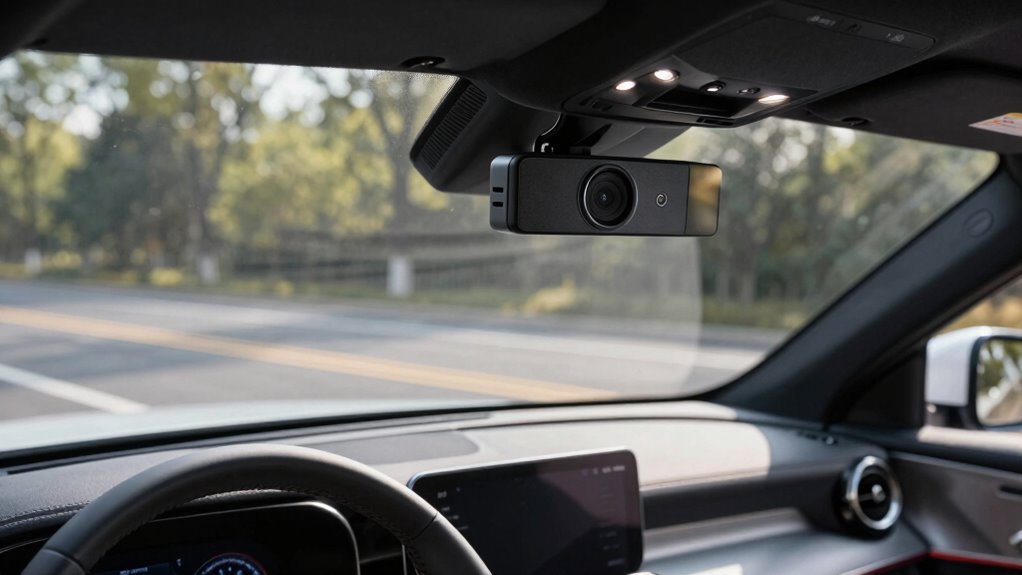
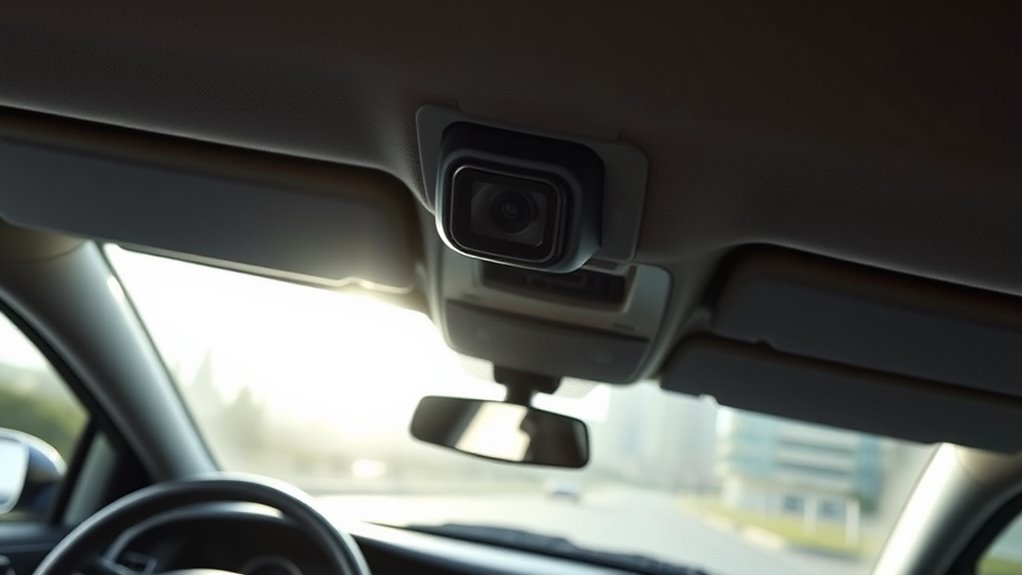
Mounting your dash cam too low can block your view and result in shaky, unclear footage, limiting its ability to capture important details like license plates or signals. The safer spot is near the top center of your windshield, at eye level, where it’s less likely to be obstructed or affected by glare. Positioning your camera properly guarantees clear footage and better safety. Keep exploring to find out how to install and maintain it best.
Key Takeaways
- Mount your dash cam at eye level near the top center of the windshield for the best unobstructed view.
- Placing the camera higher reduces glare and dashboard obstructions, ensuring clearer footage.
- High placement minimizes vibrations and shakiness, leading to more stable recordings.
- Position the dash cam away from direct sunlight to prevent glare and sun damage.
- Secure wiring neatly to avoid distractions and maintain a clean, safe installation.
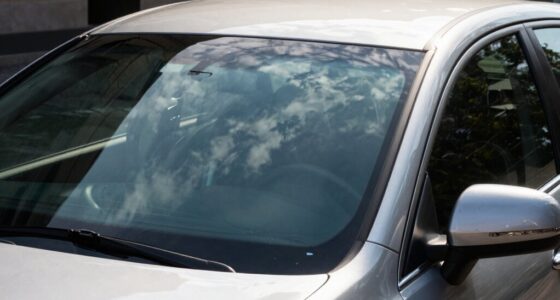
Why Height Matters for Dash Cam Placement
The height at which you mount your dash cam substantially impacts the quality of the footage it captures. When positioning it, consider angle adjustment to guarantee a clear, unobstructed view of the road ahead. Mounting it too low can limit your ability to adjust the camera angle properly, reducing footage clarity. Additionally, check windshield compatibility to confirm that your chosen mounting spot doesn’t interfere with the camera’s line of sight or your view. A higher placement allows for better angle adjustment, capturing more of the road and surroundings. It also minimizes the risk of glare or obstructions from dashboard elements. Proper height assures your dash cam records high-quality footage, providing better evidence and enhancing your safety on the road. Moreover, choosing an optimal height can help prevent issues related to camera stability and vibrations that might distort footage. Ensuring proper mounting techniques can further improve footage quality and device longevity, reducing the need for frequent adjustments. Considering the projector technology, such as the contrast ratio and color accuracy, can also influence how well your footage is captured, especially in varying lighting conditions. Additionally, understanding mounting height best practices can help you select the most effective position for your specific vehicle and camera model.
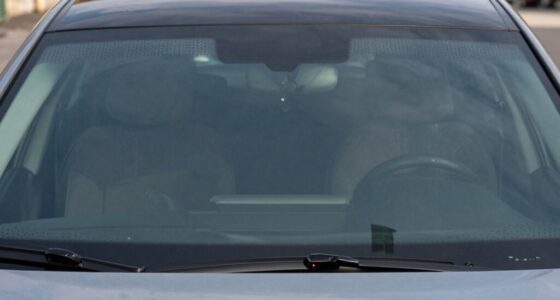
The Risks of Mounting Your Dash Cam Too Low
Mounting your dash cam too low can substantially compromise the quality of your footage and your safety. When placed too low, the mounting angles often result in obstructed views or shaky footage, making it harder to capture clear images of the road. Additionally, a low-mounted camera can increase glare from the windshield, reducing visibility and making it difficult to discern details. Poor mounting angles also hinder glare reduction, which is vital in bright conditions or direct sunlight. This setup can lead to missed license plates, traffic signals, or essential events, putting you at risk. Ultimately, a low mount compromises both the clarity of your footage and your ability to react quickly to hazards, which defeats the purpose of having a dash cam in the first place. Proper mounting techniques ensure optimal camera performance and safety. Furthermore, ensuring your dash cam is mounted at the correct viewing angle can significantly improve footage clarity and reaction time in critical situations. To achieve the best results, it’s important to understand how mounting height impacts visibility and overall safety during driving. A higher, properly adjusted mount can also help minimize windshield glare, improving both safety and footage quality. Adjusting the placement height of your dash cam to an optimal level can make a notable difference in capturing clear footage and maintaining safe driving conditions.
Optimal Locations for Secure and Clear Footage

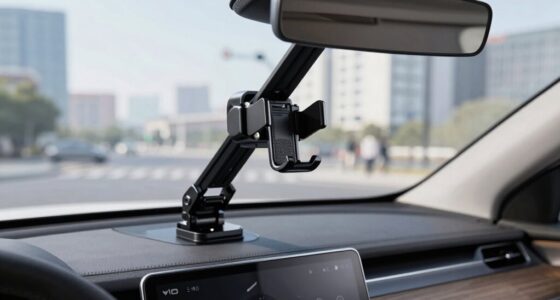
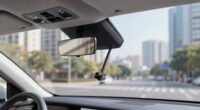
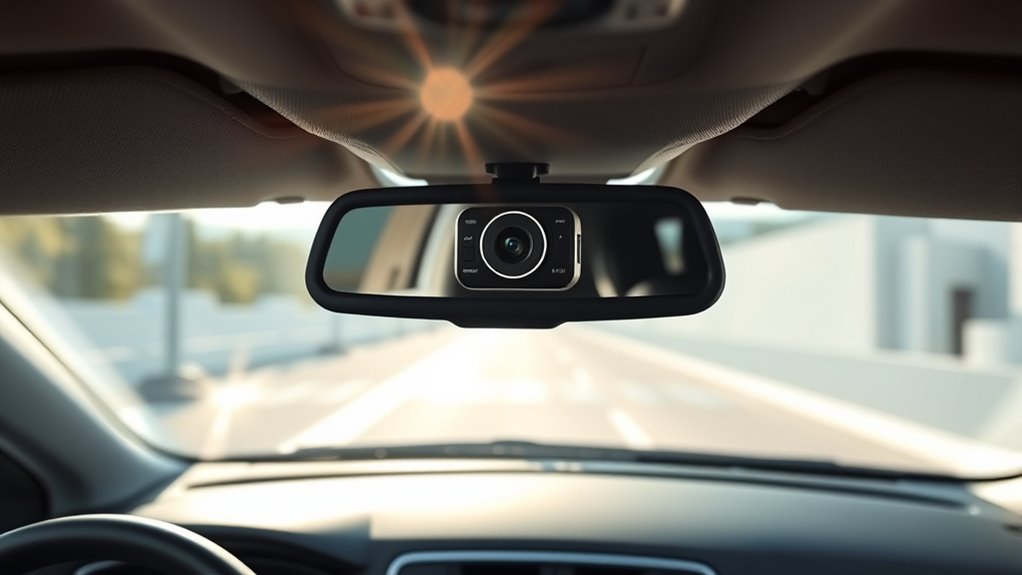
To capture clear and secure footage, positioning your dash cam at eye level near the top center of your windshield is ideal. This placement offers an unobstructed view of the road, ensuring you get sharp footage without interference from vehicle aesthetics like sun visors or rearview mirrors. It also keeps the device stable, reducing vibrations and blurriness. Legally, mounting your dash cam here minimizes distractions for your own line of sight, complying with laws that restrict obstructing your view. Avoid mounting it too low or off-center, which can compromise footage quality and raise legal concerns. A centered, high placement balances aesthetics and function, providing a safer, cleaner look while ensuring your camera captures all critical details. Considering proper wiring basics can further enhance the safety and longevity of your dash cam installation, especially when integrating with smart home technology for added security. Additionally, choosing a location with minimal exposure to direct sunlight can help prevent overheating and extend the lifespan of your device. Proper mounting techniques are essential to ensure your dash cam remains secure even on bumpy roads. Ensuring it is positioned away from direct sunlight can also help reduce glare, improving footage clarity.
Step-by-Step Guide to Proper Dash Cam Installation
Start by gathering all necessary tools and equipment, such as your dash cam, mounting bracket or adhesive pad, power cable, and any included accessories. Before installing, decide on the ideal camera angles—aim for a clear view of the road ahead without obstructing your view or dashboard controls. Use the mounting accessories provided to secure your dash cam firmly in place. Confirm the camera’s position offers a straight, level shot, avoiding tilts that could distort footage. Clean the area where you’ll attach the mount to verify a strong hold. Proper placement is crucial to ensure the dash cam captures high-quality footage and minimizes blind spots. Additionally, consider viewing angles to optimize the coverage area and prevent gaps in recording. Connect the power cable, routing it neatly along the windshield edge to prevent interference or distractions. Double-check that your dash cam is securely mounted, properly aligned, and has an unobstructed view for excellent footage quality. Ensure safety by verifying that the mounting method is stable and won’t dislodge during driving. To maximize footage clarity, pay attention to the mounting method and ensure it provides a durable, vibration-resistant hold.
Tips for Maintaining Your Dash Cam’s Effectiveness
Regularly inspecting your dash cam guarantees it stays effective over time. Check that your camera angles remain ideal for clear road footage, especially after bumps or weather changes. Confirm your mounting accessories are secure; loose mounts can shift and compromise video quality. Clean the lens regularly to prevent dirt or smudges from obstructing the view. The correct mounting height is crucial for optimal footage, so adjust the camera if needed, maintaining a high and unobstructed position. Use high-quality mounting accessories to keep the dash cam stable and aligned. Keep the power source and storage device in good condition to prevent recording interruptions. Avoid tampering with the setup unnecessarily—proper maintenance ensures your dash cam functions reliably when you need it most. Additionally, consider filtration and maintenance schedules to prolong the lifespan of your device and ensure consistent performance. Maintaining your device according to industry standards can also help prevent unexpected failures.
Frequently Asked Questions
Can a Higher Dash Cam Improve Night Vision Quality?
Yes, a higher dash cam can improve night vision quality by enhancing night vision, which helps capture clearer images in low light. The camera height benefits include a better field of view and reduced glare from headlights, making it easier to record during nighttime driving. Elevating your dash cam provides a strategic advantage, ensuring it captures more details and improves overall night footage quality for better evidence and safety.
What Is the Best Angle for Capturing License Plates?
Ever wonder how to get the clearest license plate visibility? You should position your dash cam at a slight upward angle, around 20 to 30 degrees, ensuring it captures license plates clearly without distortion. Proper dash cam positioning is key—mount it higher and centered for ideal angle. This way, you’ll get sharp, readable images of license plates, especially when traffic is dense or at night.
How Often Should I Clean My Dash Cam Lens?
You should clean your dash cam lens regularly, ideally once every two weeks, to guarantee clear footage. Regular lens maintenance prevents dirt, dust, and smudges from obstructing your view. If you drive in harsh conditions or encounter heavy debris, increase the cleaning frequency. Use a soft, microfiber cloth and gentle cleaning solutions to avoid scratches. Consistent lens maintenance keeps your dash cam recording sharp and reliable, especially when capturing important details like license plates.
Do Different Vehicle Types Require Different Dash Cam Placements?
Different vehicle types do require vehicle-specific mounting to guarantee ideal dash cam positioning. Your car’s size, windshield curvature, and interior design influence dash cam compatibility and placement. For example, SUVs may need a higher mount, while compact cars benefit from a lower, more central position. Proper vehicle-specific mounting guarantees clear footage, reduces blind spots, and enhances the camera’s effectiveness, so always check compatibility before installation.
Is There a Legal Height Limit for Dash Cam Mounting?
There isn’t a specific legal mounting height for dash cams, but you should follow dash cam regulations to guarantee your device doesn’t obstruct your view. Generally, the legal mounting height is about eye level or higher, so it doesn’t block your vision or violate safety laws. Check your local laws for any specific rules, and always mount your dash cam where it’s secure and won’t distract you while driving.
Conclusion
Think of your dash cam as a loyal guardian watching over your journey. When you mount it at the right height, it’s like giving it a clear, commanding view of the road ahead. Proper placement not only keeps your footage sharp but also keeps your focus on driving safely. So, take the time to find that perfect spot—your dash cam’s best seat in the house—so it can do its job like a vigilant protector on a watchtower.