
To prevent blown fuses when installing an add-a-fuse, you must ensure proper orientation. Always confirm the hot side of the fuse and match the fuse tap so the power flows correctly into the new circuit. Reversing the fuse or installing it incorrectly can cause overloads or prevent the fuse from blowing when needed, risking circuit damage. Getting this detail right is crucial, and if you pay attention, you’ll find more tips to keep your system safe.
Key Takeaways
- Ensure the fuse tap’s hot contact faces the power source, matching the fuse box’s hot side for proper orientation.
- Use a multimeter to verify which fuse side has constant voltage before installation.
- Confirm the fuse tap is inserted in the correct direction to prevent unprotected circuits or overloads.
- Match the add-a-fuse type and orientation with the vehicle’s fuse form factor for proper alignment.
- Proper orientation ensures the original fuse remains protected and prevents accidental circuit damage.

AUTO-VOX Wireless RV Backup Camera: Rear&Side View with 7.2” HD 1080P Triple-Split Screen Monitor, Dual Power USB/Car Charger, DVR Recording, Stable Signal Rear View Camera for Camper, Travel Trailer
Rear + Side View System for RV Safety: Get a wireless backup camera setup that gives you a...
As an affiliate, we earn on qualifying purchases.
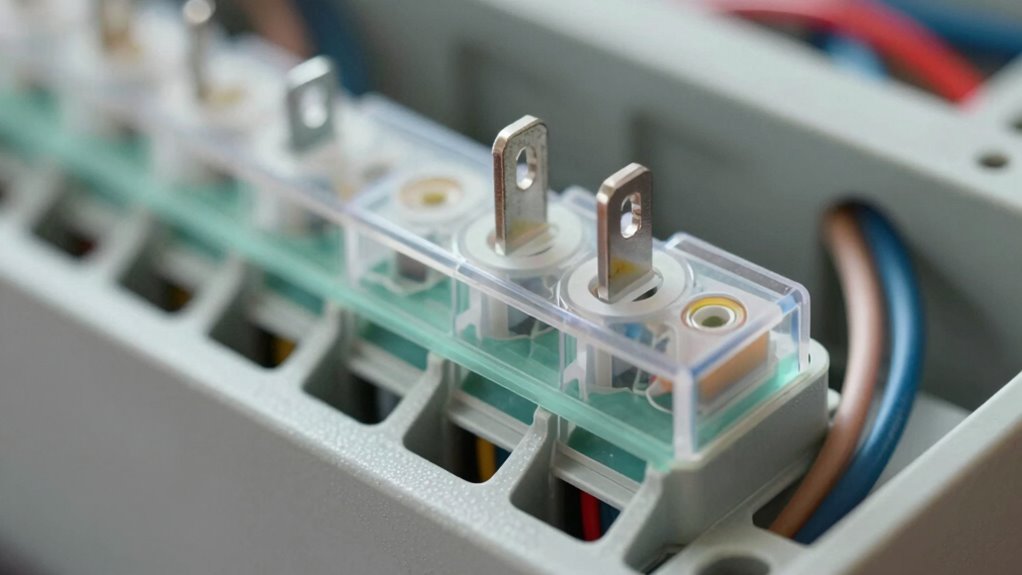
Understanding the Fuse Tap Connection Points

Ever wonder how the fuse tap connects to your vehicle’s fuse box? The connection relies on specific blades—Blade A and Blade B—that fit into the fuse slot. Blade A connects to one side of the original fuse and the new fuse, while Blade B inserts alongside Blade A in the same slot. The blades, labeled for installation clarity, come in Micro2 or Micro3 designs, with the latter splitting power centrally. Power enters through Blade A, splitting to supply both the original fuse and the new accessory fuse, which is positioned above. The hot side contact of the fuse tap aligns with the hot side of the fuse box, ensuring proper voltage flow. Correct orientation guarantees a reliable connection, preventing electrical issues and protecting your circuit. Proper orientation is essential for safe and effective fuse tap installation. Properly aligning the blades with the fuse terminals also ensures optimal electrical conductivity and minimizes the risk of poor connections. Ensuring the fuse tap is installed with the correct connection points helps maintain circuit integrity and safety, especially when integrating smart home devices into your vehicle’s electrical system. Additionally, understanding the fuse slot design can help prevent accidental miswiring and ensure a secure fit.

Wireless Backup Camera Ease Install - Color Image HD 1080P 5 Inch Monitor Digital Signal Stable No-Delay Bluetooth Rear View Camera Auto-Switching Night Vision for Truck/Car/Pickup/SUV/Camper - LK2
EFFORTLESS INSTALL: The wireless backup camera connects to the power supply of the reversing lights for reversing use...
As an affiliate, we earn on qualifying purchases.
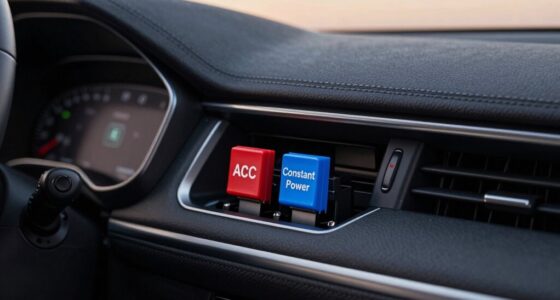
How to Properly Identify the Power Side of the Fuse Box

To properly identify the power side of the fuse box, you need to test the fuse with a multimeter. Locate the constant power source by checking which side of the fuse always has voltage, even with the engine off. Confirming this helps make certain you connect your add-a-fuse to the correct side for reliable operation. A fuse protects electrical components by breaking the circuit when current exceeds safe levels, so ensuring you connect to the correct power source is essential for system safety. Additionally, understanding European cloud innovation can help you choose more sustainable and secure solutions for your electrical needs.
Test With a Multimeter
Determining the power side of a fuse box with a multimeter is straightforward if you follow the correct steps. First, set your multimeter to DC voltage mode (the straight line symbol). Ground the black probe to a chassis screw or bare metal. Touch the red probe to one fuse leg; 12-14V indicates power on that side. Repeat on the other leg to verify voltage flow. If both sides show voltage, the fuse is likely good. Using the multimeter to check for voltage is an essential safety check before working on any electrical system. Proper multimeter usage ensures accurate readings and safety during testing. Use the table below for quick reference:
| Test | Expected Result | Interpretation |
|---|---|---|
| Voltage | 12-14V | Power on that side |
| No Voltage | 0V | No power or fuse blown |
| Continuity | Beep | Fuse intact |
| Resistance | Low (near 0Ω) | Good fuse connection |
This method helps you identify the power flow within your fuse box accurately. Understanding the circuit flow within your fuse box ensures safe and reliable testing.
Locate the Constant Power Source
Locating the constant power source in a fuse box begins with examining labels and diagrams. Look for labels like *Battery*, *BATT*, *Constant*, or *Hot at All Times* on the fuse box cover, which indicate always-hot fuses. Check the owner’s manual fuse table for circuit descriptions that specify constant power. Inside the fuse box, especially in under-hood or interior panels, note fuses labeled *Memory*, *Clock*, or *Radio B+*, as these often supply constant power. Vehicle wiring diagrams or BCM schematics can show the fuse origin—fuses connected directly to the battery are typically constant. Additionally, fuse slots that are empty or only have a top contact suggest non-existent circuits; adjacent full-contact slots are more likely to be constant sources.

DVKNM 2 Magnetic Solar Wireless Backup Camera HD1080P 3 Mins DIY Installation DVR 7" IPS Monitor Rechargeable Reverse Camera System for Hitching Gooseneck Horse Trailer Fifth Wheels/Car RV Truck AP7-2
【3-Mins DIY Installation】No Drilling, No Wiring! 7 Inch FULL HD IPS panel monitor Plug and Play and easily...
As an affiliate, we earn on qualifying purchases.
The Significance of Correct Fuse Tap Orientation

Proper fuse tap orientation is crucial because it directly affects how power flows to your accessory and the original vehicle circuit. Before installation, test with a multimeter to identify which fuse blade is hot (+12V) and which is load (0V). Many fuse taps place the vehicle’s fuse in the slot closest to the metal blades, and the orientation determines which side receives power. Micro3-style taps route power through a central contact, making orientation less critical, but two-prong designs are directional and must match the hot blade. Incorrect orientation can cause the accessory to be powered when it should be off or leave it unprotected. Always verify circuit diagrams and fuse positions to ensure proper alignment, preventing potential wiring issues and ensuring circuit safety. Understanding circuit diagrams can help you correctly identify fuse positions and orientations, ensuring a safe and reliable installation. Additionally, familiarizing yourself with fuse types can help prevent common mistakes during installation and improve overall circuit protection.

Nuoenx Wireless Backup Camera, 7 Inch Monitor Rear View Camera System for RV, Trailers, Trucks, 5th Wheels, Support 2 Cameras, IP69 Waterproof 18 LED IR Night Vision 152° View Camera, DIY Guide Lines
🚚🚚 Stable HD 1080P Image - The 7 inch TFT-LCD monitor with 2.4G wireless digital transmission, presents high-definition...
As an affiliate, we earn on qualifying purchases.
Consequences of Incorrect Fuse Tap Placement
Placing a fuse tap incorrectly can cause your circuit to overload or lose proper protection. When the fuse isn’t oriented properly, it may fail to blow during an overload, risking damage or fire. Understanding these risks helps you avoid costly mistakes and keep your system safe. Ensuring correct fuse orientation is essential for maintaining the integrity of your electrical system. Incorrect placement can also interfere with circuit protection, leading to potential safety hazards. Proper installation techniques help ensure that the fuse functions as intended and provides reliable safety. Additionally, proper fuse placement is critical to prevent accidental disconnections that could compromise your system’s safety. Being aware of correct fuse orientation can help you troubleshoot issues more effectively and prevent future problems.
Overloaded Circuit Risks
Incorrect fuse tap placement can substantially increase the risk of overloaded circuits, leading to dangerous overheating and potential fires. When circuits are overloaded, wires heat up from excess current, risking insulation melting and short circuits. This heat buildup can ignite fires, especially in older wiring that struggles with modern loads. Regular inspections can help detect early signs of overloads before they become serious hazards. Consider these dangers: 1. Wires overheating and melting insulation, creating fire hazards. 2. Outlets or plugs feeling warm, signaling dangerous overloads. 3. Circuit breakers frequently tripping or becoming damaged, risking total failure. Proper fuse placement ensures load sharing and prevents overloads, which is crucial for safety. Misplacing fuses prevents proper load management, increasing the chance of unchecked overloads. Overloaded circuits not only threaten safety but can cause extensive property damage if left unaddressed. Always verify correct fuse tap placement to minimize these risks and ensure proper circuit management. Additionally, understanding electrical load distribution can help prevent overloads and maintain system safety. A load calculation can help confirm that your circuits are not being overburdened.
Loss of Fuse Protection
When a piggyback fuse holder is inserted improperly, the original fuse can blow, causing a complete loss of power to the new circuit. This misplacement removes fuse protection from the original circuit, leaving it vulnerable to overloads and damage. Without the original fuse functioning, the wiring is unprotected, risking meltdown or fire if a fault occurs. Bench tests confirm that reversed tap insertion disables fusing for the new device, making it impossible to detect overloads.
| Fault Scenario | Impact |
|---|---|
| Original fuse blows from incorrect tap | Loss of circuit protection and power to all devices |
| Overload on unfused wiring | Increased risk of wiring damage or fire |
| No fuse protection for new circuit | New accessory becomes unprotected, risking failure |
Step-by-Step: Installing Your Fuse Tap Correctly
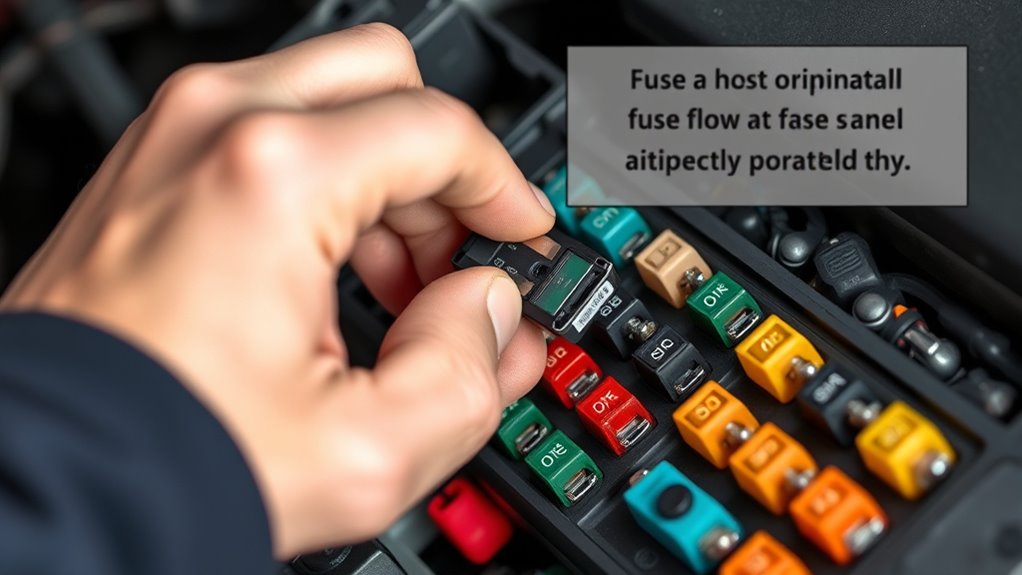
To install your fuse tap correctly, start by selecting the appropriate fuse type that matches your vehicle’s fuse panel and meets your accessory’s load requirements. The Atoto P909PR stereo supports various media inputs and smartphone integration, which may require specific fuse considerations. 1. Confirm the fuse form factor (ATO/ATC, mini, micro2/micro3, J-case) matches your panel for secure contact. 2. Insert the original fuse into the tap’s bottom slot nearest the metal feet, ensuring it protects the existing circuit. 3. Align the tap so the hot contact matches the identified hot side, then place the new fuse in the top slot for your accessory. Before closing the cover, double-check the seating and orientation. If the accessory isn’t powered, remove and reverse the tap. Make sure the wiring is routed away from sharp edges and heat sources. Proper electrical safety practices are essential to prevent damage or hazards during installation, especially considering the importance of correct fuse ratings and connections to avoid blown fuses. Understanding the function of fuses and how they protect your vehicle’s electrical system can help prevent accidental damage. Additionally, being aware of credit card security measures can help protect your personal information during online transactions.
The Role of Fuse Positioning in Protecting Your Circuit
Proper fuse positioning plays a vital role in ensuring your circuit’s protection and maintaining system stability. Placing a fuse upstream isolates faults near the supply, preventing damage to other system parts. Downstream placement confines interruptions to the affected branch, improving selectivity and reducing customer outages when coordinated with upstream devices. Incorrect positioning relative to the protected component can cause sustained fault currents that exceed the fuse’s I2t, leading to melting instead of rapid isolation. For transformer-fed circuits, careful placement prevents open-phase conditions on the low side. Additionally, orientation impacts fuse performance; poor seating or restricted airflow can raise resistance, increase local heat, and shorten fuse life. Proper positioning balances service continuity with asset protection, ensuring your fuse operates correctly when faults occur. Fuse placement is also critical for ensuring the fuse’s quick response and minimizing downtime. Understanding the precise location of the fuse helps optimize its protective function and enhances overall system reliability.
Recognizing and Avoiding Common Fuse Tap Mistakes
Pay close attention to how you install your fuse tap, as incorrect orientation can bypass circuit protection or cause unpredictable vehicle behavior. Overloading the circuit with the wrong fuse size or rating increases the risk of overheating and potential fires. Always double-check your connections and fuse ratings to guarantee safe, reliable operation. Proper wiring ensures that your dash cam functions correctly and maintains vehicle safety. Additionally, understanding circuit protection can help prevent damage to your vehicle’s electrical system. Being aware of accessory compatibility can also help maintain a safe and efficient electrical setup.
Incorrect Fuse Orientation
Have you ever wondered how to correctly install a fuse tap without risking damage or fire? Incorrect fuse orientation is a common mistake that bypasses fuses, leaving circuits unprotected. To avoid this, keep these tips in mind:
- Ensure the fuse tap’s “12 Volts” side faces the hot fuse socket, verified with a multimeter.
- Match the fuse tap’s common side contact to the hot side, with the wire side connecting to the load side.
- Never reverse the fuse tap; doing so pulls power away from the fuse, risking unprotected circuits. Proper installation involves aligning the fuse tap so that the “from battery” prong goes into the hot terminal; reversing it may cause no power delivery or overload the original fuse.
Overloading the Circuit
Overloading a circuit with a fuse tap can happen easily if you’re not careful, leading to blown fuses, overheated wiring, or even fires. Frequent tripped breakers or blown fuses signal current exceeds the circuit’s capacity, and flickering or dimming lights indicate voltage drops from overload. Warm, discolored, or melted wall plates show heat buildup, raising fire risk. Audible signs like buzzing or popping may point to loose connections and arcing. Multiple high-wattage accessories on a single fuse tap can surpass the original load, especially if you use extension cords or power strips downstream. Adding loads meant for dedicated circuits or underestimating inrush currents can overload the branch. Always sum wattages, convert to amps, and stay within 80% of the circuit’s rating to prevent trouble.
Adapting Fuse Taps for Different Vehicle Fuse Types

When adapting fuse taps for different vehicle fuse types, understanding the specific fuse standards and sizes used in your vehicle is vital. Different vehicles employ various fuse styles, from mini blade to older Bosch or Lucas glass tube fuses. To guarantee compatibility:
Understanding your vehicle’s fuse standards ensures safe, compatible fuse tap installations.
- Identify your fuse type by checking the owner’s manual or fuse box diagram—look for blade, cartridge, or legacy fuses.
- Match the fuse tap to the correct size, such as mini blade (10.9mm x 16.4mm), maxi blade (29.2mm x 34.3mm), or older types like Bosch or Lucas.
- Consider converters or adapters if your vehicle uses legacy fuses, which may require special connectors or replacements.
- Ensuring proper installation is crucial, so always verify the fuse ratings and connector compatibility before installation to prevent damage.
Ensuring Proper Alignment for Easy Access and Safety
Ensuring proper alignment of add-a-fuse components is essential for both easy access and safety. Correct positioning guarantees the fuse is seated fully, preventing intermittent contact and arcing. It also makes fuse replacement straightforward, reducing the risk of missing blown fuses during inspections. To achieve this, match the fuse tap type with your vehicle’s fuse form factor and verify the orientation so the stock fuse is closest to the blades. Use the hot side identification to avoid wiring errors. Adjust the add-a-fuse so both fuses are visible and accessible, and position it to avoid obstruction. Proper alignment ensures each circuit remains protected, minimizes fire risk, and keeps your system functioning reliably.
| Fuse Type | Alignment Tips |
|---|---|
| Micro2 | Match blade spacing for secure fit |
| Micro3 | Ensure fully seated in tight panels |
| Mini | Position for easy access and inspection |
| Midi | Confirm hot side before installation |
Troubleshooting Fuse Blown Issues Due to Improper Orientation
Improper orientation of add-a-fuse components often leads to blown fuses caused by reversed polarity or poor connections. When the fuse isn’t aligned correctly, it can create reversed current flow, resulting in immediate shorts or overloads. To troubleshoot this issue, consider these steps:
Incorrect add-a-fuse orientation can cause blown fuses and circuit damage.
- Inspect the fuse placement to ensure it matches the circuit’s polarity markings and pin configuration.
- Check for damaged wiring or exposed contacts near the fuse holder that might mimic orientation errors or cause unintended shorts.
- Test the circuit by disconnecting loads one at a time to identify if the fuse blows due to orientation issues or underlying wiring faults.
Confirm the fuse holder’s alignment and replace with the correct rating fuse if you find the orientation was off.
Frequently Asked Questions
Can Improper Fuse Tap Orientation Cause Electrical System Damage?
Yes, improper fuse tap orientation can cause electrical system damage. When you install the tap incorrectly, the original fuse might no longer protect the circuit, risking overheating, melting insulation, or even short circuits. This improper setup can lead to wiring damage, component failure, or fire hazards. Always verify the hot side with a multimeter before installation to confirm correct orientation and protect your vehicle’s electrical system.
How Do I Verify the Correct Fuse Tap Orientation Before Installation?
To verify the correct fuse tap orientation before installation, first turn off your car and remove the fuse. Use a multimeter to test both sides of the fuse socket for voltage; the hot side will show +12V, while the load side will be 0V. Match the fuse tap’s common side to the hot side of the socket, ensuring the wiring aligns correctly. Double-check with your vehicle’s fuse diagram to avoid mistakes.
Is It Possible to Correct an Incorrectly Oriented Fuse Tap Without Rewiring?
Think of your fuse tap as a key that unlocks the circuit’s harmony. You can correct an incorrect orientation without rewiring by carefully removing the tap, then re-seating it so the blade aligns with the hot side, verified with a test light or multimeter. Ensure the original fuse remains in the correct slot, and double-check the connection before reinserting. This process preserves your circuit’s integrity and avoids unnecessary rewiring.
What Are the Signs of a Blown Fuse Due to Wrong Fuse Tap Placement?
When your fuse blows due to wrong tap placement, you’ll notice immediate power loss in the accessory or circuit, and the fuse may appear melted, discolored, or deformed. You might see burnt or darkened metal on the fuse or tap, loose seating in the fuse box, or scorch marks around the slot. Electrical tests will show unexpected continuity or voltage irregularities, indicating incorrect wiring or overload caused by improper fuse tap orientation.
Do Different Vehicle Models Require Different Fuse Tap Installation Techniques?
Think of fuse taps like keys fitting into different locks; some vehicles need specific techniques. You must adapt your approach based on the model—older cars might use ATC taps, while newer ones require Micro3. For example, I once struggled with a Micro3 slot that was tight, so I shaved plastic from the tap housing. Always check your vehicle’s fuse type and follow the proper installation method to prevent blown fuses.
Conclusion
By paying close attention to fuse tap orientation, you critically reduce the risk of blown fuses. Some experts believe that correct alignment isn’t just about safety but also about ensuring consistent electrical flow, preventing overloads. While it might seem like a small detail, proper orientation is essential for long-term reliability. Double-checking your installation isn’t just good practice—it’s the key to avoiding unexpected electrical issues and keeping your vehicle running smoothly.