
To improve your interior audio quality and reduce echo and muffled voices, start by identifying key reflection points using a mirror or laser pointer. Apply absorptive materials such as textured panels, thick curtains, or rugs at these points to dampen mid and high frequencies. Install bass traps in corners to control low frequencies, and add diffusers to scatter sound evenly. Proper placement of treatments and measuring tools can optimize clarity, helping you achieve clear, natural sound—keep exploring to learn more.
Key Takeaways
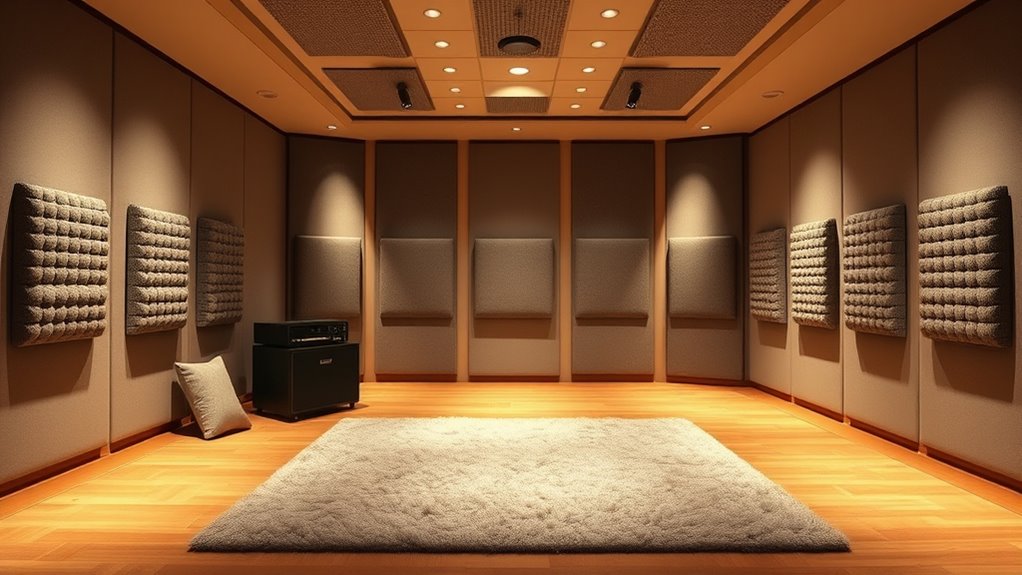
- Install absorptive panels at early reflection points on walls and ceilings to reduce echo and improve speech clarity.
- Use bass traps and boundary damping in corners to control low-frequency buildup and prevent muffled voices.
- Incorporate diffusers to scatter sound waves, minimizing flutter echo and creating a natural, clear sound environment.
- Add soft textiles, rugs, and curtains with porous materials to absorb mid/high frequencies and reduce reverberation.
- Measure room acoustics with tools like Room EQ Wizard to identify problem areas and strategically place treatments for optimal clarity.

Focusound 52 Pack Acoustic Foam Panels 1" x 12" x 12" Sound Proof Foam Panles Soundproofing Noise Cancelling Wedge Panels for Home Office Recoding Studio with 300PCS Double-Side Adhesive
Soundproofing – Acoustic foam panels triangular grooves structure for better noise absorption, helps to reduce and absorb unwanted…
As an affiliate, we earn on qualifying purchases.
As an affiliate, we earn on qualifying purchases.
Understanding Room Reverberation and Its Effects on Speech Clarity
Room reverberation profoundly impacts speech clarity by influencing how sound waves interact within a space. If reverberation lasts too long, it causes sound energy to decay slowly, making speech harder to understand. An RT60 between 0.5 and 1.5 seconds is ideal; anything over 2 seconds leads to overlapping words and poor comprehension. The direct-to-reverberant energy ratio (DRR) also plays a role—more reverberant energy lowers clarity and increases listening effort. Low-frequency reverberation tends to last longer, creating bass buildup that can mask vowels and distort natural speech timbre. Small changes in reverberation time directly affect your ability to identify speech sources and understand spoken words, especially as reverberation increases, making listening more tiring and less effective. Innovative European cloud servers are designed to support sustainable solutions that can help optimize acoustics and sound processing in advanced audio systems. Additionally, implementing effective acoustic treatment can significantly reduce reverberation and improve overall speech intelligibility, especially when paired with advanced audio processing techniques that adapt to room conditions. Understanding room acoustics can further aid in designing spaces that naturally enhance speech clarity and reduce echo issues.

4 Pack Curved Bass Traps Corner Acoustic Foam, Large Size 16.5" X 6.3" X 12" Sound Absorbing Corner Bass Traps for Studio and Home Theater Low Frequency
Our bass traps updated density 25 kg/m^3 to help eliminate low-frequency sounds created by speakers when you are…
As an affiliate, we earn on qualifying purchases.
As an affiliate, we earn on qualifying purchases.
Identifying First-Reflection Points and Strategically Treating Them

To effectively improve audio clarity, you need to identify the first-reflection points (FRPs), where early sound reflections bounce off surfaces and reach your ears shortly after the direct sound. You can locate FRPs using methods like the mirror trick, where you move a small mirror along surfaces until you see the speaker from your listening position, then mark those spots. Geometric calculations and laser pointers also help identify fixed FRPs, especially in consistent setups. Additionally, multi-seat mapping ensures accuracy across multiple listening positions. Finally, impulse response measurements confirm FRP locations by analyzing early reflections in the sound waveform.
- Use a mirror to find visible reflections
- Apply geometric calculations for fixed setups
- Use laser pointers for precise marking
- Map multiple seats for accuracy
- Verify with impulse response measurements

TroyStudio Thickened 12 X 12 X 3 Inch Acoustic Foam Panels in Diffusion Pattern, 32 Pcs High Density Sound Absorbing Foam Diffuser, Soundproof 3D Wall Padding Tiles for Recording Studio Home Office
【SPECIFICATIONS】: Size – 12 X 12 X 3 inches, pack of 32; Coverage – 32 square feet; Weight…
As an affiliate, we earn on qualifying purchases.
As an affiliate, we earn on qualifying purchases.
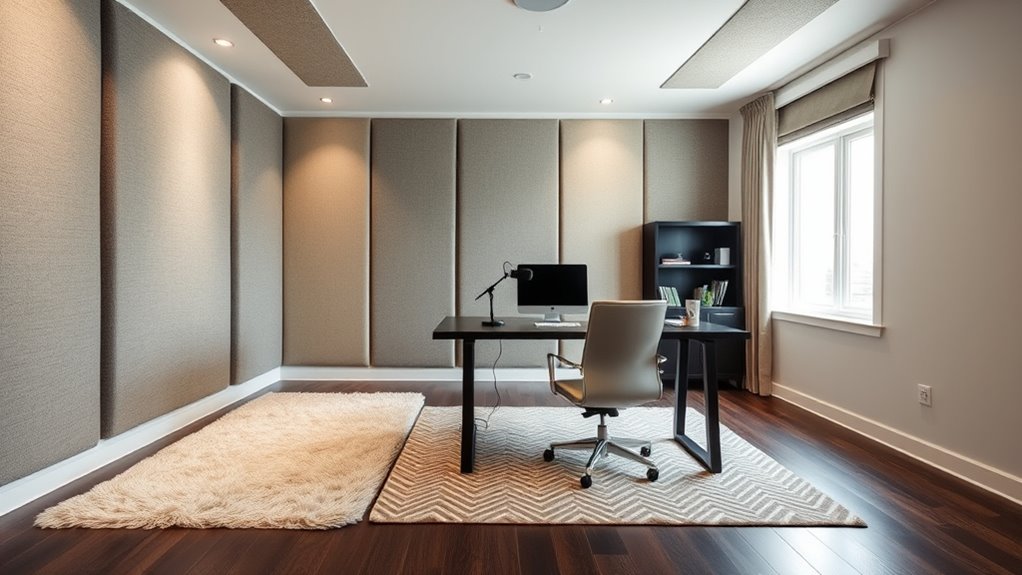
Using Absorptive Materials to Target Mid and High Frequencies
You can improve your room’s sound clarity by incorporating porous wall panels, soft textiles, rugs, and hanging curtains, all of which effectively absorb mid and high frequencies. These materials reduce echo and reverb by breaking up sound waves at key reflection points. Choosing the right combination helps create a balanced acoustic environment tailored to your space. Open cell cavity insulation can also be used behind these treatments to further enhance sound absorption and prevent resonance within walls. Additionally, understanding sound absorption principles can guide you in selecting the most effective materials for your specific acoustic needs. Incorporating acoustic treatment techniques can optimize your space’s sound quality even further. Recognizing how sound wave behavior interacts with various materials can help you design more effective acoustic solutions tailored to your environment. Exploring the use of various materials and their acoustic properties can lead to more precise sound control in your room. Understanding material sound absorption can help you better select the right options for your project.
Porous Wall Panels
How do porous wall panels effectively target mid and high frequencies to improve interior audio quality? They do this by converting sound energy into heat through viscous and thermal losses within their pore networks. Materials like mineral wool, fiberglass, and polyester absorb high-frequency sounds efficiently, especially when designed with appropriate thickness and porosity. Thicker panels or those with air gaps can also shift absorption to lower mid frequencies, broadening effectiveness. Proper placement and coverage—around 20-30% of the surface—enhance speech clarity and reduce echo. Additionally, understanding the sound absorption process helps in selecting the right materials and designs for optimal acoustic treatment, which can be further optimized by considering porous material properties that influence absorption efficiency. Incorporating design principles such as panel orientation and surface treatment can also amplify their effectiveness in controlling sound reflections. Optimizing material porosity ensures better energy dissipation across targeted frequency ranges, resulting in a more balanced sound environment. Moreover, experimenting with different porous material configurations can fine-tune the acoustic response to suit specific spaces and needs.
Soft Textiles and Rugs
Soft textiles and rugs play a vital role in enhancing interior audio quality by targeting mid and high frequencies through their porous, fibrous structures. These materials capture sound waves by allowing penetration into the rug’s interior, disrupting sound ripples and absorbing airborne noise like voices and music. Thicker, denser rugs dissipate sound energy more effectively as waves travel deeper through fibers, with wool offering dense absorption without added weight. Elastic underlayers in acoustic carpets add vibration damping, boosting high-frequency absorption. Rugs at least half an inch thick with dense weaves and heavier construction absorb more sound, reducing echo and reverberation. Covering large areas, especially in echo-prone rooms, helps quiet conversations and improve speech clarity, making your space more acoustically comfortable. Additionally, choosing materials with sound absorption properties can further optimize your room’s acoustics. Incorporating porous materials into your decor can also significantly enhance acoustic treatment and overall sound quality. Strategically placing these materials around a room can maximize their sound dampening effects, improving overall comfort. Using absorptive materials strategically in your interior design can further improve the effectiveness of sound dampening efforts. Incorporating proper placement techniques ensures the materials are most effective in reducing unwanted echoes and noise.
Hanging Acoustic Curtains
Hanging acoustic curtains made from dense, multi-layer fabrics effectively target mid and high frequencies by converting sound energy into heat through viscous friction within fibers. Heavier fabrics like velour absorb these frequencies better—reducing sound levels by up to 40% compared to lightweight polyester. Multi-layer designs, including dense outer fabrics, fibrous cores, and mass-loaded layers, enhance absorption and insulation, often achieving NRC values near 0.8 in labs. Additionally, increasing the material density of fabrics can further improve their sound absorption capabilities. The layering methods and fabric composition play a crucial role in optimizing acoustic performance. However, they’re less effective below 250 Hz, with about 60% of low-frequency sound penetrating. Adding mass increases transmission loss, boosting mid/high frequency attenuation by 7–10 dB. Material density and layering methods significantly influence absorption efficiency.

VEVOR 2 Pcs Sound Dampening Blankets, Soundproof Curtains with 96 x 80 in, Soundproof Blanket with Grommets, Studio Grommeted Blanket, for Window, Door, Light Blocker, Music Recording, Black
Sound Absorption & Noise Reduction: Made with a polyester woven surface and recycled cotton filling, this 3-layer physical…
As an affiliate, we earn on qualifying purchases.
As an affiliate, we earn on qualifying purchases.
Managing Low-Frequency Buildup With Bass Traps and Boundary Damping
To control low-frequency buildup, start by installing bass traps in your room corners, where pressure maxima occur. Using boundary damping materials along walls and floors can further reduce standing waves and modal peaks. Incorporating effective acoustic treatments tailored for low frequencies can maximize the effectiveness of your setup. Additionally, selecting appropriate damping materials based on your room’s unique characteristics can enhance overall sound clarity. Consulting with acoustic experts can help you identify the most suitable room treatment solutions for your specific space. Understanding room acoustics principles can also guide you in optimizing your acoustic treatments for better sound quality.
Installing Corner Bass Traps
Effective corner bass trap installation begins with understanding how low-frequency modes accumulate at room boundaries. You want to target these areas because corners concentrate bass energy, making them ideal spots for traps. Place traps in wall-to-wall and wall-to-ceiling intersections to address trihedral and dihedral modal buildup. Use floor-to-ceiling traps in the main corners to cover multiple modes simultaneously. If space is limited, prioritize opposite corners along your listening axis, like front-left and front-right, for maximum impact. Position traps as close as possible to the corner seams to maximize absorption. Remember these key points:
- Cover all main corners first for balanced bass control
- Use thicker traps (3-6 inches) for deeper low-frequency absorption
- Install full-height panels for the best modal reduction
- Distribute traps to avoid uneven bass response
- Stack thinner traps if space or budget limits deeper units
- Materials Needed for DIY Bass Traps can be used to customize your own panels for better fit and performance.
- Understanding how low-frequency modes behave at room boundaries is essential for effective bass trapping. Additionally, considering the boundary damping effects can significantly enhance overall sound clarity by reducing unwanted resonances. Incorporating boundary damping techniques can help mitigate persistent resonant issues and improve the overall acoustic environment. Recognizing how boundary effects influence sound behavior allows for more targeted and efficient acoustic treatment. A thorough grasp of room boundary interactions can further optimize bass management strategies for your space.
Using Boundary Damping Materials
Boundary damping materials enhance low-frequency control by working alongside bass traps to reduce modal buildup. These self-adhesive damping layers convert vibrating sheet motion into heat through shear stress dissipation, effectively dampening structural vibrations. Applied between drywall, studs, and joists, they improve bass isolation without occupying extra space, making them ideal for residential setups. For *ideal* low bass absorption, use 16cm (6″) deep mineral wool or fiberglass sheets at 30kg/m³ density, especially when placed across corners. These materials eliminate standing waves down to 35Hz and maintain even reverb times. Doubling the weight of boundary damping materials can boost soundproofing, but diminishing returns occur beyond a certain point. Testing has shown that when combined with bass traps, boundary damping *substantially* enhances the room’s low-frequency response and overall audio clarity.
Incorporating Diffusers to Maintain Space Liveliness and Reduce Echoes

Incorporating diffusers into your space helps maintain lively, natural acoustics while reducing unwanted echoes. Diffusers scatter sound waves in multiple directions, preventing direct reflections that cause echo and flutter. Irregular shapes or wells redirect mid-to-high frequencies evenly, reducing coloration and comb filtering. Denser materials divert lower frequencies, enhancing vocal clarity without deadening the space. Proper placement—like on rear walls or ceilings—targets primary reflection points and widens the perceived soundstage. Combining diffusers with absorbers balances energy and prevents over-deadening. They also improve stereo imaging and create an even sound field. To maximize their effect, position diffusers at ear height, avoid covering full surfaces, and pair different types to prevent phase issues. This approach preserves liveliness while controlling unwanted reflections effectively.
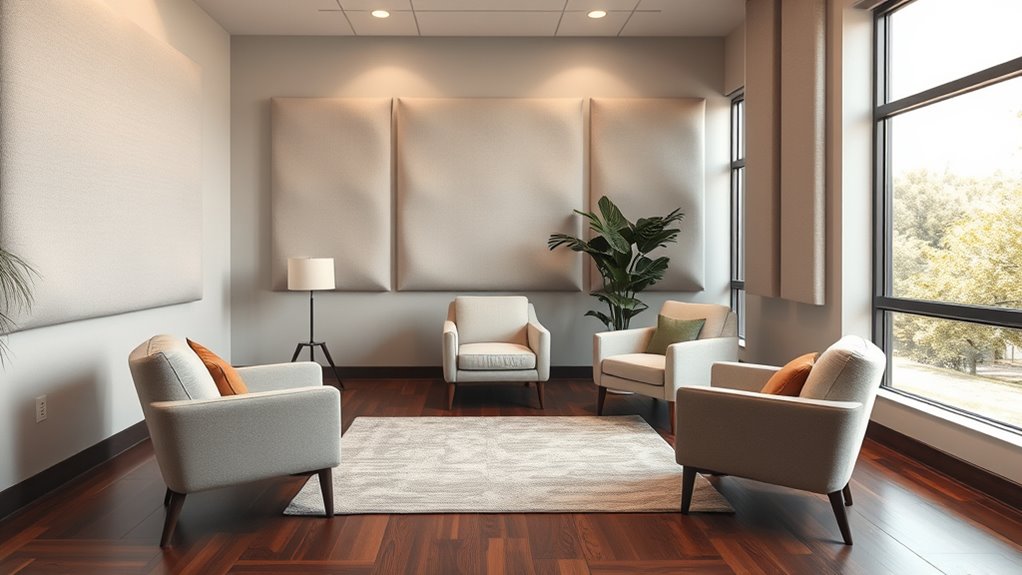
Practical, Cost-Effective Solutions for Improving Room Acoustics
Implementing practical and budget-friendly solutions can considerably improve your room’s acoustics without the need for expensive renovations. Start by adding acoustic panels on about 25% of your walls, focusing on reflection points and side walls in long rooms. Higher-quality panels ensure better frequency absorption, reducing echoes and comb-filtering. Incorporate moderately absorptive carpets to match your room’s reverb times, which helps diminish floor reflections. Use heavy drapes that can be opened or closed to manipulate absorption and reflection based on your needs, especially in performance spaces. Strategically place absorbers at reflection points to minimize standing waves and improve clarity. These treatments, combined with simple EQ adjustments, optimize sound quality without high costs, making your space more acoustically balanced and enjoyable.
Measuring and Monitoring Acoustic Changes With Simple Tools
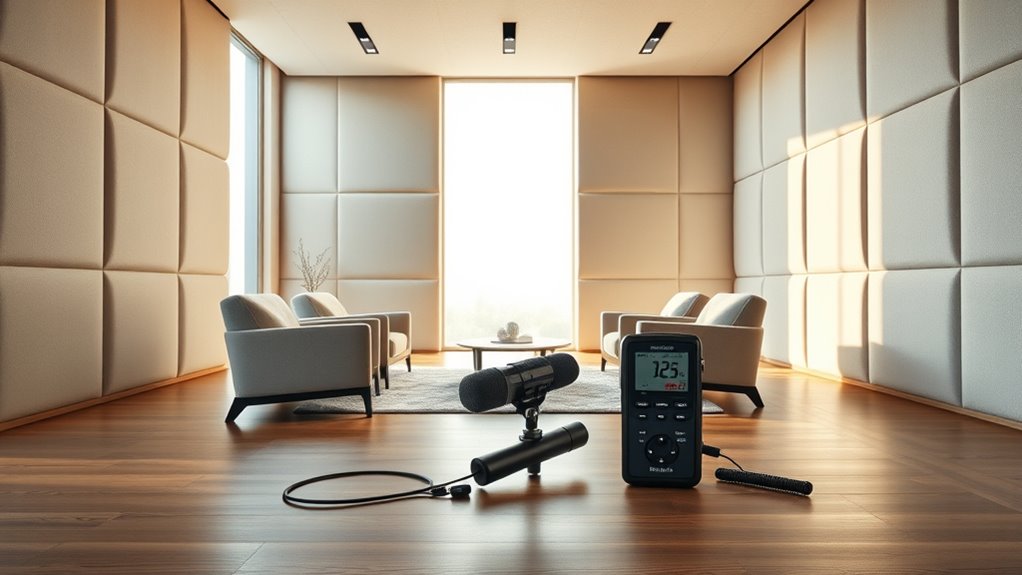
Measuring and monitoring acoustic changes in your space doesn’t have to be complicated or expensive. Simple mobile apps, like the Nureva App, use your iPhone or iPad to assess background noise and reverberation. You can generate an impulse—by clapping or popping a balloon—to measure reverberation time. Place microphones at key spots, such as near speakers or in corners, to capture background noise effectively. These tools provide acoustic scores that help you decide on the best system placement and identify issues after installation. Additionally, free desktop software like REW allows you to analyze frequency response and impulse response, optimizing your room setup. Portable sound level meters and spectrum analyzers further help you evaluate loudness, detect echoes, and visualize frequency distribution easily. Accurate measurements are essential for understanding how sound behaves in your space, and specialized equipment can help achieve this.
Optimizing Treatment Placement for Maximum Speech Intelligibility
Optimizing treatment placement is essential for maximizing speech intelligibility in any space. Start by placing absorptive panels at first-reflection points on sidewalls and ceilings to cut early reflections that smear consonant cues and lower STI. Install overhead clouds above speaking areas to capture vertical reflections before they reach listeners, boosting the Signal-to-Noise Ratio. Focus mid-to-high frequency absorption (250 Hz–4 kHz) where listeners sit, preserving warmth while reducing reverberation. Use floor-to-ceiling absorbers on the rear wall to minimize strong back-wall reflections, which can raise speech reception thresholds. Distribute absorption asymmetrically to avoid dead zones and maintain beneficial early reflections. Additionally, position diffusive panels behind speakers and on sidewalls to scatter reflections and preserve early energy, enhancing clarity without sacrificing natural sound. Proper placement of acoustic treatments ensures an effective balance between absorption and diffusion, which is crucial for achieving optimal speech clarity.
Fine-Tuning Room Acoustics for Different Uses and Environments
Fine-tuning room acoustics requires tailoring treatments to match the specific uses and environments of a space. You can use statistical room analysis to predict reverberation times and optimize absorption materials for different settings. For example, adjusting NRC ratings helps enhance speech clarity in offices or classrooms. Use tools like Room EQ Wizard or Smaart to visualize frequency responses and identify problem areas. Consider the following:
- Model diffuse sound fields for accurate reflections
- Optimize absorption coefficients with algorithms like Differential Evolution
- Position microphones strategically to capture room reflections
- Add acoustic panels on side and back walls to reduce reverb
- Simulate scattering effects with ceiling tweaks for better clarity
Proper equipment placement is crucial for obtaining accurate measurements and ensuring effective acoustic treatment results.
Frequently Asked Questions
How Do I Identify the Most Problematic Echo Sources in My Room?
You identify problematic echo sources by performing impulse response tests, clapping or using a balloon in different spots, and listening for lingering reverberations. Use software like Room EQ Wizard to measure RT60 and analyze decay times at various locations. Pay attention to areas where echoes persist or surfaces that produce sharp reflections, especially near hard, reflective walls or ceilings. Adjust or treat these surfaces to reduce problematic echoes effectively.
What Are the Best Materials for Cost-Effective Acoustic Treatment?
Did you know that high-density foam can absorb low frequencies more effectively than fiberglass or mineral wool? For cost-effective acoustic treatment, choose high-density foam for DIY projects, as it’s easy to install and targets mid- to high-frequencies. Recycled materials like PET and hemp offer eco-friendly options with good absorption, and fabric-wrapped panels can enhance aesthetics while reducing echo without breaking the bank.
How Can I Balance Absorption and Diffusion for Natural Sound?
You can balance absorption and diffusion by strategically placing panels and diffusers. Use soft furnishings and textured materials to soak up early reflections, while curved or irregular surfaces scatter sound waves for diffusion. Combine these elements throughout your space, especially at reflection points and rear walls, to maintain natural sound. Layering treatments ensures clarity without making the room sound dull or overly lively, creating a balanced and authentic listening environment.
What Tools or Apps Are Recommended for Measuring Room Reverberation?
Think of your room like a symphony needing perfect tuning. You should try tools like the VQ AcousticCheck or Soniflex apps, which measure reverberation times accurately. The BuzziSpace RT60 app visualizes how acoustic treatments affect sound. For quick, on-the-spot checks, Nureva or Artnovion Impulso apps are handy. These apps help you identify echo issues, guiding you toward effective solutions for natural, clear sound.
How Do I Adjust Treatments for Different Room Functions (Speech vs. Music)?
To adjust treatments for different room functions, first identify whether the space is speech or music-focused. For speech rooms, prioritize broadband absorption at reflection points to improve clarity, keeping RT60 around 0.4–0.8 seconds. For music rooms, combine absorption with diffusion to preserve natural ambiance, aiming for longer, frequency-dependent RT60s. Use bass traps to control low frequencies, and measure regularly to verify your treatments achieve the desired acoustic balance.
Conclusion
By understanding and managing room acoustics, you turn chaos into clarity—echoes softened, voices sharper. While high-tech solutions can elevate your space, simple treatments often do the trick, proving that cost isn’t always king. Balancing absorbers and diffusers creates a lively yet controlled environment, transforming muffled conversations into crystal-clear dialogues. Ultimately, thoughtful acoustics blend science with artistry, ensuring your space sounds as good as it looks—an elegant harmony of function and form.