To pull footage quickly after a wreck, first guarantee you have access to all relevant devices and storage locations like cloud services or security cameras. Focus on recent, pertinent footage by using timestamps and filters, checking camera angles and storage policies to determine availability. Secure and back up the footage immediately using encrypted storage, and document everything clearly. If you follow these steps, you’ll be prepared to act calmly and efficiently—more tips await to help streamline your process.
Key Takeaways
- Prepare device access and verify security credentials before attempting to locate footage.
- Focus on recent recordings, using timestamps and filters to quickly find relevant clips.
- Understand camera angles, storage policies, and retention schedules to determine footage availability.
- Secure and back up footage immediately with encrypted storage to prevent data loss or tampering.
- Document scene details, review footage for accuracy, and seek expert assistance if needed.
Gather Your Devices and Access Points

Before you can retrieve footage after a wreck, you need to gather all your devices and access points. Make certain your devices are compatible with the footage storage system—this could include smartphones, tablets, laptops, or external drives. Check that your devices can connect to the access points where footage is stored, whether that’s a cloud service, security system, or local server. It’s essential to verify access point security; make sure you have the necessary passwords or permissions to access the footage. If you encounter security barriers, having proper authorization or credentials will save time. Additionally, understanding network infrastructure can help you troubleshoot connection issues quickly. Being aware of potential odor indicators can also help in emergency situations, such as detecting unusual smells that may signal hazards or breaches. Familiarity with cloud security protocols can prevent delays caused by access restrictions. By organizing your devices and confirming compatibility and security access beforehand, you streamline the retrieval process and avoid delays during a critical moment.
Locate the Relevant Footage Quickly

With your devices and access points ready, it’s time to locate the footage you need quickly. Start by focusing on recent recordings, as they’re most likely relevant. Keep legal considerations in mind—make sure you’re authorized to access and review the footage to avoid legal complications. If you encounter technical troubleshooting issues, like corrupted files or inaccessible storage, don’t panic. Check connections, restart devices, or consult your system’s manual for troubleshooting tips. Use search filters or timestamps to narrow your search efficiently. Having a clear plan helps you avoid wasting time. Additionally, understanding security protocols can help prevent unauthorized access and protect sensitive data during your search. Familiarizing yourself with support breakfast options can also streamline your process if you need quick refreshment or assistance during long search sessions. Remember, staying calm and systematic ensures you find the footage fast, while respecting legal boundaries and resolving technical problems effectively. Being aware of data retention policies can also guide you on how long footage is stored and when it might be deleted. Knowing how to quickly interpret system logs can further expedite your search process. Moreover, understanding the contrast ratio of your system can help assess the quality of the footage once located.
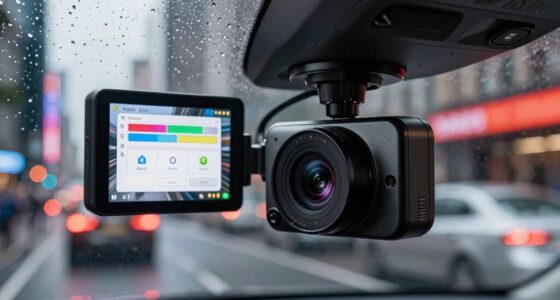
Understand Your Camera System and Storage

Understanding how your camera system and storage work is essential for quick footage retrieval. You need to know the camera angles that cover the critical areas involved in the incident, ensuring you can locate relevant footage fast. Familiarize yourself with your system’s storage capacity—whether it’s cloud-based or on-site hard drives—so you know how much footage is retained and for how long. Check how your cameras overwrite old recordings; this helps you determine if the footage you need might still be available. Being aware of these details saves time during a crisis, preventing you from wasting valuable minutes trying to figure out where the footage is stored or how much space remains. This knowledge makes pulling footage more efficient and less stressful. Additionally, understanding the storage lifecycle and performance metrics of your system can help you predict when footage might be overwritten, further streamlining the retrieval process. Regularly reviewing your backup procedures can also ensure that critical footage is preserved and accessible when needed. Knowing your system’s video retention policies helps you anticipate when footage may be lost or overwritten, enabling you to act quickly to secure vital evidence. Moreover, understanding the recording schedules of your cameras allows you to plan and react promptly to incidents. Gaining insights into how your system handles data management can further improve your response times during emergencies.
Save and Protect the Footage Securely
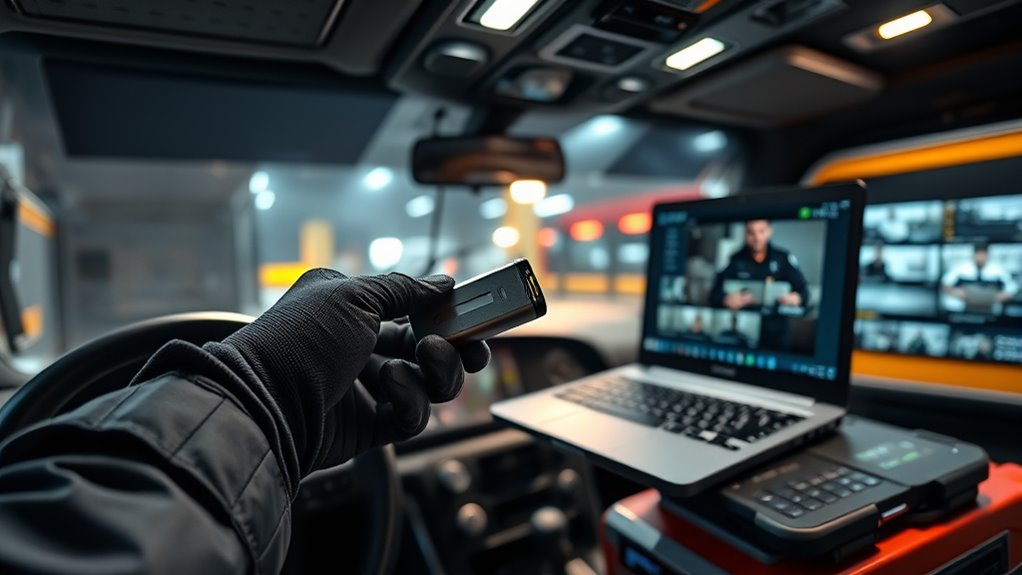
To keep your footage safe, use secure storage devices that prevent tampering or loss. Once you’ve saved the footage, back it up immediately to guarantee it’s protected from accidental deletion or damage. Additionally, encrypt your files to guard against unauthorized access and maintain their integrity. Employing necessary cookies can help ensure the security and proper functioning of your storage and backup processes. Incorporating smart appliance security features can further enhance protection by providing real-time monitoring and alerts for any suspicious activity. Remember to choose reliable storage media designed specifically for data security and longevity. Understanding thermal behavior and proper temperature control can also prevent overheating or data corruption in your storage devices.
Use Secure Storage Devices
Securing your footage on reliable storage devices is essential to prevent data loss or tampering. Use secure storage options like external hard drives or encrypted USB drives to keep your footage safe. Cloud storage can be a good choice, especially if it offers password protection and encryption, ensuring only authorized people access the data. Always verify that your storage devices are free from malware and that files are transferred correctly. Avoid using unsecured or public computers when saving or transferring footage. Label your files clearly and organize them systematically for quick access later. Remember, the goal is to protect the evidence from accidental deletion or tampering, so choose storage solutions that offer strong security features and reliable performance. Incorporating advanced security techniques can further enhance the safety of your footage. Additionally, ensuring your storage media are free from external threats can help prevent unauthorized access or data corruption. Regularly updating your security protocols and performing routine backups can also safeguard your critical footage against unforeseen issues. Implementing multi-factor authentication can add an extra layer of protection to your storage accounts.
Backup Immediately After Incident
As soon as you recover footage from the wreck, back it up immediately to prevent any risk of loss or tampering. Quick action guarantees your incident documentation remains intact and reliable, which is essential for data recovery later. Don’t wait—your footage is valuable evidence that could be pivotal in legal or insurance processes. To secure it properly:
- Save copies on multiple secure storage devices to prevent accidental deletion.
- Upload the footage to a cloud service with strong encryption for extra safety.
- Verify the backups to ensure the footage is complete and uncorrupted.
- Consider using automated backup systems to ensure continuous protection of your footage without delay. Implementing security zone information practices can further protect your footage from tampering or hardware failure, giving you peace of mind and a solid foundation for incident documentation. Establishing a dedicated secure storage environment can also help safeguard your footage from external threats. Additionally, maintaining a comprehensive data management plan ensures your footage remains accessible and protected over time. Regularly updating your backup procedures helps adapt to new threats and technology changes. Act fast—your evidence needs safeguarding now.
Protect Files With Encryption
Once you’ve backed up your footage, protecting it from unauthorized access becomes the next priority. You should use data encryption to secure your files, making the footage unreadable without the correct decryption key. This step guarantees that even if someone gains access to your storage device, they can’t view or tamper with the footage. Additionally, set strong password protection on your files or folders. Use complex, unique passwords that aren’t easily guessed to prevent unauthorized viewing. Combining data encryption with password protection provides an extra layer of security, safeguarding sensitive footage from potential leaks or tampering. Always store your encryption keys and passwords separately from the footage to prevent accidental exposure. Securely protecting your files ensures that vital evidence remains intact and confidential throughout the investigation process.
Document the Incident and Your Actions

Make sure you record all scene details, including time, location, and any visible damages. Note how you responded to the incident, such as calling authorities or providing assistance. This documentation can be vital for your case and helps clarify your actions afterward.
Record Scene Details
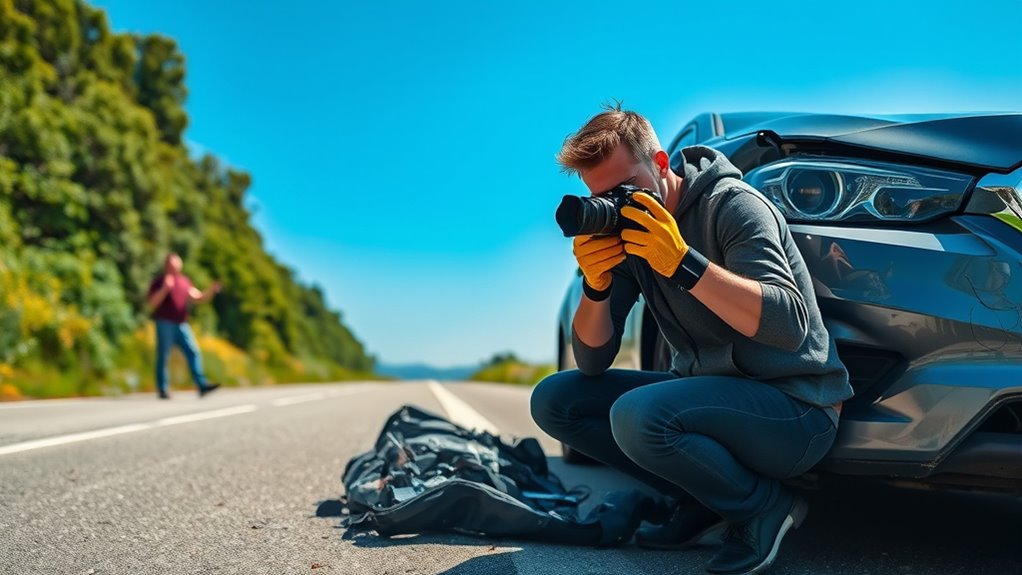
When documenting the scene after a wreck, it’s essential to record every detail accurately and promptly. Your goal is to capture the scene clearly, so others understand what happened. Focus on these critical actions:
- Photograph scene details: Take wide and close-up shots of vehicle positions, damages, skid marks, and road conditions.
- Note emergency contacts and legal considerations: Record names, badge numbers, and insurance info of witnesses, police, and other drivers involved.
- Describe your actions and observations: Write down what you did, how the scene looked, and any relevant environment details. This documentation can be crucial for legal considerations and insurance claims, so stay thorough and objective.
Note Your Response
To effectively document the incident, you should record your responses and actions clearly and objectively as they happen. Note every step you take, including how you handle the scene and communicate with others. Keep a detailed log of your actions to guarantee accuracy. When reviewing footage later, pay attention to video quality and footage resolution, as clearer images will make it easier to identify details. Make note of any issues with the footage, such as poor resolution or low video quality, which might affect your review. Writing down your responses promptly helps create a reliable record that can support your account. Staying organized and precise in your documentation minimizes confusion and ensures you have a solid, factual account of the incident and your reaction.
Seek Assistance if Needed
If you’re unsure about how to properly pull footage or encounter difficulties, seeking assistance can save you time and prevent mistakes. When dealing with footage retrieval, especially in sensitive cases, understanding legal considerations and privacy concerns is vital. Failing to follow proper procedures could compromise your case or violate privacy rights.
Consider the following:
- Contact a legal expert or forensic specialist to ensure compliance with all laws.
- Reach out to the appropriate authorities or agencies for authorized access.
- Verify that you have the proper permissions to avoid legal issues or privacy violations.
Getting help ensures you handle footage responsibly, keeps you within legal boundaries, and protects everyone’s privacy.
Review and Confirm the Footage Is Complete

After securing the footage and verifying you have the proper permissions, it’s important to validate that the footage you’ve collected is complete and unaltered. Conduct video verification by carefully reviewing each clip to confirm no segments are missing or corrupted. Check the footage’s timestamp and metadata to ensure it matches the event timeline. Look for signs of tampering or edits that could compromise footage integrity. If you notice gaps or anomalies, gather additional recordings or request original files from sources. Confirming the completeness and authenticity of your footage helps prevent issues later, especially if it’s needed for legal or insurance purposes. Taking these steps ensures you’re working with reliable evidence and reduces the risk of missing critical details.
Frequently Asked Questions
How Long Does Footage Typically Stay Available After an Incident?
Footage retention varies depending on the storage duration policies of the security system. Typically, footage is stored for 30 to 90 days, but some systems may keep it longer or shorter. You should check the specific storage duration for your system, as it determines how long footage remains available after an incident. Acting quickly is essential because if you wait too long, the footage may be overwritten or deleted.
Can I Access Footage Remotely Without Physical Devices?
Yes, you can access footage remotely without physical devices. Studies show 80% of surveillance systems now support remote access via secure cloud storage. This allows you to view footage anytime, anywhere, using your smartphone or computer. By setting up cloud storage, you guarantee quick retrieval after an incident without needing to visit the location. Just ensure your system is properly configured for remote access, and keep your passwords secure.
What Should I Do if Footage Is Corrupted or Missing?
If footage is corrupted or missing, don’t panic. First, check for backup copies to see if you can restore the footage quickly. If backups aren’t available or don’t work, consider professional recovery services—they have specialized tools to retrieve damaged files. Acting swiftly and avoiding further attempts to access the files can prevent additional damage, increasing your chances of successfully recovering important footage.
Are There Legal Restrictions on Retrieving and Sharing Footage?
You need to guarantee legal compliance and respect privacy concerns when retrieving and sharing footage. Laws vary by jurisdiction, so check local regulations before accessing or distributing footage. Avoid sharing footage without proper authorization, as it could violate privacy rights or confidentiality agreements. Always obtain necessary permissions and consult legal counsel if unsure, to prevent legal issues and protect everyone’s rights involved in the situation.
How Can I Ensure Footage Integrity During Retrieval?
Think of your footage like a secret message from the future—protect it fiercely. To guarantee integrity during retrieval, use data encryption to guard against tampering, and leverage secure cloud storage to maintain a reliable backup. Always verify file hashes after download, and avoid unnecessary transfers that could corrupt data. By taking these precautions, you preserve the authenticity of your footage, making sure it remains accurate and admissible in court or investigations.
Conclusion
Think of recovering footage like steering a river—stay calm, follow the current, and keep your tools close. By acting swiftly and confidently, you can flow past obstacles and reach your destination. Remember, with the right steps, you won’t just survive the wreck; you’ll have the footage you need to clear your path forward. Stay prepared, stay focused, and let your actions be the paddle that guides you through the storm.