If your dash cam is stuck in a boot loop, start by checking the power source and cables for damage or loose connections. Remove and test the microSD card to rule out corruption, then perform a factory reset or update the firmware using a formatted memory card. If these steps don’t help, inspect hardware connections or consider professional repair, as more complex issues may require expert assistance—discover more solutions to resolve your device’s startup problem.
Key Takeaways
- Check and secure power connections, fuse, and vehicle battery to ensure proper power supply during startup.
- Remove and test the microSD card on a computer; reformat or replace it if necessary.
- Perform a factory reset or reset via physical button to clear software glitches causing the boot loop.
- Update the firmware with the latest version from the manufacturer by formatting the SD card and placing the update files.
- If issues persist, consider professional repair or replacement, especially if hardware damage or costly repairs are involved.

Mini Body Camera with Audio and Video Recording, POV Camera with 64G Card Body Worn Cam ,Wearable Patrol Video Recording Camcorder With Night Version ,Camcorder for Security Work Records Traveling
【FHD 1080P Camera】Kaysunlink A18 body camera captures videos and photos in stunning FHD resolution. The Bodycam recorder is...
As an affiliate, we earn on qualifying purchases.
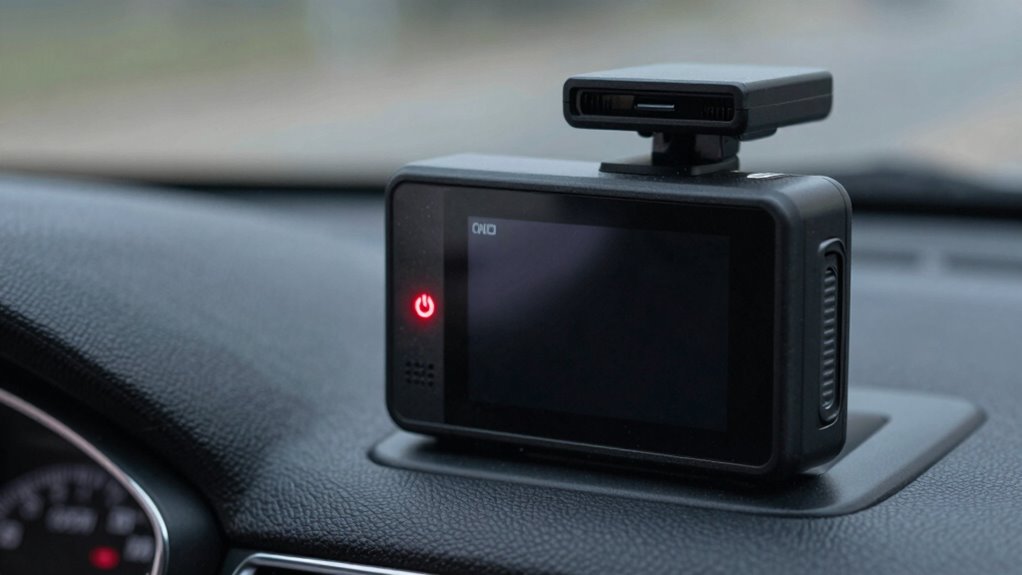
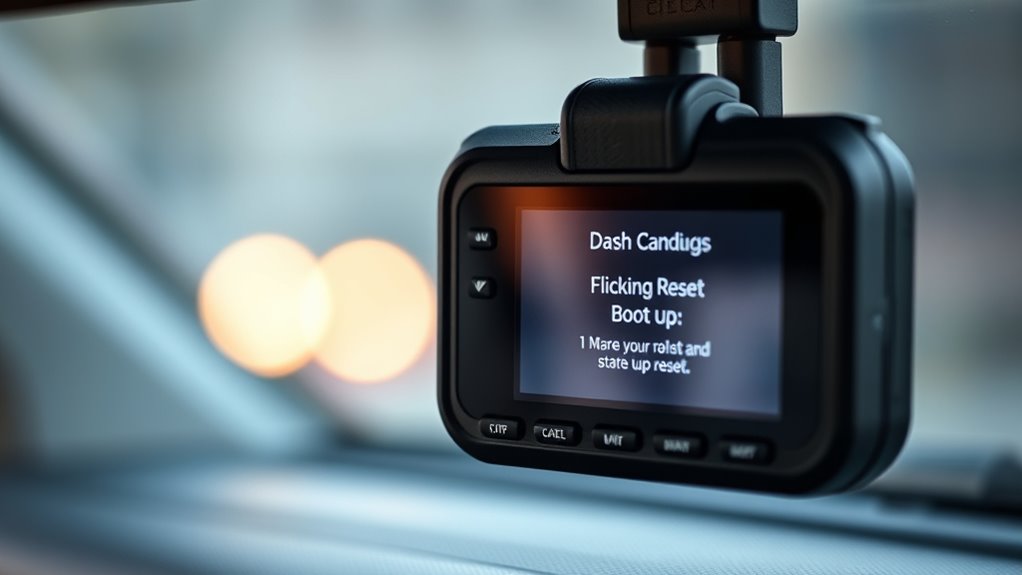
Identifying the Symptoms of a Boot Loop
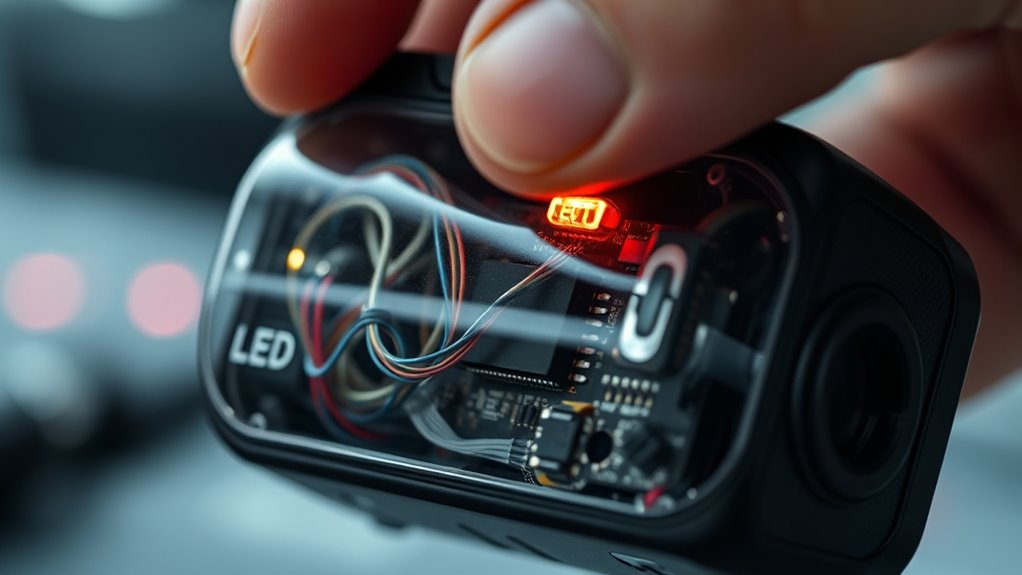
To identify a boot loop, start by observing the device’s startup behavior. If it repeatedly displays the logo or boot screen with no progress to the main interface, it signals a firmware or hardware initialization failure. Watch for unusual LED patterns, such as all LEDs blinking or a steady red warning light, which indicate internal errors like NAND or system faults. Flickering screens, frozen UI, or LCD flicker during startup often point to internal boot failures or corrupted display drivers. Audible beeps or chimes cycling repeatedly suggest the device is entering and exiting boot routines without completing startup. Additionally, if LEDs briefly flash then stop during power-on, it might be a power-cycle reboot loop caused by internal component issues. Recognizing these signs helps confirm the device is stuck in a boot loop. Understanding internal errors can further assist in diagnosing the root cause of the problem. Paying attention to error indicators, such as specific LED sequences or beep codes, can provide valuable clues to troubleshooting the issue effectively. Moreover, hardware failure signs, like abnormal noise or overheating, can also help identify underlying problems contributing to the boot loop. Internal diagnostic tools are valuable in analyzing logs or conducting hardware tests that clarify the cause of the failure.

Meoilkolnm Mini Wearable Body Worn Action Camera, FHD 1080P, Thumb Size, Hands Free Recording with Premium Portable Camcorder Mount Anywhere for Security, Work, Guard, Travel, 128GB, Black
User Friendly: Simple Design with a button in the middle, you can easily start recording with pressing the...
As an affiliate, we earn on qualifying purchases.
Checking Power Sources and Cables
Ensuring your dash cam receives stable power is essential to resolving boot loops caused by electrical issues. Start by inspecting the vehicle’s power source and fuse. Check the cigarette-lighter or accessory socket fuse; a blown fuse often cuts power. Confirm if the socket only supplies power with the engine on, as this can cause startup cycles. Test the vehicle battery voltage under load—low or dropping voltage can trigger restarts. If available, try an alternative 12V outlet to identify wiring faults. Examine the hardwire kit fuse, ensuring it’s not blown or incorrectly rated. Next, evaluate the power adapter and cable. Look for fraying, damage, or loose connections. Swap with a high-quality or known-good adapter, and measure output voltage to detect intermittent drops. Properly functioning power sources are vital to prevent boot loops. Additionally, environmental factors like extreme heat or cold can affect the performance of the power supply and cause instability. Regularly inspecting and maintaining your vehicle’s electrical connections, including fuses and wiring, can help prevent unexpected boot issues. Properly testing vehicle electrical systems ensures consistent power supply and minimizes the risk of boot loop failures. Also, using voltage regulators or surge protectors can provide additional stability to your dash cam’s power input.

BOBLOV W1 64GB HD 1080P Body Worn Camera, Wearable Body Cam with 2 Clips, Loop Recording Body Camera Support Time Stamp, Back Clip for Traveling, Driver, Delivery Man, Lecture Recording
W1 Body Camera with 100-Minute Recording Time: Powered by a 550mAh rechargeable lithium battery, the W1 camera provides...
As an affiliate, we earn on qualifying purchases.
Removing and Testing the MicroSD Card
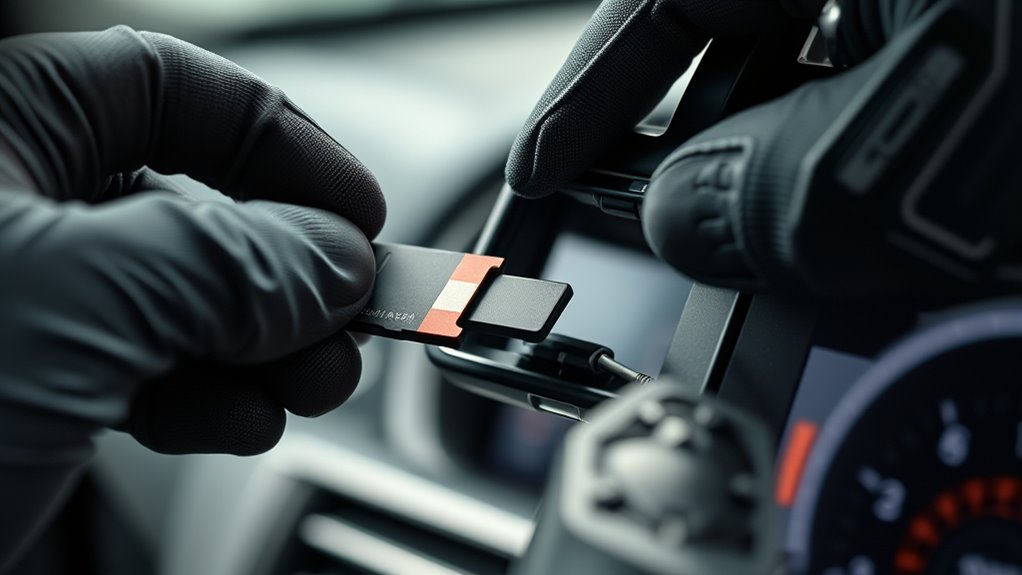
Once you’ve safely removed the MicroSD card, it’s essential to check if it’s compatible with your dash cam. Testing the card on your computer can reveal recognition errors or capacity issues that might cause boot loops. If problems persist, consider reformatting or replacing the card with a model that meets your device’s specifications. Using a compatible SD card can help prevent future recognition problems and ensure reliable operation of your dash cam. Additionally, verifying the card’s read/write speeds ensures smooth data transfer and optimal performance. Regularly updating your firmware can also improve compatibility and stability of the device. Ensuring that your SD card has the correct capacity is also crucial, as cards that are too large or small may cause issues. It’s also beneficial to consult your dash cam’s manufacturer guidelines for recommended specifications to avoid compatibility problems. Checking the SD card’s brand reputation can further help in selecting a reliable storage solution.
Check Card Compatibility
Before inserting a microSD card into your dash cam, it’s vital to check its compatibility carefully. Not all cards work equally well; using an incompatible card can cause boot loops or data loss. Refer to your dash cam’s manufacturer recommendations to confirm compatibility. For example, Thinkware suggests only Thinkware microSDs, while VIOFO recommends their brand with speeds up to 100MB/s. Use the table below to verify capacity, speed class, and standards: Additionally, selecting a card with proper standards compliance can help ensure reliable performance and data security. Confirming microSD card standards compatibility can prevent potential malfunctions and protect your recordings, especially considering the importance of device-specific instructions for optimal operation.
Reformat or Replace Card
To troubleshoot microSD card issues effectively, start by removing the card carefully from your dash cam. Turn off the device completely and unplug it from the power source before ejecting the card to prevent data corruption. Gently eject the microSD card, ensuring proper alignment to avoid damage. Once removed, insert the card into your computer to check if it’s recognized and accessible. Test read/write speeds and look for errors or failure messages like “no card.” If needed, reformat the card in your dash cam using the recommended FAT32 or exFAT format, backing up important data first. Testing the card on a computer can help identify recognition issues or physical degradation. If problems persist—such as slow performance or detection failures—replace the microSD card with a new one of equal or higher capacity. After reformatting or replacing, verify the card works correctly by testing it immediately. Ensuring the card’s physical integrity is crucial, as physical damage can cause persistent issues even after reformatting. Additionally, understanding the 16PF personality traits of the device can help in troubleshooting hardware compatibility issues. Regularly inspecting the card for signs of physical damage and keeping firmware updated can also prevent future problems.

SYDYAM 4K Body Camera, 11-13Hrs Battery Body Cameras with Audio and Video Recording, H.265 Video Code Body Cam for Security Guard Train Conductor Delivery Driver Waiter (128GB)
4K 30fps Video Quality: The F1 body camera delivers stunning 4K resolution at 30 frames per second, ensuring...
As an affiliate, we earn on qualifying purchases.
Performing a Factory Reset to Clear Glitches
Performing a factory reset can effectively clear glitches that cause persistent UI crashes, configuration issues, or Wi-Fi connectivity problems. To do this, you might use a physical reset button, often requiring you to press it with a paperclip for 5–30 seconds until LEDs blink and the device reboots. Alternatively, access the reset option through the device’s menu—look for “Restore Defaults,” “Factory Reset,” or “Format”—and confirm before erasing user settings. Some models allow app-initiated resets via their vendor app, while others use specific button sequences, like pressing a button multiple times. Remember, a reset generally restores firmware settings to default but can erase user data and SD card contents. Back up vital footage and settings beforehand to prevent data loss. Resetting the device also helps resolve software bugs that might be causing unresponsive controls or erratic behavior. Additionally, understanding the types of reset procedures can help ensure you select the most appropriate method for your device. Knowing the device’s firmware capabilities can further assist in troubleshooting persistent issues effectively, especially when combined with vendor support resources. Incorporating software troubleshooting techniques can improve your chances of resolving complex problems without additional assistance. For devices with complex software, consulting the manual or online guides can provide detailed instructions tailored to your model.
Updating Firmware and Software
Updating your dash cam’s firmware and software is essential for peak performance and security. First, visit the manufacturer’s website to find the latest firmware for your specific model. Download the .zip file, unzip it to access the .bin firmware file, and rename it if necessary. Make sure the firmware version matches your dash cam model. Before updating, format your memory card using the dash cam’s Format function, then transfer the .bin file to the root directory of the card. Insert the memory card into your dash cam, power it off, and then turn it on via the car charger. The update will start automatically, indicated by a flashing LED. After completion, format the memory card again to clear the firmware file and prevent reinstallation. Proper formatting ensures the update process proceeds smoothly.
Inspecting Hardware Connections and Internal Components
Ensuring your dash cam’s hardware connections are secure is essential for reliable operation. Start by checking the power supply connection; confirm the cable is firmly plugged into both the dash cam and the 12V socket. Test the outlet with another device, like your phone, to verify it works. Inspect the fuse box as per your car manual and replace any blown fuses. Use the original power adapter rather than splitters or USB chargers. Examine the power cable for damage—bends, stretches, or wear—and swap it with a spare if needed. Make sure all cables are fully seated. For hardwired setups, verify the green light on Power Magic Pro and test fuses with a circuit tester. Secure internal cables, like coaxial or USB connections, and check for obstructions or loose parts inside the device. Proper power management is critical to prevent boot loops, so ensure the device is receiving stable power at all times. Additionally, power fluctuations can cause startup issues, so consider using a voltage stabilizer if necessary. Regularly inspecting and maintaining these connections can help prevent issues related to device reliability and ensure your dash cam operates smoothly. In the context of Gold IRA markets, proper electrical stability is crucial for the secure and consistent operation of sensitive financial equipment.
When to Seek Professional Repair or Replacement
Knowing when to seek professional repair or replacement can save you time and money, especially when hardware issues persist despite checking connections. If repair estimates exceed 50% of the device’s replacement cost, replacing the dash cam is usually more economical. For older units over 8-10 years or with heavy use, thresholds drop to 20-30%, making replacement more sensible. Repairs over $900 often prompt consumers to seek second opinions or avoid repairs altogether. If your dash cam shows signs of age, like persistent failures or high repair costs, it’s time to contemplate replacement. Complex issues involving ADAS calibration or sensor failures typically require expert intervention, which can be costly. In these cases, calibration requirements and the increasing complexity of vehicle systems may make replacement the more practical and safer option to ensure continued reliability.
Frequently Asked Questions
Can Overheating Cause My Dash Cam to Reboot Randomly?
Yes, overheating can cause your dash cam to reboot randomly. When the device gets too hot from prolonged sun exposure, high-resolution recording, or internal heat buildup, it automatically restarts or shuts down to prevent damage. To fix this, park in shaded areas, improve ventilation, and disable unnecessary features like Wi-Fi during hot weather. Using models with cooling systems or supercapacitors also helps maintain stable operation in high temperatures.
How Do I Identify a Faulty Microsd Card?
If your dash cam struggles to recognize or format the microSD card, it’s likely faulty. For example, a driver noticed frequent format errors and missing footage. To confirm, try the card in another device; if it shows errors or slow response there too, it’s defective. Look for physical damage, worn pins, or a broken write-protect switch. Replace the card if it exhibits these signs to guarantee reliable performance.
Does a Blue or Flashing LED Indicate a Specific Issue?
A blue or flashing LED typically indicates a specific issue with your dash cam. For example, a solid blue LED on Blue Ink Tech dashcams means you’re connected to the network, while a blinking blue light signals network errors or no SIM card. On TrakView models, a red blinking REC LED points to SD card problems, and a green PWR blinking indicates power or firmware updates. Always check your manual for model-specific meanings.
Will Disconnecting the Rear Camera Stop the Boot Loop?
Yes, disconnecting the rear camera can stop the boot loop. If your dash cam keeps restarting, a faulty or loose rear camera connection often causes the issue. By unplugging the rear camera cable, you isolate the problem. If the dash cam boots normally afterward, you know the rear camera connection or cable was the culprit. Reconnect it carefully or replace the cable to restore full function without restarting problems.
How Long Should a Factory Reset Take to Complete?
A factory reset usually takes between 5 and 60 seconds on most dash cams. If you’re using a physical reset button, expect about 5 to 20 seconds for the device to reboot. Some background processes, like SD card formatting or file-system checks, can extend this duration to several minutes. If it takes longer, check your SD card, firmware, or hardware health, and consider repeating the reset if necessary.
Conclusion
When your dash cam gets stuck in a boot loop, it’s like watching a film stuck on the same frame—frustrating but fixable. By carefully troubleshooting, you can restore it to smooth motion, freeing it from the cycle of restart. But if all efforts fail, it’s like a broken film reel—time to seek professional help or consider a replacement. Don’t let a simple glitch turn your device into a static, unchanging scene.