
If your entire home has no power, start by checking your main breaker for trips or visible damage. Turn off appliances, then inspect your panel and wiring for signs of trouble. Measure voltage at outlets and the main service to pinpoint where power stops. Test circuit protection devices and look for external issues like utility outages or weather damage. Following these steps can help you identify and fix the problem, and there’s more to uncover if you continue exploring.
Key Takeaways
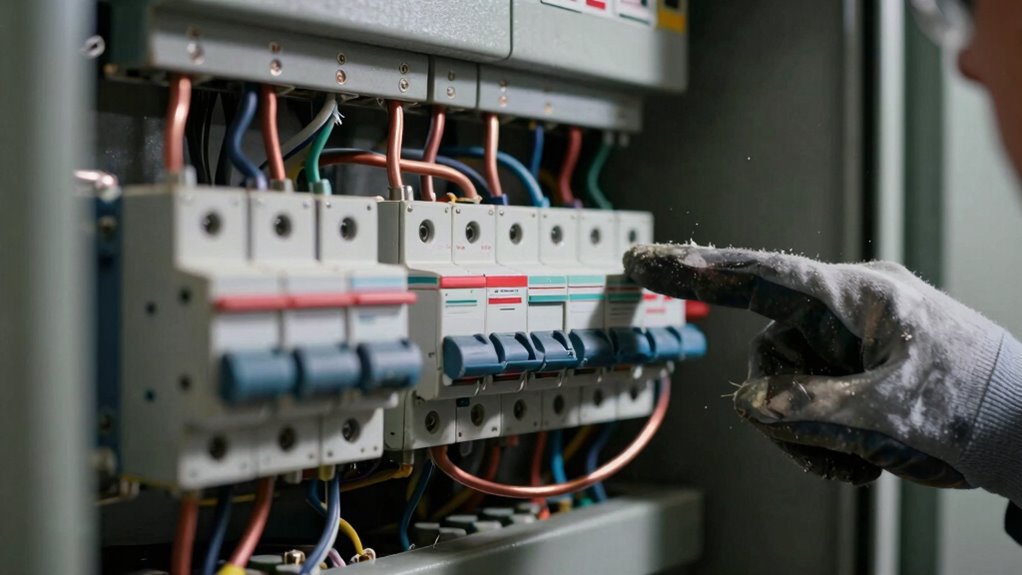
- Verify utility power supply and check main circuit breakers for trips or damage.
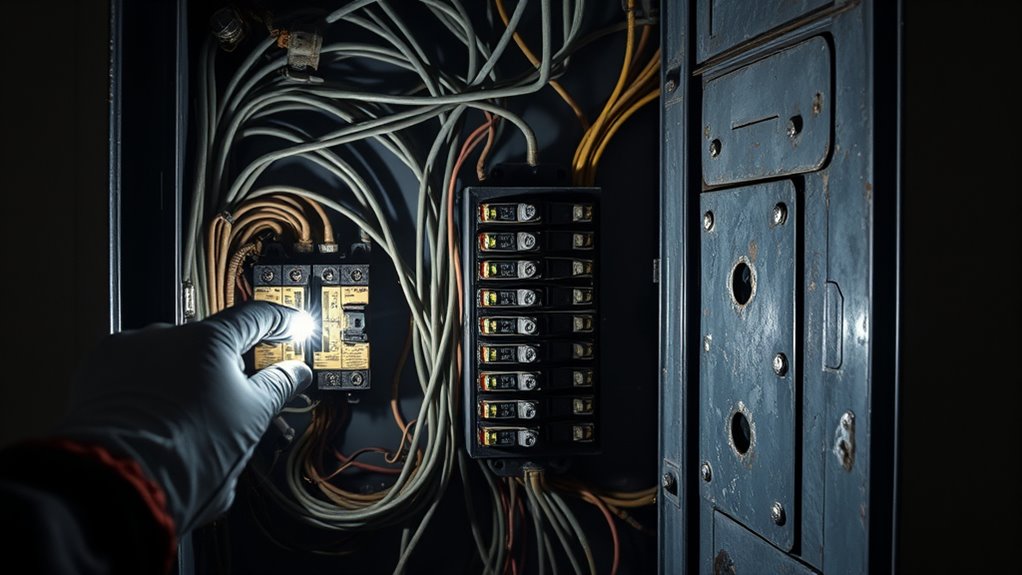
- Conduct visual inspection of the main panel for signs of wear, damage, or overheating.
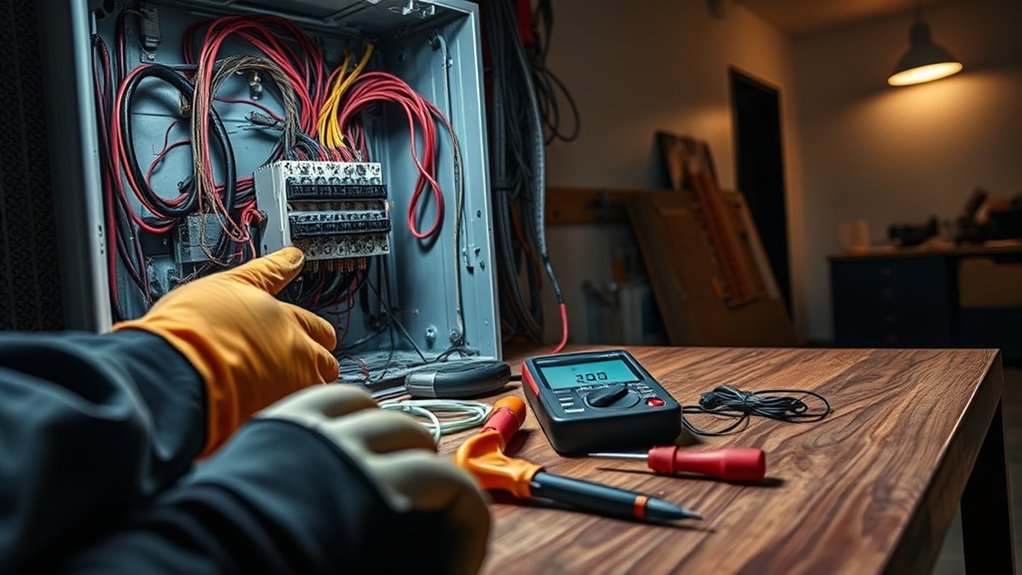
- Measure voltage at outlets and panel to identify voltage drops or outages.
- Test protection devices like fuses and circuit breakers for proper operation.
- Confirm external factors such as utility outages or weather-related disruptions before repair.
Confirm the Scope of the Power Loss
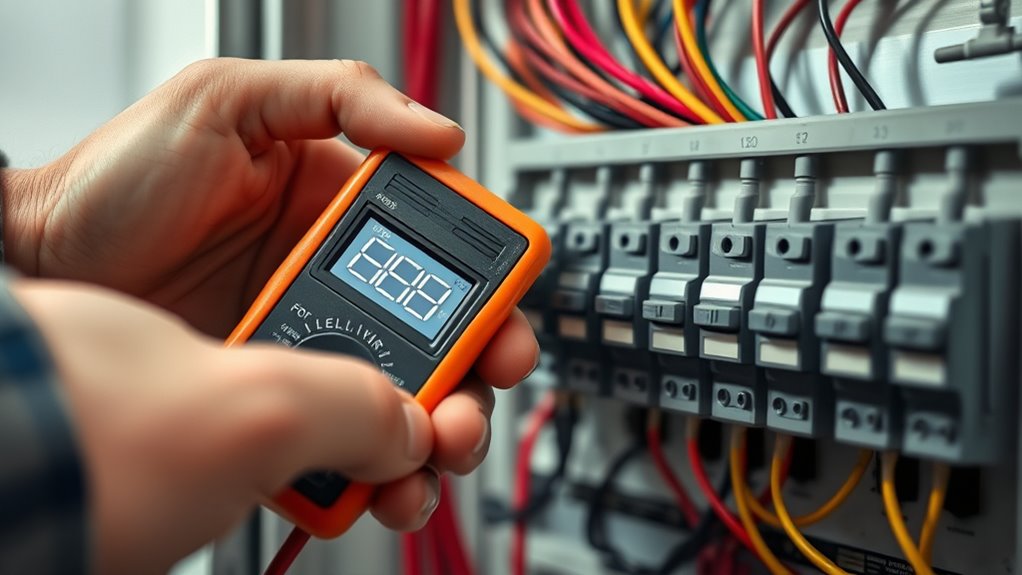
To effectively diagnose a power loss, start by confirming its scope. Check your main breaker panel for tripped breakers or switches that might have shut off. Use a voltage tester to verify utility power at the meter or service entrance. If no power is present, contact your power company or ask neighbors if they’re experiencing outages. Measure incoming voltage with a multimeter, comparing it to expected levels—usually around 120V or 240V depending on your system. Inspect the main power supply for visible damage or disconnections that could be interrupting flow. Confirming whether the issue affects a single outlet, a room, or your entire home helps narrow down the cause and guides your next steps. This initial scope check ensures you’re targeting the correct area for repair. Performing a thorough inspection can also help identify potential ground faults or other issues that may not be immediately visible, ensuring a comprehensive diagnosis. Additionally, understanding your electrical system’s power distribution can aid in pinpointing the source of the problem more efficiently. Recognizing patterns in your system’s load management can also provide clues about underlying issues. Moreover, considering the role of vetted wave and wind sources in your energy setup might reveal whether external factors influence your power stability. Being aware of external power influences can help in assessing whether fluctuations are caused by outside sources or internal faults.
Ensure Safety and Gather Necessary Tools
Before you start inspecting tools or handling electrical components, it’s essential to prioritize safety. Turn off appliances and unplug major electronics to prevent surge damage once power is restored. Stay at least 35 feet away from fallen power lines and anything they touch, and call 911 if you encounter downed lines. Maintain a distance of 100 feet from energized lines, as they’re highly dangerous. Avoid flooded basements with submerged outlets, since water may be energized. Never enter storm-damaged buildings until electricity and gas are confirmed off. Gather essential tools like flashlights with extra batteries, a battery-powered radio, and a backup power bank. Keep all household members aware of flashlight locations and safety procedures. Being aware of electrical safety risks can help prevent accidents during troubleshooting. It is also helpful to understand the power capacity of electric bikes to better assess your electrical needs and potential hazards. Additionally, knowing the navigation and mapping features of household robots can help you troubleshoot connectivity issues effectively. Recognizing essential oils and their properties can also be useful in emergency health situations, such as providing relief from common ailments. Following these steps guarantees your safety before troubleshooting further.
Conduct a Visual Inspection for Obvious Issues
Conducting a visual inspection is a crucial step in identifying obvious electrical issues before proceeding with further troubleshooting. Start by examining the panel enclosure for cracks, rust, water damage, or burn marks that could indicate internal problems. Look for signs of corrosion or scorching on surfaces, and verify no wires are exposed or frayed externally. Next, confirm that the panel cover is intact without breaks or nicks. Then, focus on circuit labeling: verify all breakers are properly labeled, conductors are identified per regulations, and labels are present on protective devices and switches. Finally, check wiring conditions for wear, damage, or melting, and look for overheating signs like warm surfaces, burning odors, or unusual sounds. These steps help you quickly spot issues that could be causing power loss. Regular inspections are essential for maintaining electrical safety and preventing potential hazards, ensuring your system operates reliably and safely. Additionally, understanding electrical components can aid in diagnosing complex problems that are not immediately visible. Being familiar with wiring integrity can further assist in identifying subtle issues that might not be apparent at first glance. To support accurate diagnosis, it’s also helpful to have a basic knowledge of electrical codes and safety standards that govern proper wiring and panel setup. Recognizing warning signs during inspections can significantly reduce the risk of electrical failures and improve system longevity.
Check Main and Branch Circuit Voltages
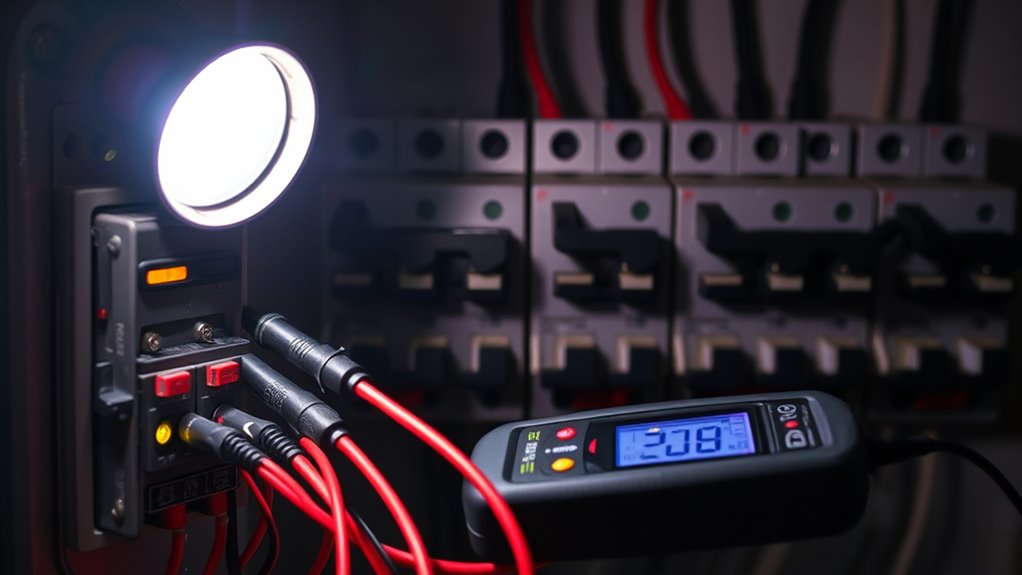
Start by testing the main voltage at your service entrance or main panel to verify power is reaching your home. Then, check the voltage at individual branch circuits, such as outlets or breaker terminals, to identify any voltage drops. Accurate readings help you determine if a main supply issue or faulty branch wiring is causing the power loss. Proper testing techniques ensure your measurements are reliable and can pinpoint where the problem originates. Additionally, understanding electrical load and how it affects voltage readings can help you diagnose issues more effectively.
Verify Main Voltage
To verify main voltage, first make sure your multimeter is properly set up and functioning. Once ready, follow these steps:
- Insert the black probe into the COM terminal and the red probe into the V terminal.
- Select AC voltage mode with the wavy line symbol, and choose a range above 120V or 240V.
- Place the black probe on neutral or ground and the red on the hot wire in the outlet.
- Digital multimeters provide precise readings and can help identify subtle voltage drops that may indicate wiring issues. Ensuring your multimeter has a calibrated sensor is vital for accurate measurements. Regularly checking the calibration helps maintain measurement accuracy over time. Using a multimeter with a properly functioning sensor can prevent false readings that lead to incorrect diagnoses. When testing, avoid touching metal parts to prevent inaccurate readings caused by electric shock. Check that the reading is between 110 and 125V for US mains. If the voltage matches expected levels, the main supply is likely intact. A zero or very low reading indicates a power outage or breaker trip. Confirm your readings to proceed with the diagnosis.
Inspect Branch Circuit Voltages
After confirming that your main voltage is within normal range, it’s important to verify the voltages at individual receptacles along the circuit. Use a calibrated multimeter to measure line-to-neutral (L–N) and line-to-line (L–L) voltages under no-load and loaded conditions, expecting around 120 V and 240 V respectively. Record readings at various points, noting any significant drops below about 108 V, which may indicate excessive voltage drop or faults. For multi-leg systems, check each phase-to-phase and phase-to-neutral; imbalance suggests upstream issues. When low voltage is detected, measure at the panel or upstream junctions to determine if the problem is local or upstream. Document time and location to track voltage patterns and identify the source of any irregularities. Regular voltage checks help to ensure ongoing circuit integrity and prevent unexpected power loss. Additionally, understanding voltage stability is crucial for maintaining reliable electrical performance. Performing these measurements regularly can reveal early warning signs of potential electrical failures before they cause damage or outages. Recognizing voltage fluctuations can also help in diagnosing intermittent issues that may not be immediately apparent and can be mitigated by inspecting connected appliances and circuits for power quality issues. Regular testing and proper maintenance of electrical systems can significantly reduce the risk of unexpected outages.
Test for Continuity and Proper Function of Protection Devices
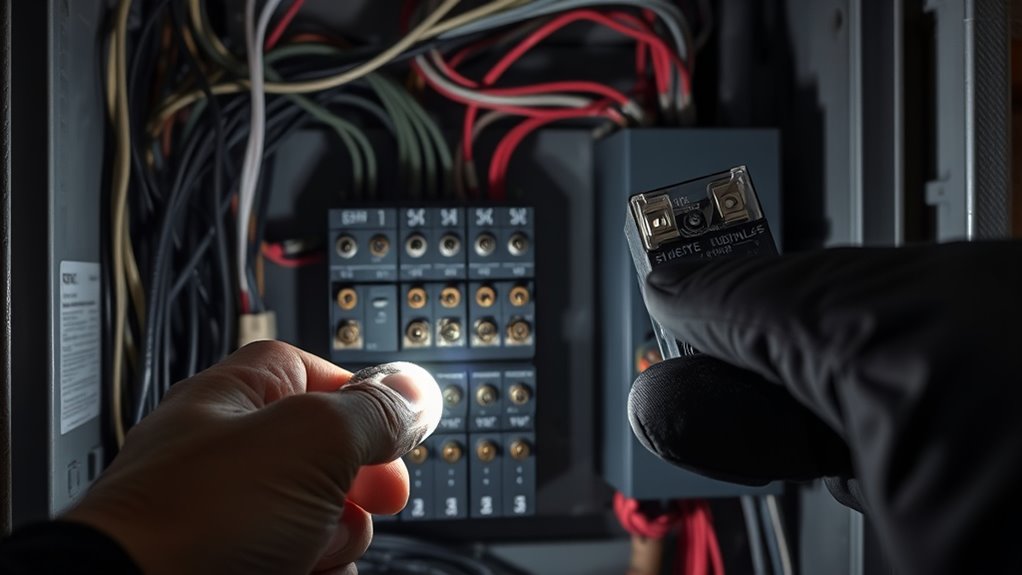
Testing the proper function of protection devices, such as fuses, circuit breakers, and ground-fault interrupters, is essential to guarantee your electrical system’s safety and reliability. To do this effectively:
Regular testing of protection devices ensures your electrical system remains safe and reliable.
- Power down and disconnect the circuit to prevent injury or damage.
- Set your multimeter to continuity mode or low resistance range, ensuring accurate readings.
- Test each device by placing probes across them; a beep or near-zero resistance indicates proper operation, while no beep or high resistance signals a fault.
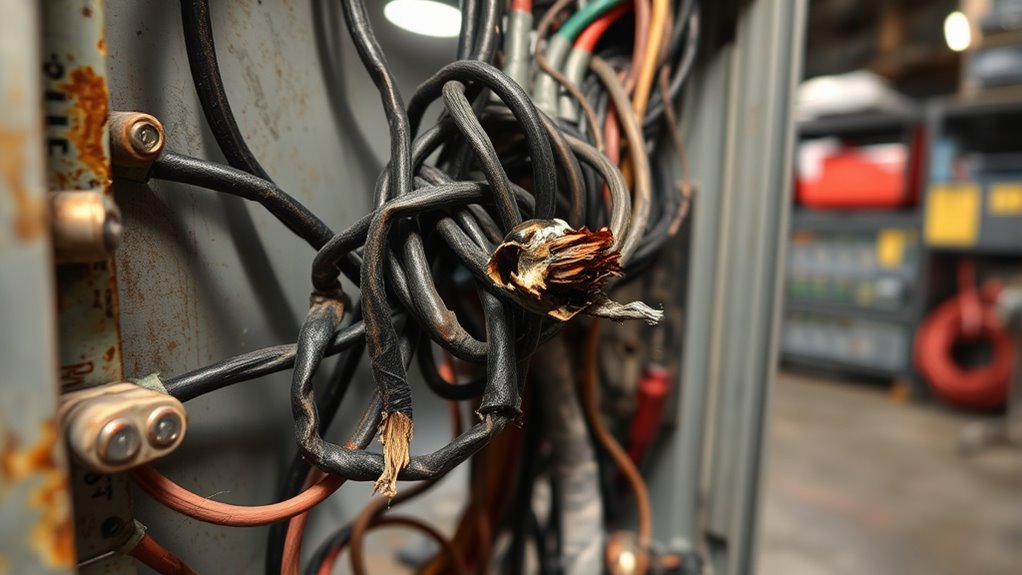
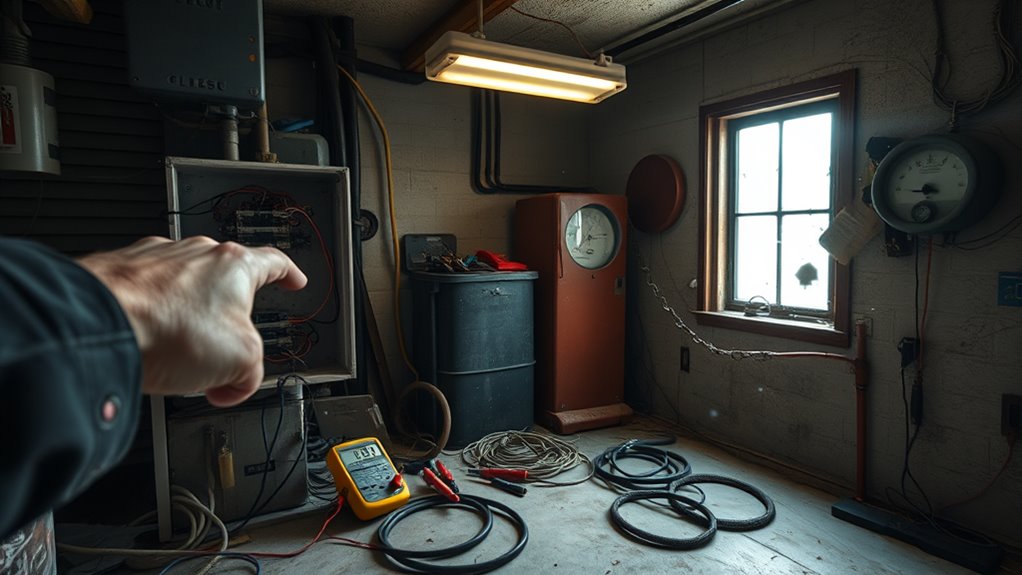
Isolate and Identify the Faulty Area
When protection devices pass their continuity tests, the next step is pinpointing the exact location of the fault within your electrical system. Begin by visually inspecting wiring, connectors, and joints for corrosion, damage, or looseness. Check for corroded terminations, which increase contact resistance, or loose connectors causing intermittent issues. Test insulation resistance to detect degraded insulation that might cause shorts. Examine busbars for discoloration, cracks, or corrosion—hot spots or deformations signal high resistance or mechanical stress. For internal equipment, verify winding continuity and look for signs of overheating or damage. Use targeted tests like thermography or resistance measurements to confirm suspect areas. Eliminating possible faults systematically helps you narrow down the problem to a specific area, making repairs more efficient. Additionally, understanding gelato flavors and their textures can help you relate to the importance of quality and precision, much like diagnosing an electrical fault. Recognizing electrical safety protocols is essential to prevent further damage or personal injury during troubleshooting. Employing appropriate testing equipment ensures accurate diagnosis and safer procedures. Regular maintenance and systematic troubleshooting are crucial in identifying hidden faults that may not be immediately apparent.
Evaluate External and Utility-Related Factors
Start by confirming whether the utility has identified an outage in their system, such as a confirmed fault or scheduled maintenance. Then, check external service conditions like weather reports, fallen trees, or wildlife activity that could disrupt power lines. Additionally, consider utility infrastructure conditions for signs of damage or deterioration that might contribute to a power loss. Severe weather and storms are the leading causes of outages, so understanding recent weather events in your area can help pinpoint the cause.
Utility Outage Confirmation
To confirm a utility outage, begin by checking online outage maps provided by your utility company, which display real-time locations and affected customer counts. These maps update automatically as crews report progress, with color-coded indicators showing outage severity. Use the following to deepen your understanding:
- Look for widespread dark homes or streetlights out, indicating a utility-level outage.
- Note if neighboring properties have power, suggesting internal wiring issues rather than a utility failure.
- Observe if traffic signals or business signs are off, confirming broader grid interruptions.
- Keep in mind that these outage maps are continuously updated through real-time data integration, providing the most current outage information.
Additionally, call your utility provider’s automated system or speak with a live agent for outage status updates. Monitoring social media updates or local news alerts can also provide rapid confirmation and context.
External Service Inspection
After confirming a utility outage, inspecting the external service components can reveal whether the problem stems from the utility’s infrastructure or your property’s wiring. Begin by examining the service drop and lateral for damage, corrosion, or overheating signs, and guarantee clearances are maintained from structures and vegetation. Check weatherproofing where conductors enter the meter or panel. Inspect the meter socket for overheating, loose connections, or damage, and verify the meter’s correct type and rating. Look for utility seals, tags, or recent work indicators. Examine external disconnects and surge arrestors for damage or improper condition. Also, verify a continuous grounding conductor, proper electrode connections, and that bonding is correct. Finally, confirm the main disconnect matches service ratings and shows no signs of damage or tampering.
Implement Repairs and Verify Power Restoration

Once you’ve completed the necessary repairs, it’s essential to verify that power has been successfully restored. Start by testing outlets and connections with a non-contact voltage tester or multimeter. Then, follow these steps:
- Plug in devices gradually, observing if any trips or issues occur.
- Perform continuity tests on circuits and connections to ensure proper flow.
- Conduct mechanical inspections on breakers and switches, checking for proper operation.
- Confirm that the circuit breaker has not tripped again and that all switches are in the correct position. Regular testing helps detect issues early and maintain safety. These steps help confirm everything functions correctly and safely. Remember to document each step to identify patterns or recurring issues. If power isn’t restored or problems persist, revisit earlier steps or consult a professional. Verifying power restoration thoroughly prevents future faults and ensures your system’s safety and reliability.
Frequently Asked Questions
How Can I Tell if the Outage Affects the Entire Property or Just One Circuit?
You can tell if the outage affects the entire property or just one circuit by checking your main panel. Look for tripped main breakers or blown fuses. Reset any tripped breakers and see if power returns. Use a voltmeter to test voltage at the main panel bus bars; if there’s no power, the issue likely affects the whole property. If power is restored after resetting individual breakers, only a specific circuit is impacted.
What Safety Precautions Are Essential Before Opening Electrical Panels or Working on Circuits?
Before opening electrical panels or working on circuits, you need to prioritize safety. First, de-energize the panel following lockout/tagout procedures, ensuring the main breaker is shut off. Wear appropriate PPE, like insulated gloves and protective eyewear. Confirm the panel is properly grounded, and inspect for damage or exposed wires. Always stand to the side when resetting breakers, and never work on live parts. These precautions protect you from electrical shocks and injuries.
How Do I Differentiate Between a Blown Fuse and a Tripped Breaker Visually?
You can tell a blown fuse by looking for a broken or melted filament inside the glass or ceramic body, along with discoloration or burn marks on the fuse or holder. For a tripped breaker, check if the handle is in the middle or off position instead of fully on, and look for external heat damage or discoloration. Remember, visual clues can be misleading, so testing with a multimeter is always best.
What Are Common Signs That Indicate a Faulty Main Service or Utility Supply?
Think of your electrical system as a delicate symphony—when it falters, something’s wrong at the core. Look for flickering or dimming lights, frequent breaker trips, or burning smells near your panel. Visible signs like scorch marks, corrosion, or sparks also signal trouble. Tactile clues, such as breakers that won’t reset or tingling shocks, further confirm a faulty main service or utility supply, requiring immediate professional attention.
When Should I Call a Professional Electrician Instead of Troubleshooting Myself?
You should call a professional electrician whenever you notice burning smells, smoke, sparks, or strange noises from outlets or panels. If your breakers keep tripping, lights flicker, or outlets feel warm, it’s time to get expert help. Also, avoid troubleshooting if you see frayed wires, electrical shocks, or signs of overheating. These issues can be dangerous and require a licensed electrician to diagnose and fix safely.
Conclusion
When the power’s gone, think of it as a silent signal, calling you to listen closely. Follow each step like turning pages in a story, uncovering hidden clues. As you isolate the fault, imagine clearing the fog to reveal light. Restoring power is like reigniting a spark within, a reminder that even in darkness, understanding guides you back to brightness. Trust the process; eventually, the flow of energy will return, illuminating your path forward.