
If you’re overwriting clips too quickly, start by adjusting your clip lengths to match platform standards or content pace, ensuring they’re neither too short nor too long. Lock settings help keep clips consistent and prevent accidental changes, especially during complex edits. Properly organizing your timeline and using locks can slow down accidental overwriting. To learn how to optimize your workflow further and avoid common mistakes, explore the strategies below.
Key Takeaways
- Use Track Lock and Sync Lock to prevent unintended clip modifications during editing.
- Organize clips with proper timeline structure and clear naming to avoid accidental overwrites.
- Adjust clip length to match platform norms and content pacing for smoother edits.
- Implement locking of specific clips or tracks to maintain consistent durations and prevent quick overwrites.
- Monitor editing workflow, utilize templates, and leverage AI tools to reduce rushing and enhance accuracy.
Understanding the Importance of Proper Clip Lengths
Understanding the importance of proper clip lengths is essential because viewers quickly lose interest if videos are too long or too short for the platform. Short videos, like those on TikTok and Instagram Reels, perform best at 7-15 seconds, maximizing engagement without drop-off. For platforms like LinkedIn, 30-60 seconds work well, with under 30 seconds achieving a 200% completion rate. Facebook videos are most popular up to 90 seconds, while Stories on Instagram and Facebook benefit from 15-20 seconds to keep viewers hooked. Longer content, such as YouTube Shorts, thrives at 5-15 seconds, and detailed educational videos can extend up to 12 minutes. Proper clip length directly impacts viewer retention and platform algorithm favorability, making it crucial to tailor your videos accordingly. Tailoring your clip length to platform-specific preferences guarantees you retain viewers, boost interaction, and meet your content goals effectively, especially when considering the content’s emotional impact and how it resonates with your target audience. Additionally, understanding the audience engagement patterns helps in optimizing video performance across different social media channels. Moreover, utilizing content analysis can identify the most effective clip lengths for your specific target audience, further enhancing your video strategy. Recognizing platform-specific preferences allows creators to adapt their content for maximum reach and engagement, and understanding content quality can also influence viewer retention and overall success.
Common Causes of Overwriting Too Quickly
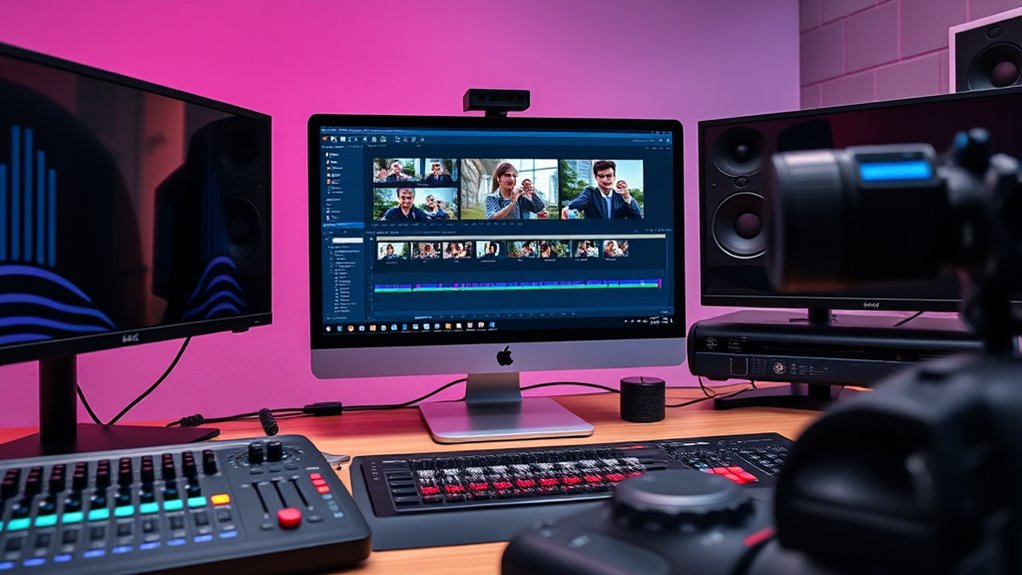
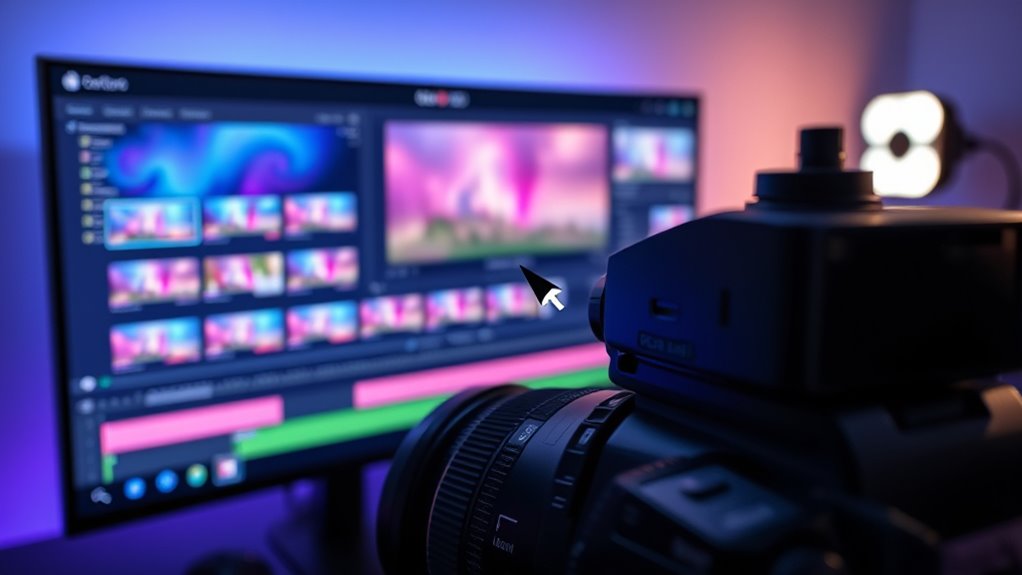
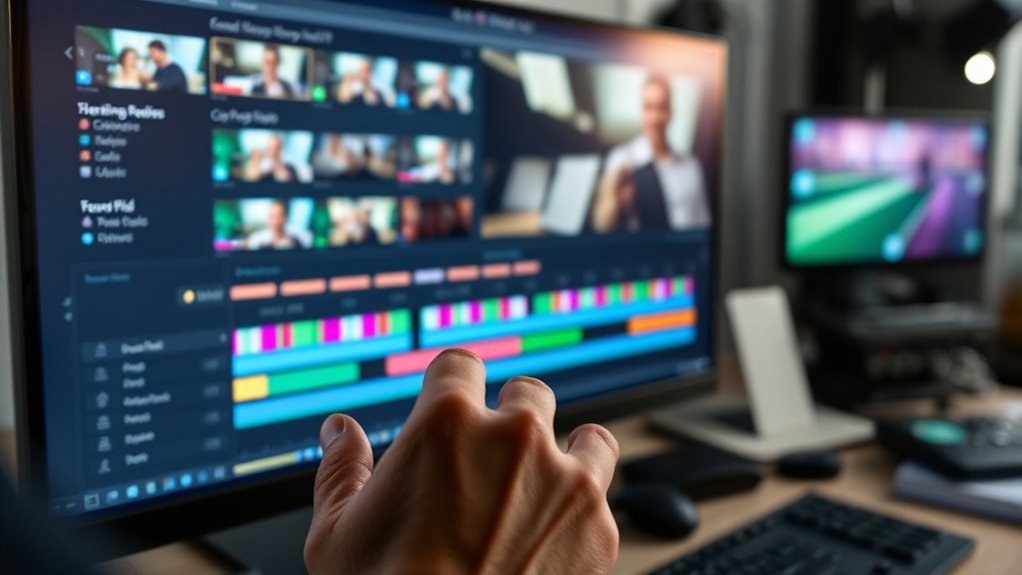
One of the main reasons clips overwrite too quickly is disorganized timelines. When your timeline is cluttered with too many layers or unorganized clips, accidental overwrites become common—even in short videos. Beginners often struggle with workflow, leading to chaotic timelines that make clip placement and replacement tricky. Multiple layers increase the chance of mistakenly replacing the wrong clip. Additionally, poor structure can cause unintended substitutions, especially if clips aren’t properly trimmed or organized. Another cause is incorrect source patching; if patching isn’t enabled, dragging clips won’t fully overwrite existing footage, resulting in partial replaces or unexpected behavior. Proper timeline management helps maintain control and reduces errors during editing. Ensuring your sequence settings are correctly matched to your footage can also prevent unexpected overwrites and shifts. Furthermore, understanding how clip length interacts with overwrite functions can prevent premature overwriting of your footage. Additionally, understanding project organization practices can significantly improve editing efficiency and reduce errors during the process. Implementing consistent media file naming conventions can also help avoid confusion and accidental overwriting, especially in complex projects. Properly managing your media files and utilizing consistent naming conventions can further streamline your workflow and minimize overwriting issues.
Adjusting Default Clip Length Settings in Editing Software
Adjusting the default clip length settings in your editing software helps prevent clips from appearing shorter or longer than intended when importing media. Most NLEs let you set a default duration via Preferences or Project settings, ensuring imported images or clips automatically appear at your preferred length. For example, Premiere Pro allows you to adjust the default image/video clip length through Preferences → Timeline, so re-imported media follows that setting. Vegas Pro offers a “New still image length” option in Preferences → Editing, which you can customize for future imports. If your software lacks a global default, you can change project presets, use batch commands, or modify clip durations after import. Many editors also support mass-duration edits using selection tools or scripting, streamlining the process. Some programs also enable you to set default durations for specific media types, providing more control over your editing workflow.
Implementing Advanced Pacing Strategies for Better Flow
To craft a compelling flow, you need to implement advanced pacing strategies that align with your story’s emotional beats and narrative structure. Start by mapping each scene’s emotional tone, marking peaks and valleys to guide editing choices. Use scene-specific tempo charts—slow, medium, or fast—to maintain consistency throughout. Incorporate temporal techniques like jump cuts, montages, or speed ramping to manipulate perceived timing and heighten emotional impact. Mix shot varieties and lengths to create micro-rhythms that support the story’s mood. Layer sound design, music, and silence to reinforce pacing cues and enhance viewer engagement. Regularly test different pacing options to see how audiences respond, adjusting based on metrics like retention and drop-off points. Additionally, paying attention to the content structure can help optimize viewer experience by aligning pacing with the overall message. Understanding Free Floating elements can help you maintain a natural flow that feels seamless and engaging for viewers. Incorporating audience feedback into your editing process can further refine pacing choices to better resonate with viewers’ preferences and expectations. Furthermore, leveraging viewer engagement metrics allows you to fine-tune pacing for maximum emotional impact. A thorough grasp of narrative flow principles can guide you in creating a cohesive and immersive experience that keeps viewers invested from start to finish.
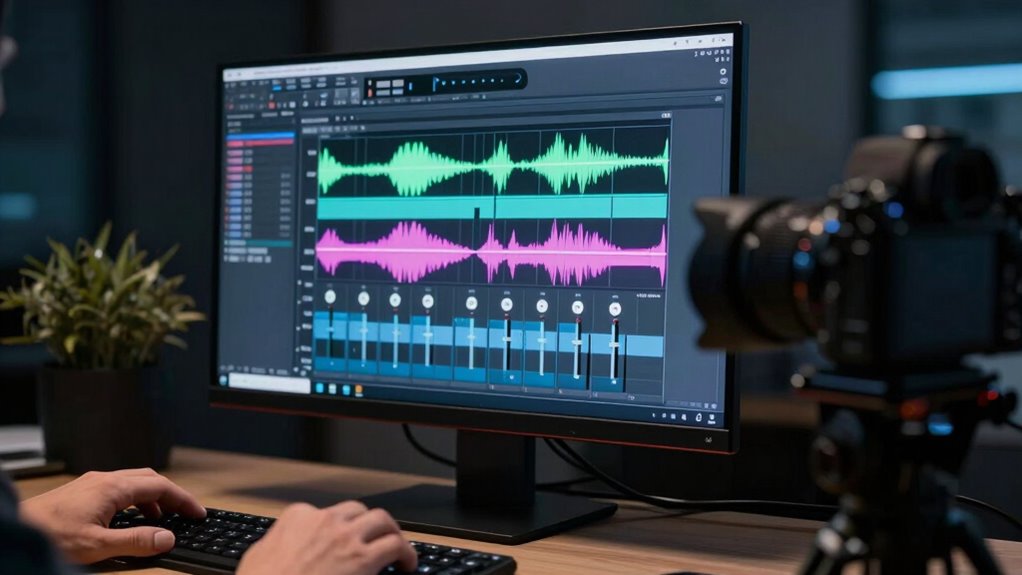
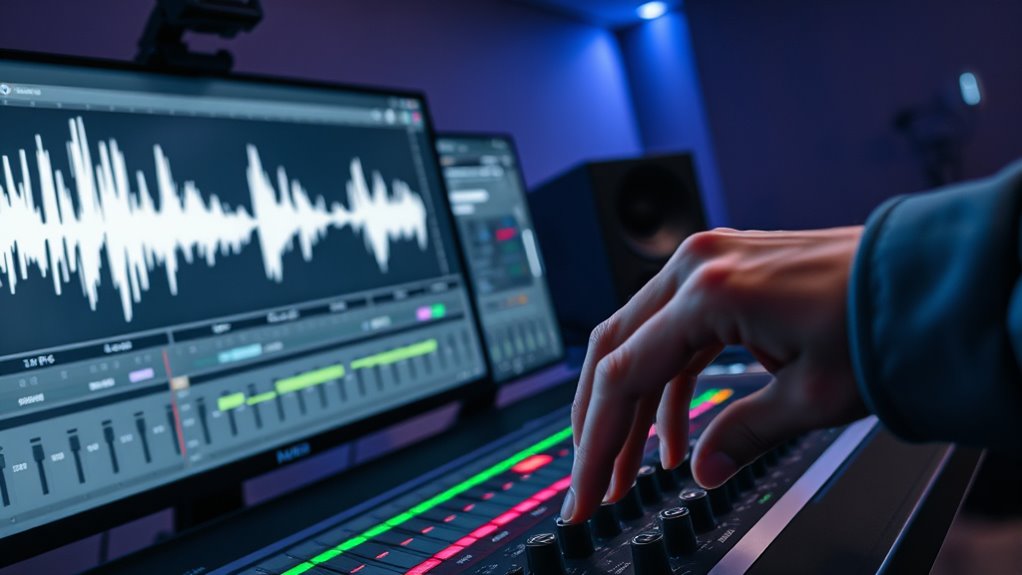
Utilizing Lock Settings to Maintain Consistent Clip Durations
Utilizing lock settings in Premiere Pro is essential for maintaining consistent clip durations during complex editing sessions. Track Lock prevents any changes to clips on a locked track, safeguarding your edits from accidental moves or trims. You can still adjust attributes like speed on locked clips, but further sequence modifications require unlocking the track. Sync Lock, toggled per track, preserves clip alignment during ripple trims, ensuring timing stays intact when editing adjacent clips. Audio tracks often have Sync Lock disabled to avoid unwanted shifts. Linking video and audio clips with Command + L keeps them moving together, preventing desync from accidental drags or trims. Applying Edit Lock or section locks protects specific timeline parts, maintaining consistent clip durations and sequences as you refine your project with confidence. Additionally, using lock settings can help prevent unintended changes when working collaboratively or sharing projects, ensuring your edits remain stable. For example, enabling navigation and mapping features helps maintain precise placement of clips during edits, reducing the risk of misalignment. Properly utilizing lock settings can also streamline your workflow by reducing the need for repetitive adjustments, saving time during complex edits. Incorporating vetted practices, such as locking tracks and clips at appropriate stages, further enhances the stability and accuracy of your editing process.
Recognizing and Avoiding Editing Pitfalls That Speed Up Overwriting
Rushing clip shifts and ignoring content flow can make you overlook how edits impact the overall story. Quick cuts often lead to accidental overwrites and disrupt pacing, forcing more fixes later. Recognizing these pitfalls helps you maintain smooth edits and preserve your project’s clarity. Implementing scene-based editing techniques allows for better control over timing and reduces the likelihood of speeding through edits without considering the narrative.
Rushing Clip Transitions
When shifts are made too quickly, it can substantially undermine the smoothness and professionalism of your edit. Rushing passages often result in abrupt cuts that jar viewers, making the flow feel rushed rather than seamless. Default short-duration presets in editing software encourage quick wipes and dissolves that don’t match the rhythm of your footage. Rapid changes also magnify micro-timing errors, like off-by-a-frame cuts or mismatched motion, exposing stutters or unnatural motion. Additionally, fast switches can reveal audio discontinuities, disrupting dialogue flow. To avoid these pitfalls: Inconsistent pacing, use longer transition durations aligned with content pacing; match motion and speed when switching clips; plan transitions to fit the rhythm of your story; review timing carefully before finalizing edits.
Ignoring Content Flow
Ignoring content flow during editing can severely disrupt the narrative rhythm, leading to uneven clip lengths that break viewer engagement. When clips vary drastically in duration, it creates jitteriness or sluggishness, weakening storytelling. Excessively long clips in fast-paced scenes cause perceptual lag, making subsequent cuts feel rushed and disjointed. Failing to match pacing to emotional beats results in a weaker emotional impact and reduced coherence. Ignoring consistent shot-reverse-shot timing for dialogue disrupts conversational flow, prompting unnecessary overwrites. Additionally, neglecting rhythmic motifs strips away visual anchors, leading to forced transitions and increased overwriting. This approach hampers spatial and temporal continuity, causing confusion and breaking immersion. To maintain smooth storytelling, you must respect content flow, matching clip pacing and rhythm to the scene’s emotional and narrative beats. Proper editing techniques are essential to ensure the overall coherence and engagement of your video.
Tips for Balancing Clip Lengths Across Different Content Types
To effectively balance clip lengths, you need to match your content style with platform expectations. Pay attention to the norms for each platform, like short Snapchat videos or longer YouTube Shorts, to keep viewers engaged. By aligning your clips with audience preferences, you maximize engagement and guarantee your content resonates across different formats. Understanding platform-specific trends helps you determine the optimal video length for each audience, ensuring your content delivers value and maintains viewer interest. Additionally, content optimization involves tailoring your clip durations to enhance overall viewer experience and meet algorithm preferences.
Match Content Style
Matching clip length to your content style guarantees viewers stay engaged and your message hits home. You need to tailor your edits based on audience expectations, content type, and platform. For short-form clips under 30 seconds, keep pacing quick and focus on capturing attention fast. Educational videos can afford longer segments if they support comprehension, while entertainment benefits from rapid cuts and dynamic rhythms. Remember to differentiate mobile from desktop viewing—mobile prefers shorter, snappier clips. Measure engagement during testing to refine your target lengths. Use platform analytics to benchmark success and adjust accordingly. Prioritize the first 3–5 seconds for a compelling hook, and ensure your clip length aligns with viewer intent to prevent drop-off.
- Match clip length to viewer attention span
- Adjust pacing for content complexity
- Consider platform and device preferences
- Use data to refine content and length
Use Platform Norms
Balancing clip lengths across different platforms requires understanding and leveraging each platform’s norms to maximize engagement. For example, Instagram favors 7–15 second Reels and Stories, with posts up to 10 minutes for most accounts. Shorter clips, like 26 seconds, tend to generate more comments. TikTok thrives on 10–15 second videos, with engagement driven by quick, impactful content in just a few seconds. YouTube Shorts are best kept around 30–45 seconds for highlights, while standard videos can be much longer, up to 12 hours. Facebook prefers 30–90 second in-feed videos and stories under two minutes. Recognize these norms to tailor your clips effectively, ensuring your content matches platform expectations and boosts viewer response without risking overshooting or undershooting ideal lengths. Additionally, understanding each platform’s attention span trends helps creators optimize clip pacing to hold viewer interest longer and improve overall content performance. Being aware of platform-specific norms allows creators to develop a more strategic approach to video editing, increasing viewer retention and engagement.
Maintain Viewer Engagement
Different content types demand different clip lengths to keep viewers engaged and prevent drop-off. To maintain interest, tailor your clips to fit audience expectations and platform norms. Short-form videos like TikTok and Reels perform best at 15–30 seconds, with engagement dropping sharply after 2 minutes. Educational content benefits from 1–10 minute formats, with viewers willing to watch over two-thirds of the video. Brand awareness clips should stay under 60 seconds for maximum retention. Conversion videos often require 6–12 minutes to balance depth and engagement. Keep these tips in mind:
- Match clip length to content purpose and audience preferences
- Use quick hooks within the first 15–30 seconds
- Vary lengths based on platform and content type
- Focus on delivering value efficiently to boost retention
- Optimal video length significantly influences viewer retention and overall effectiveness.
Monitoring and Fine-Tuning Your Editing Workflow for Optimal Results

To optimize your editing workflow, you need to actively monitor key performance metrics and modify your processes accordingly. Tracking audience engagement, export quality, and editing time helps identify bottlenecks and opportunities for improvement. Use data from AI tools that boost productivity by 47% and reduce editing time by 34%. Regularly review these metrics to refine your techniques, like batch processing clips or applying shortcuts, saving time and ensuring consistency. Incorporate the following table to focus your efforts:
| Metric | Purpose | Action |
|---|---|---|
| Engagement Rates | Audience preferences | Adjust content based on feedback |
| Export Quality Checks | Final output standards | Use device previews before publishing |
| Editing Time | Workflow efficiency | Implement shortcuts and templates |
| AI Tool Performance | Cost and time savings | Optimize AI integrations |
Monitoring ensures you’re maximizing AI benefits and streamlining your workflow. Additionally, paying attention to content evolution can help you adapt your editing strategies to meet changing audience expectations. Being aware of technological advancements can also give you a competitive edge in staying current with editing innovations. Regularly analyzing your performance metrics helps maintain a consistent and efficient editing process, and leveraging feedback data can further enhance your workflow adjustments. Incorporating support tools like templates and shortcuts can streamline repetitive tasks and improve overall efficiency.
Frequently Asked Questions
How Can I Identify if My Clips Are Too Short or Too Long?
You can tell if your clips are too short or long by checking viewer engagement metrics. If viewers drop off early or watch only a small percentage, your clip might be too long or too short for their expectations. Look at platform-specific benchmarks—like 26–30 seconds for Instagram—and compare your watch time and interaction rates. If engagement drops when clips exceed ideal lengths, adjust accordingly to match audience preferences and platform norms.
What Are the Best Practices for Maintaining Consistent Clip Lengths?
Think of your clips as a symphony—you want each note to contribute to harmony. To preserve consistency, plan your pacing based on platform norms, setting a target length—like 4-7 seconds for social clips or longer for tutorials. Use editing tools to trim and adjust clips precisely, avoiding abrupt jumps. Mix short and long shots for variety, and review your timeline regularly to ensure smooth, balanced flow throughout your content.
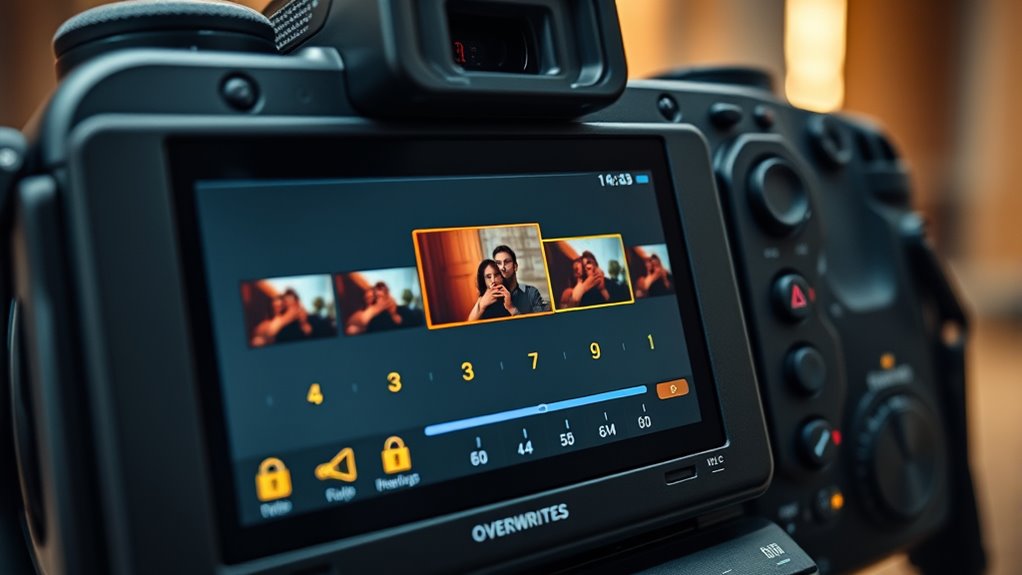
How Do I Prevent Accidental Overwriting During Editing Sessions?
To prevent accidental overwrites during editing, always double-check your track targeting before pasting or dragging clips. Use source patching to control where media lands, and lock tracks you don’t want altered. Customize shortcuts for insert and overwrite commands, and utilize modifier keys to change behavior temporarily. Enable autosave and maintain backups so you can recover if mistakes happen. Being cautious and organized keeps your edits smooth and error-free.
Are There Specific Settings to Automate Clip Length Adjustments?
Yes, you can automate clip length adjustments with specific settings. Set target durations in your automation tools or scripts, like defining precise clip lengths in seconds. Use platform profiles to match ideal lengths for each platform, and configure tolerance settings to prevent cuts inside important content. Additionally, utilize AI highlight detection or scripting libraries to standardize clip lengths across your project, reducing manual adjustments and ensuring consistent output.
How Can I Troubleshoot When Lock Settings Aren’T Saving Properly?
Think of your lock settings like a fragile glass—they need careful handling. First, make sure you’ve unchecked “Project Locking” in Preferences to prevent automatic lock file creation. Save your project and restart Premiere Pro to see if changes stick. If issues persist, check for cloud sync conflicts or lock files (.prlock). Clearing caches, maintaining a stable internet connection, and avoiding conflicting software also help guarantee your lock settings save properly.
Conclusion
Think of your editing process as tending a garden. When you set your clip lengths and lock settings wisely, you’re planting steady seeds that grow into a harmonious landscape. Avoid rushing the seasons; instead, nurture each clip’s rhythm for a balanced flow. With patience and careful adjustments, your project will flourish, revealing a masterpiece that’s as resilient and beautiful as a well-tended garden—precise, vibrant, and uniquely yours.