Check your display and connections first—loose cables or incorrect settings often cause detection issues. Clean the camera lens and inspect the housing for damage or obstructions. Verify wiring and power supplies to make sure everything’s secure and stable. Test the camera with a known good source to confirm it’s working properly. Finally, reset or reconfigure the system to fix glitches. Keep going to discover more simple steps to get your rear camera detected again.
Key Takeaways
- Check display settings and connections to ensure the rear camera feed is properly configured and cables are secure.
- Clean the camera lens and inspect housing for damage or obstructions that may block the view.
- Verify wiring connections and power supply stability to ensure consistent camera operation.
- Test the camera with a known good source or device to identify hardware faults or compatibility issues.
- Reset or reconfigure the system, including firmware updates and recalibration, to resolve detection glitches.
Check Your Vehicle’s Display and Connection
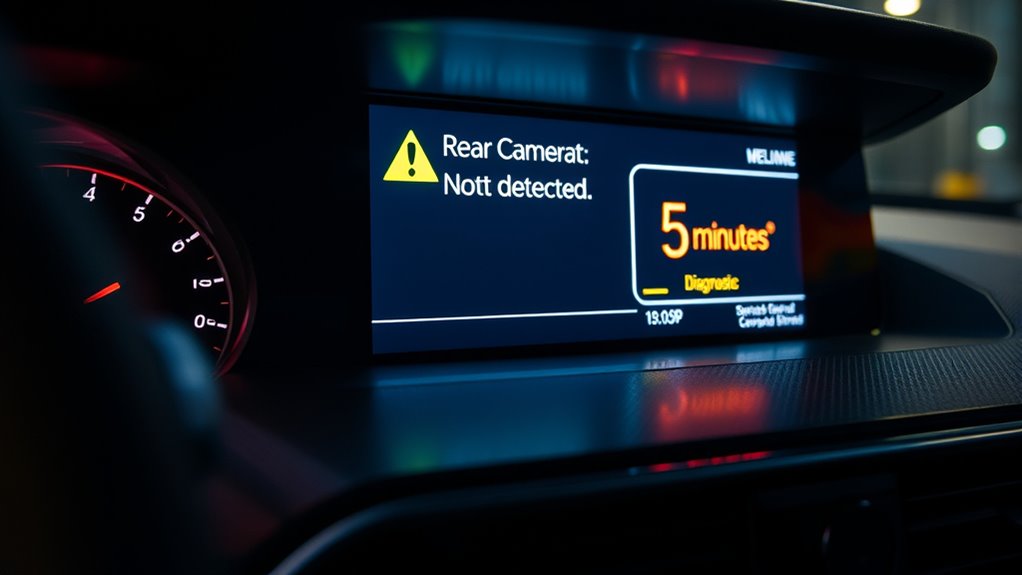
If your display shows other information or flickers, it might indicate a loose connection or a faulty cable. Also, ensure that your display settings are correctly configured to show the rear camera feed. Sometimes, a simple reset or restarting the vehicle can resolve display glitches, allowing the camera image to appear properly. Checking the projector technology used in your vehicle’s display system can help identify compatibility issues or limitations that affect camera detection. Additionally, inspecting the wiring basics can reveal if any connections have become corroded or damaged over time. Understanding the navigation and mapping systems can also assist in diagnosing if software glitches are affecting camera detection. Moreover, reviewing the user privacy settings related to data sharing may influence how camera data is processed or displayed in some vehicles. Conducting a system update may also resolve underlying software issues that interfere with rear camera detection.
Inspect the Camera Lens and Housing
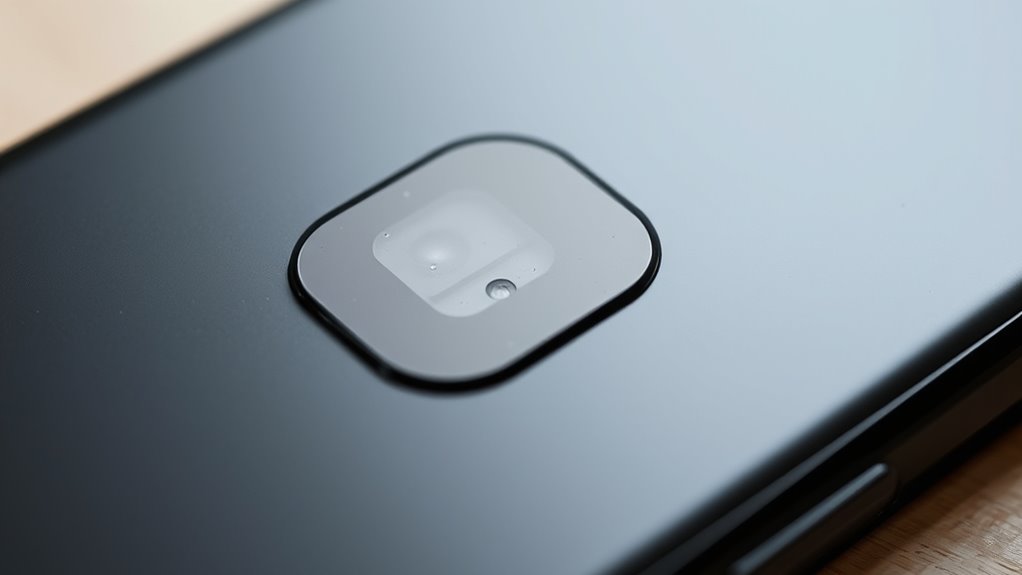
Start by examining the camera lens and housing for dirt, debris, or damage. Dirt or smudges can obscure the view, so perform lens cleaning with a soft cloth and appropriate cleaner. Check the housing for any damage that might block or misalign the camera. Here are key steps:
- Look for dirt, fingerprints, or water spots on the lens.
- Gently clean the lens if needed, avoiding scratching.
- Inspect the housing for cracks, dents, or loose parts.
- Ensure the housing is securely attached and not obstructed.
- Consider the camera’s protective features, such as UV filters or coatings, which might require special care during cleaning.
- Keep in mind that lens maintenance is essential for optimal camera performance.
- Regularly inspecting and maintaining the camera can prevent detection issues and extend the lifespan of your system.
- Additionally, understanding the importance of proper cleaning techniques can help avoid damage and ensure clear visibility.
Address any lens dirt with proper cleaning techniques, and note any housing damage that could affect camera detection. Keeping these components in good condition helps ensure your rear camera functions properly.
Verify the Wiring and Power Supply

Checking the wiring and power supply is vital to guarantee your rear camera functions correctly. Start by inspecting all connections to ensure they’re secure and free of damage. Loose or broken wires can prevent the camera from powering on. Also, verify that your power source supplies consistent voltage, as fluctuations can cause issues. Be aware of wireless interference, which can disrupt camera signals, especially if your system relies on wireless connections. Additionally, ensure your device has the latest software updates, as outdated firmware might cause detection problems. If the wiring looks intact and your power supply is stable, try relocating your system to reduce interference. Proper wiring and stable power are essential for consistent camera detection and performance. Electrical stability is crucial for maintaining reliable operation in high-tech outdoor systems. Ensuring proper connectivity can also prevent detection failures caused by intermittent signal issues. Regularly inspecting connections and maintaining a steady power supply helps sustain optimal camera performance. For added reliability, consider using voltage regulators to protect your system from power fluctuations. Additionally, using high-quality cables and connectors can further improve overall system reliability and reduce potential detection issues.
Test the Camera With a Known Good Source
To confirm whether the camera itself is functioning properly, connect it to a known good power source or a compatible test device. This helps isolate whether the issue stems from the camera or other system components. Next, follow these steps:
- Check if the camera displays a clear image; poor image quality may indicate calibration issues.
- Update the camera’s firmware or software to ensure compatibility with your system.
- Test the camera with a different device to confirm it’s not a compatibility problem.
- Verify that the system recognizes the camera after calibration adjustments or software updates.
- Consider examining the sensor technology inside the camera, as damage or wear can affect detection.
- Proper testing with a known good source also helps identify power supply issues that might affect camera performance.
- Be aware of recent Microsoft outage events that could temporarily affect connected systems or cloud-based components involved in the diagnosis process.
- Additionally, understanding nanotechnology advancements can provide insights into potential hardware improvements for future camera designs.
- Conducting regular system maintenance can prevent many detection issues before they occur.
If the camera still isn’t detected, it might be faulty. Proper testing with a known good source guarantees accurate diagnosis before proceeding further.
Reset or Reconfigure the System

If your rear camera still isn’t detected after testing the hardware, resetting or reconfiguring the system can often resolve underlying software issues. Start by performing a software update to ensure your system has the latest fixes. Next, check if the dashboard calibration is accurate; incorrect calibration can cause detection problems. To reset, turn off your vehicle, disconnect the battery for a few minutes, then reconnect it. This can clear glitches. Some systems allow reconfiguration via the settings menu—look for options like “System Reset” or “Factory Defaults.” Use this table as a quick guide:
| Step | Action | Result |
|---|---|---|
| Software update | Download latest firmware from manufacturer | Fixes bugs causing detection issues |
| Dashboard calibration | Recalibrate through settings menu | Ensures system recognizes camera |
| System reset | Disconnect battery, restart vehicle | Clears software glitches |
| Reconfigure system | Use system menu to reset settings | Restores factory setup |
| Test camera again | Check detection after reconfiguration | Verify fix |
Additionally, ensuring your system’s firmware supports the latest smart home integrations can improve overall functionality. Regularly checking for firmware updates can prevent compatibility issues and enhance detection reliability.
Frequently Asked Questions
How Do I Update My Vehicle’s Firmware for the Camera System?
To update your vehicle’s firmware for the camera system, start by visiting your car manufacturer’s website or app. Download the latest vehicle firmware update or camera update file, then follow the instructions to install it via a USB drive or over-the-air update. Make certain your vehicle is parked and powered on during the process. This guarantees your camera system functions correctly and resolves issues like the “rear camera not detected.”
What Are Common Signs of a Failing Rear Camera?
You’ll notice your rear camera fails to display images, especially when parking sensors or the dashboard warning light alert you. The camera might show a blurry or flickering picture, or stay black altogether. Sometimes, it’s slow to respond or produces distorted images. These signs indicate the camera’s sensor or wiring could be malfunctioning, so it’s wise to have it checked promptly to ensure your safety and avoid further damage.
Can a Dirty or Scratched Lens Cause Detection Issues?
Yes, a dirty or scratched lens can cause detection issues. If your lens isn’t clean, dirt and smudges can block the camera’s view, making it harder for the system to detect objects. Similarly, scratches on the camera lens can distort the image or create blind spots, leading to detection errors. Regularly clean your lens with a soft cloth and check for scratches to keep your rear camera functioning properly.
Is It Safe to Replace the Camera Myself or Should I Consult a Professional?
Replacing your rear camera is like jumping into a lion’s den—exciting but risky. If you have experience with DIY repairs and the right tools, you can try it yourself, but be cautious. Otherwise, it’s smarter to opt for professional service to prevent damaging your vehicle or voiding warranties. Professionals ensure proper installation and can troubleshoot any unforeseen issues quickly, saving you time and potential headaches.
How Long Does a Typical Rear Camera Repair or Replacement Take?
A typical rear camera repair or replacement takes about 1 to 2 hours. During this time, you’ll need to guarantee proper wiring inspection to identify any faulty connections. Additionally, calibrating the camera afterward is vital for accurate display. If you’re comfortable with car electronics, you might handle it yourself, but for best results and safety, a professional can efficiently perform wiring inspection, replacement, and calibration.
Conclusion
By following these quick steps, you can often identify why your rear camera isn’t detected. For example, imagine you’re about to leave and realize the camera isn’t showing—simply checking the connection or lens might save you a costly repair. Don’t forget, a simple reset can sometimes do the trick. With a little patience, you can troubleshoot efficiently and get back to safer, confident driving in just minutes.