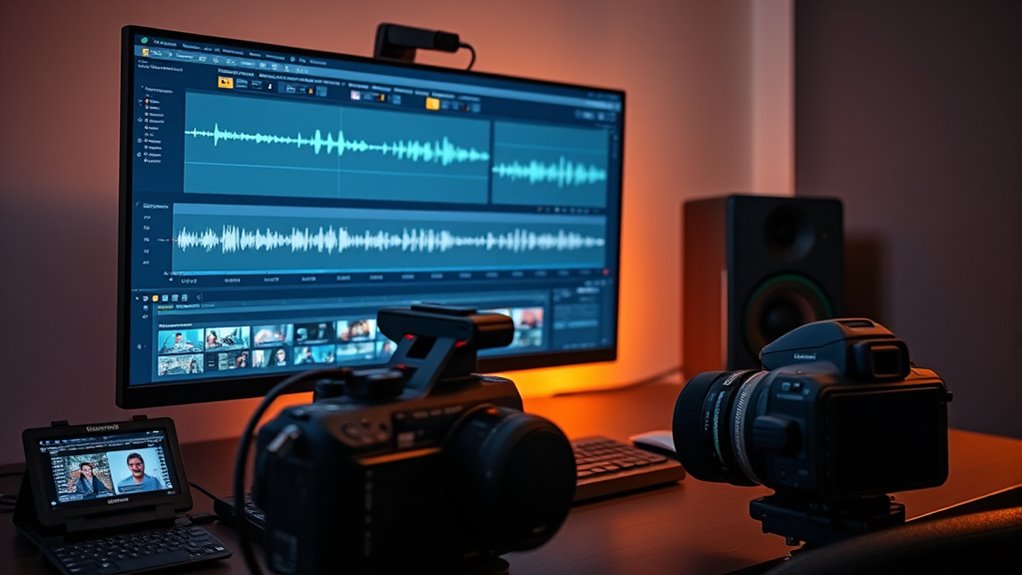
To export your video without losing audio sync, make sure your sequence frame rate matches your source footage and all audio files have the same sample rate, preferably 48 kHz. Convert any variable frame rate clips to a constant frame rate before editing. Double-check the timeline for sync issues and use software encoding rather than hardware. Proper settings and verification throughout the process help maintain perfect sync; explore more tips to guarantee your export stays aligned.
Key Takeaways
- Ensure all clips have consistent sample rates (preferably 48 kHz) before exporting to prevent audio drift.
- Match the export frame rate to the project and source footage to maintain sync accuracy.
- Use high-quality, constant framerate (CFR) conversion settings when transcoding VFR footage.
- Enable “Render at Maximum Depth” and clear media cache to optimize export quality and stability.
- Verify audio and video synchronization post-export by reviewing waveforms and playback before final delivery.
Match Your Sequence Frame Rate to Your Source Footage

To guarantee your exported video stays in sync with its audio, you need to match your sequence frame rate to your source footage. Using a mismatched frame rate, like processing 24 fps footage as 25 fps, causes audio to drift out of sync over time. Variable Frame Rate footage, common in screen recordings or action camera clips, exacerbates this problem, leading to timing issues, dropped frames, and misaligned audio. To prevent these issues, set your sequence to the same frame rate as your source before editing. This ensures consistent playback and avoids the need for complex conversions later. Maintaining a uniform frame rate throughout your project is essential for smooth, professional results. Always verify your source footage’s native rate to choose the correct sequence settings. Matching the frame rate helps preserve audio synchronization throughout the editing process. Additionally, frame rate conversion can introduce artifacts that further complicate maintaining sync. Being aware of your project’s frame rate settings helps you troubleshoot and optimize your export for the best quality. Moreover, understanding the source footage characteristics can aid in selecting the most appropriate export settings for optimal results.
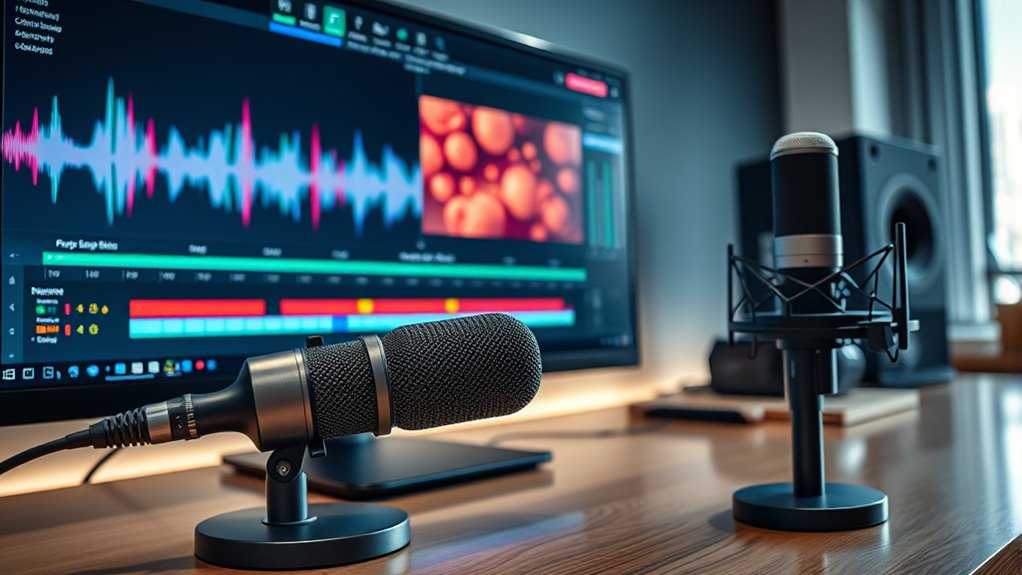
Ensure Consistent Audio Sample Rates Across All Clips
To keep your audio in sync, you need to confirm that all clips share the same sample rate. Check each file’s settings before importing and standardize them using high-quality resampling tools if needed. Verifying these details early prevents unexpected pitch shifts, timing issues, and resampling errors during export. Consistent sample rates also help avoid cumulative desync issues that can become more noticeable after multiple edits or compression. Paying attention to audio quality standards during this process ensures a more reliable and professional final product. Additionally, using modern editing software that supports proper sample rate conversion can streamline this process and reduce potential errors. Ensuring compatibility with audio format specifications further enhances the quality of your exported video. Being aware of audio format compatibility is crucial for maintaining synchronization and overall sound fidelity. Regularly checking project settings can also help maintain consistent sample rates throughout your editing workflow.
Check Sample Rate Settings
Ensuring all audio clips have consistent sample rates before editing is essential for maintaining sync and audio quality. First, confirm your project’s sample rate—set it to 48 kHz, the industry standard for video—and verify this before importing media. Check each clip’s reported sample rate via metadata to identify mismatches, especially between 44.1 kHz and 48 kHz files. Use a table to track clip properties:
| Clip Name | Original Sample Rate | Conversion Needed |
|---|---|---|
| Clip1 | 44.1 kHz | Yes |
| Clip2 | 48 kHz | No |
| Clip3 | 44.1 kHz | Yes |
| Clip4 | 48 kHz | No |
Resample mismatched clips with high-quality tools, preserving bit depth and channel layout. This process guarantees all files align perfectly, avoiding sync issues during export. Consistently matching sample rates across all clips is crucial for preventing pitch and timing discrepancies in the final video. Additionally, checking sample rate metadata can help identify hidden mismatches that might otherwise go unnoticed. To further improve your workflow, consider standardizing media formats from the start to streamline editing and export processes. Incorporating proper audio calibration can also enhance overall sound quality and synchronization, and paying attention to file compatibility ensures smooth editing and exporting.
Standardize Audio Files
Achieving consistent audio sample rates across all your clips is crucial for maintaining sync and audio quality during export. Different sample rates, like 44.1 kHz for music or 48 kHz for video, can cause desynchronization if not standardized. Mismatched rates lead to audio drift or desync during processing, especially in multi-source projects. To prevent this, convert all audio files to a single, standard rate—preferably 48 kHz for video workflows—using tools like Audacity. Resampling preserves frequency content up to half the sample rate, ensuring audio quality remains intact. Standardizing sample rates also helps avoid potential compatibility problems with different playback devices and editing software. Additionally, maintaining a uniform sample rate streamlines the editing process and minimizes potential processing artifacts, resulting in cleaner audio output. Ensuring consistent sample rates is also essential for professional video production standards. Standardizing sample rates simplifies editing, reduces processing artifacts, and maintains clarity across clips. This consistency ensures smooth playback and prevents sync issues during final export. Moreover, consistent sample rates facilitate smoother integration with various media formats and export settings, enhancing overall project reliability. Properly managing sample rates can also reduce rendering errors and improve overall workflow efficiency.
Verify Before Export
Before you export your project, double-check that all your audio clips match the timeline’s sample rate. Mismatched sample rates can cause sync issues, pitch shifts, or speed changes. Use media browsers or clip property panels to verify each clip’s sample rate metadata. Run batch reports or scripts to identify clips that differ from the project’s standard (usually 48 kHz). Flag external assets, such as stock audio or field recordings, at ingestion for easy identification. To prevent issues, follow these steps:
- Convert mismatched files with high-quality resampling tools
- Ensure resampled files preserve timing and pitch
- Lock project sample rate after setup to avoid accidental changes
- Document sample rates for team clarity and consistency
- Understanding the importance of sample rate consistency is crucial for maintaining audio quality and sync throughout the editing process. Verifying sample rates before export keeps your audio synced and maintains quality. Additionally, being aware of audio sample rate standards helps ensure compatibility across different devices and platforms. Recognizing the role of cryptid mysteries and other folklore phenomena can also remind us of the importance of attention to detail when working with complex or layered media. Regularly reviewing sample rate settings in your editing software can prevent unexpected audio discrepancies during output. Moreover, keeping track of metadata accuracy ensures that all audio elements are correctly aligned and integrated.
Convert Variable Frame Rate Footage to a Constant Frame Rate

To keep your audio and video in sync, you need to convert VFR footage to CFR using the right software. This process duplicates or removes frames to match a consistent frame rate, preventing timing issues during editing. Always verify the output to guarantee your audio stays aligned with your video after conversion. Converting VFR to CFR ensures that the timing remains consistent throughout the editing process, avoiding potential sync problems.
Use Conversion Software
Using conversion software is an effective way to transform variable frame rate (VFR) footage into a consistent, constant frame rate (CFR) format. HandBrake simplifies this process with its “Constant Framerate” option, allowing you to set a specific framerate directly. To minimize artifacts, choose a CFR equal to or higher than your source peak frame rate, which helps avoid frame drops and preserves motion smoothness. HandBrake supports MP4, MKV, and WebM formats and offers control over encoder, bitrate, and resolution during conversion. Frame rate conversion can also prevent playback issues and ensure better compatibility across devices and platforms. Additionally, frame rate conversion plays a vital role in maintaining audio-video synchronization, especially when editing or sharing videos across different platforms. Supports direct CFR conversion without complex scripting. Preserves audio tracks during transcoding. Easy to use with a straightforward interface. Free and widely recommended for reliable results. Proper frame rate management ensures your videos stay in sync and look professional across all viewing environments. Being aware of video format compatibility can further enhance your workflow and prevent unexpected playback problems.
Maintain Audio Sync
| Step | Setting | Recommended Value |
|---|---|---|
| Framerate Mode | Change from Peak to Constant | Constant Framerate |
| Frame Rate Selection | Match source peak FPS | 24, 30, or 60 fps |
| Video Encoder | Choose | H.264 (x264) |
| Output Format | Select | MP4, MKV, or WebM |
| Additional Tip | Use video editing software to verify synchronization after conversion, ensuring the audio stays perfectly aligned with the video. |
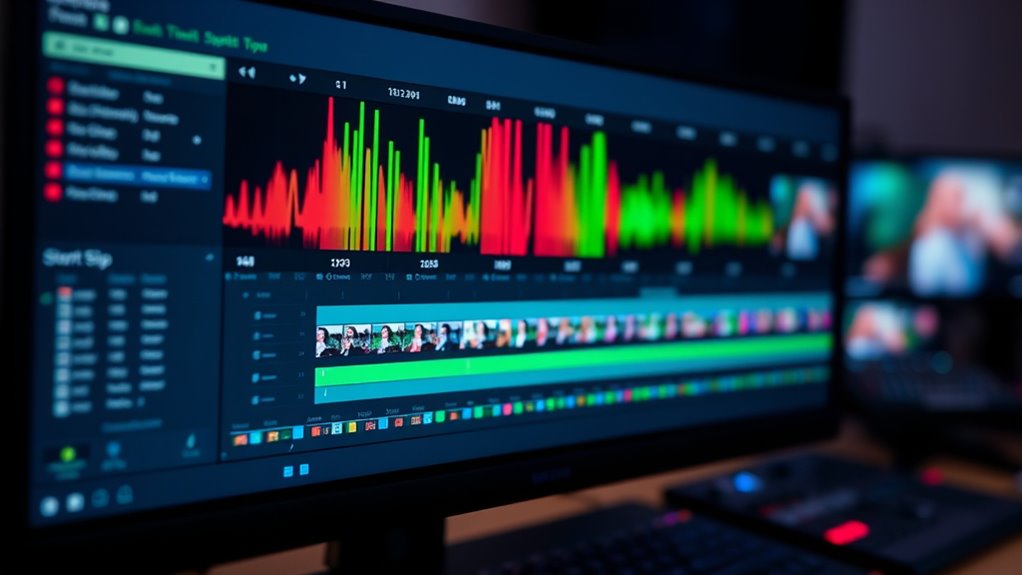
Synchronize Audio and Video Clips Correctly in Your Editing Software
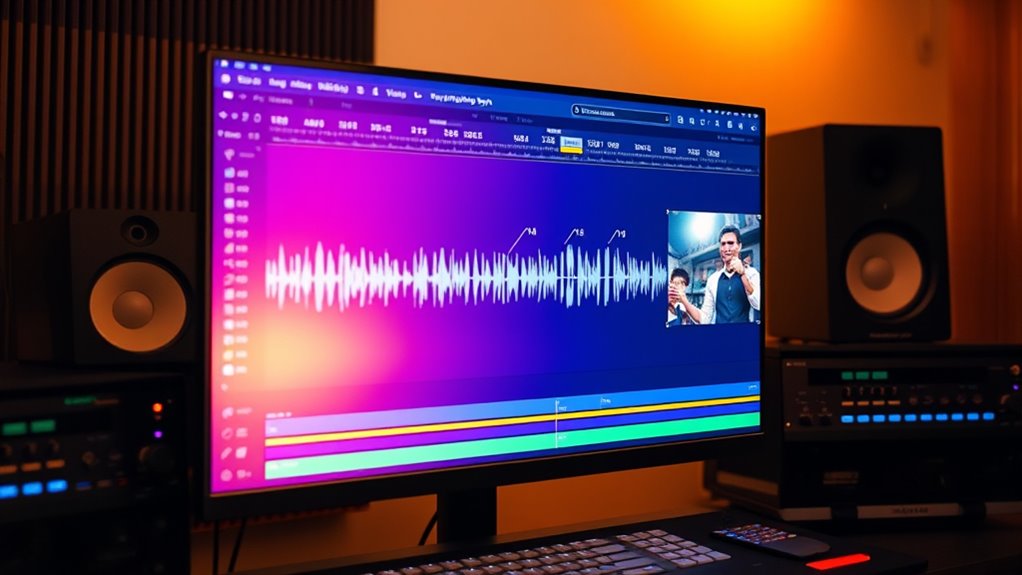
Synchronizing audio and video clips accurately is essential for seamless editing, and the process varies depending on your software. Auto-synchronization tools can save time, like Wondershare Filmora’s one-click feature or Adobe Premiere Pro’s experimental AI Sync via Adobe Sensei. Manual methods include waveform matching, where you identify sync points like claps or spoken words to align peaks visually. You can also use the clap or slate method, creating a visible and audible cue to match waveform peaks precisely. Alternatively, hardware sync with timecodes guarantees accurate alignment, especially in multi-camera shoots. Ensuring proper sync during editing prevents costly rework and maintains professional quality. Use auto-sync features for quick results, match waveforms at clear sync points, create visible sync markers like claps, employ timecode for professional accuracy, and consider synchronization techniques that suit your project’s complexity. Additionally, understanding the importance of audio-video synchronization can help you troubleshoot and achieve better results. Incorporating audio waveform analysis can further enhance your ability to detect subtle sync discrepancies and refine your edits.
Choose the Right Export Codec and Settings for Compatibility

Choosing the right export codec and settings is crucial to guarantee your video remains compatible across different media players and editing platforms. For broad compatibility, H.264 is your best choice, especially when using MP4 containers, as it plays smoothly on most devices and software like iMovie. If you need higher quality for professional workflows, consider ProRes or DNxHD, which preserve sync and detail. For smaller file sizes with quality retention, H.265/HEVC offers efficient compression but may face playback issues on older hardware. Set your export frame rate to match your project’s, typically 29.97 fps, and ensure the sample rate and channels are standardized at 44.1kHz and stereo. Transcoding clips with tools like Handbrake helps maintain sync and compatibility, preventing playback issues later. Proper transcoding ensures your media files stay consistent and synchronized throughout the editing process.
Perform Pre-Export Checks and Clear Media Cache

Before exporting, make sure you’ve rendered all timeline previews to spot potential sync issues. Clearing media cache files helps eliminate corrupted data that could cause audio delays or mismatches. Afterward, review the rendered footage to confirm that audio remains in sync with your video before finalizing the export. Additionally, performing a brief playback check after clearing the cache can help ensure that no issues have been introduced during the process and that the media cache is properly refreshed.
Render Timeline Previews
Performing pre-export checks and rendering timeline previews are essential steps to guarantee your video exports smoothly and maintain audio sync. Rendering timeline previews creates temporary files that enable smoother playback, especially with heavy effects and graphics. These previews, indicated by a green bar on your timeline, help you assess your project’s pacing, effects, and *progression* without exporting the final video. Use different render methods—like Render In to Out or Render Selection—to optimize specific sections. Benefits include faster exports, reduced re-rendering, and improved workflow efficiency, particularly for long or effects-heavy projects. Keep in mind, rendering previews can occupy significant storage and may require re-rendering if edits are made afterward. Regularly save your project to preserve these previews and prevent data loss. Additionally, rendering preview files can speed up the export process by reducing the need for real-time rendering during final export.
Clear Media Cache Files
To guarantee smooth exports and maintain audio sync, you should regularly clear media cache files as part of your pre-export checks. Start by closing your NLE to prevent database corruption before deleting cache folders manually. Use the app’s “Delete” button in Media Cache preferences to safely remove unused or all cache files. Afterward, empty your trash or recycle bin to reclaim disk space. Clearing cache can resolve issues like playback stutter, errors, or export failures caused by corrupt cache files. Rebuild previews or let the cache regenerate to ensure your timeline assets are optimized before export. Keep an eye on your cache storage location, choosing a fast SSD and monitoring free space, especially for large projects. Regular cache maintenance helps prevent bottlenecks and keeps your export process smooth. Additionally, proper cache management can reduce the likelihood of export failures caused by insufficient disk space or corrupted cache data.
Verify Sync Post-Render
Ensuring your audio stays in sync after rendering requires thorough pre-export checks and media cache management. Before exporting, verify that your project’s frame rate matches your intended output to prevent timing drifts. Confirm all source clips are constant frame rate (CFR), and resample variable frame rate (VFR) footage if needed. Check that all audio sample rates align, typically 48 kHz, and correct mismatches. Review your timeline for speed changes, retiming, or nested sequences that could introduce offsets, and play back at multiple points to ensure sync consistency. Proper media cache management also helps prevent potential desynchronization issues during rendering. When verifying post-render sync: – Compare the exported file with the timeline using visual and audio cues. – Use waveform spikes or claps at multiple points for alignment. – Measure any offset in milliseconds with waveform zoom. – Test playback on different devices and ask someone to confirm lip sync accuracy.
Render Timeline Previews to Detect Sync Issues Early
Rendering timeline previews before final export allows you to catch audio-video sync issues early, often revealing problems that don’t show up during real-time playback. This process exposes frame-accurate discrepancies that preview playback might miss due to performance limitations. It helps identify effects or transitions, like retiming or plugins, that introduce sample or frame delays before final encode. Rendering with full-resolution video and high-quality audio ensures subtle timing errors aren’t masked by downscaling. Using constant frame rate (CFR) for VFR footage reveals timing drifts, and including all applied effects helps detect processing delays. Comparing the rendered preview to timeline scrubbing, waveform overlays, or visual sync markers allows you to spot offsets precisely. Validating in multiple players and checking your timeline settings further minimizes the risk of sync issues in your final export. Additionally, rendering a preview can also help confirm that your hardware acceleration settings are properly configured to prevent unexpected delays during export.
Verify Sync After Editing and Before Final Export
After completing your edits, it’s crucial to verify that audio remains perfectly synced with your visuals before final export. Play back your edited sections at normal speed, focusing on visible sync cues like lip movements or hand claps. Zoom the timeline to sample or frame level and scrub across edit points to confirm waveform spikes align with corresponding frames. Mute other tracks and solo the primary dialogue to ensure it stays locked to the picture. Use step-forward/back commands to check sync at critical moments, especially after non-destructive edits like retiming or slip/slide adjustments. Ensuring proper synchronization during playback can prevent costly re-edits or reshoots later. – Play short test clips in the final codec/container on external devices – Compare audio/video timestamps with media info tools – Run frame-by-frame checks with precise frame number displays – Verify waveform alignment against original timeline waveforms
Use Software Encoding If Hardware Encoding Causes Sync Problems
When hardware encoding causes audio sync issues, switching to software encoding can often resolve the problem. Software encoders process frames with full codec reference models like x264 or x265, reducing dropped or reordered frames that disrupt audio timing. Multi-pass and variable bitrate workflows allow precise bit allocation, preventing timing anomalies. Because software encoders analyze source frames thoroughly before re-encoding, they better preserve original timestamps and lip-sync. They are less dependent on GPU driver behavior, avoiding driver-related timing issues. You can fine-tune parameters such as keyframe intervals or B-frame control to match source timing. To implement this, allocate CPU resources, enable multi-pass encoding, and match project frame rates and audio sample rates explicitly. Disabling GPU effects or rendering them separately can also improve sync stability when using software encoding.
Test Export Short Clips to Confirm Audio and Video Stay in Sync
To guarantee your exported videos maintain proper audio-visual sync, it’s essential to test short clips with clear, measurable sync markers. Create brief clips (5–15 seconds) featuring a sharp visual cue, like a hand clap or clapperboard flash, aligned with an audible transient. Produce versions at common frame rates (24, 25, 30, 50, 60 fps) to spot frame-rate–related drift. Use different resolutions and codecs, such as 1080p H.264 or ProRes, to identify export artifacts. Additionally, include a burned-in timestamp or timecode to detect gradual offsets. Automate sync measurement with waveform tools, compare timestamps, and run batch scripts for rapid analysis. Testing across multiple media players and devices reveals device-specific issues, ensuring your final export stays synchronized in all viewing environments.
Frequently Asked Questions
How Can I Prevent Audio Drift During Long Video Exports?
To prevent audio drift during long exports, guarantee your source audio and sequence are set to the same sample rate, preferably 48 kHz. Transcode variable frame rate footage to a constant frame rate before editing. Match your export settings to your sequence, and verify audio and video codecs are compatible. If drift occurs, re-convert audio to 48 kHz and consider minor speed adjustments to realign audio and video, then re-export.
What Are the Common Causes of Audio and Video Desynchronization?
Think of your video as a dance, where every step must align perfectly. Common causes of desynchronization include faulty or low-quality cables that create latency, external audio devices adding delay, and mismatched sample rates causing drift over time. Software issues like incorrect export settings or outdated drivers can also throw off the timing. Even hardware limitations or network jitter during streaming can disrupt the harmony between audio and video.
How Do I Troubleshoot Sync Issues After Exporting My Video?
You should first preview your exported video on multiple players like VLC or Windows Media Player to check for sync issues. If problems persist, try re-exporting with identical settings or switch to different formats or codecs. Use built-in tools like Descript Repair or manually realign audio in your editing software. Also, test playback on wired speakers instead of Bluetooth to confirm your audio is accurate before finalizing your export.
Can Hardware Encoding Affect Audio-Video Sync Quality?
Yes, hardware encoding can positively influence your audio-video sync quality. It processes audio and video together in real-time, preventing drift caused by CPU overload or variable frame rates. Using dedicated circuits ensures synchronization remains tight, even during high-resolution workflows like 4K or 8K. This hardware-based approach minimizes timing mismatches, reduces frame drops, and maintains consistent buffer handling, resulting in smoother, more reliable audio-video sync throughout your exported videos.
What Steps Ensure Consistent Sync When Editing Multi-Camera Footage?
To keep multi-camera footage in sync, start by marking a clear sync point like a clapperboard at the shoot’s start. Use software tools to auto-sync audio and video tracks accurately, ensuring all clips are aligned at this point. Regularly verify sync during editing by playing back, and make manual adjustments if needed. Designate a master audio track and mute others to maintain consistent sync throughout your editing process.
Conclusion
By following these tips, you can guarantee your exported videos stay perfectly in sync. Did you know that up to 30% of video sync issues are caused by mismatched frame rates or audio settings? Addressing these common problems saves you time and frustration. So, double-check your settings, test your exports, and enjoy seamless videos that impress your viewers every time. Consistent attention to detail makes all the difference in professional-quality content.