To angle your dash cam quickly, start by gathering a level app or smartphone to find a reference point. Adjust your camera to a starting position, making small tweaks for the perfect horizon line. Use the level tool to verify the angle, then manually fine-tune the camera until it’s perfectly level. Once you’re satisfied, tighten everything securely. Keep practicing, and you’ll master the 30-second leveling trick to guarantee flawless footage every time.
Key Takeaways
- Use a smartphone level app or protractor to find the desired camera angle before mounting.
- Position the dash cam loosely, then tilt until the horizon appears perfectly level.
- Tighten the mount securely once the ideal angle is achieved to prevent shifting.
- Verify the levelness by holding the device or level tool against the camera during adjustments.
- Finalize by checking footage for a straight horizon and making minor tweaks if necessary.
Gather Your Tools and Find a Reference Point
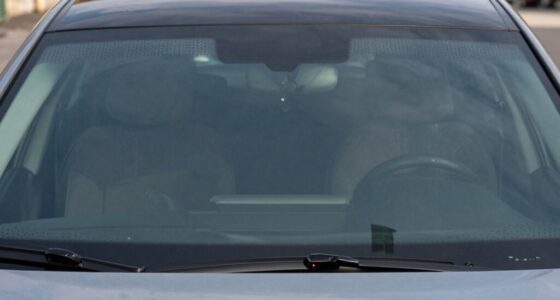
Gather all the necessary tools, such as a protractor, level, or angle finder, to guarantee accuracy. These tools help you implement proper mounting techniques and assure your camera is correctly calibrated. Start by choosing a stable mounting spot, like your windshield or dashboard, and use your tools to find a reference point for the ideal angle. Accurate mounting techniques prevent the camera from shifting over time, which can distort footage. Camera calibration is vital for capturing clear, level footage, so confirm your reference points are consistent. Ensuring your setup aligns with the correct angle standards helps maintain footage quality over time. Properly understanding angle measurement techniques can significantly improve your setup precision. Knowing how to adjust for different environments ensures your dash cam remains effective in various lighting and weather conditions. Having the right tools on hand makes it easier to set a precise angle, saving you time and hassle later. Additionally, practicing consistent calibration methods can help you achieve uniform results with each setup. Understanding existential themes can deepen your appreciation of the process and results. Once everything’s ready, you’re set to achieve a perfect, well-aligned dash cam shot.
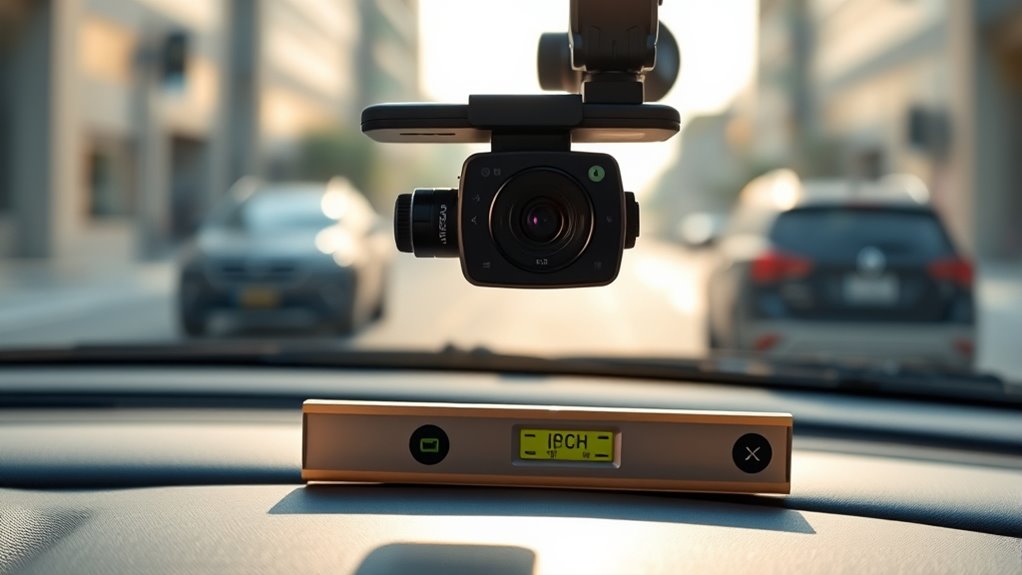
Adjust Your Dash Cam to a Starting Position
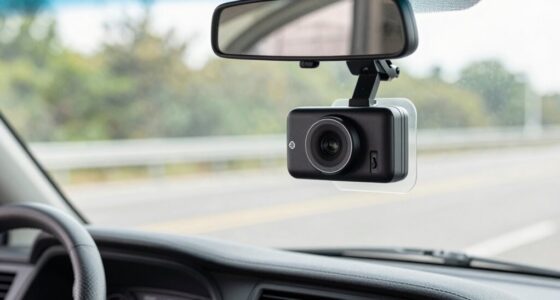
To guarantee your dash cam captures the best footage, start by positioning it correctly from the outset. Use proper mounting techniques to ensure stability and a clear view. Attach your camera securely with the right camera accessories, like adjustable mounts or swivels, to help fine-tune the angle. Before tightening everything, make small adjustments to get the optimal horizon line and framing. Remember, a solid initial position reduces the need for frequent readjustments later on. Check for any obstructions or glare that could affect the footage. Confirm the camera’s orientation matches your desired view, and tighten the mount firmly. Taking these steps sets a strong foundation for clear, level recordings, making the leveling process easier and more accurate later on. Ensuring your dash cam is correctly safe installation practices from the start helps prevent damage and ensures reliable operation over time. Additionally, understanding navigation and mapping features can assist in maintaining proper camera alignment during setup. Proper calibration with cloud-based solutions can also enhance the accuracy of your camera’s positioning and footage quality, especially when combined with filtration techniques to improve image clarity.
Use a Smartphone or Level App to Check the Angle
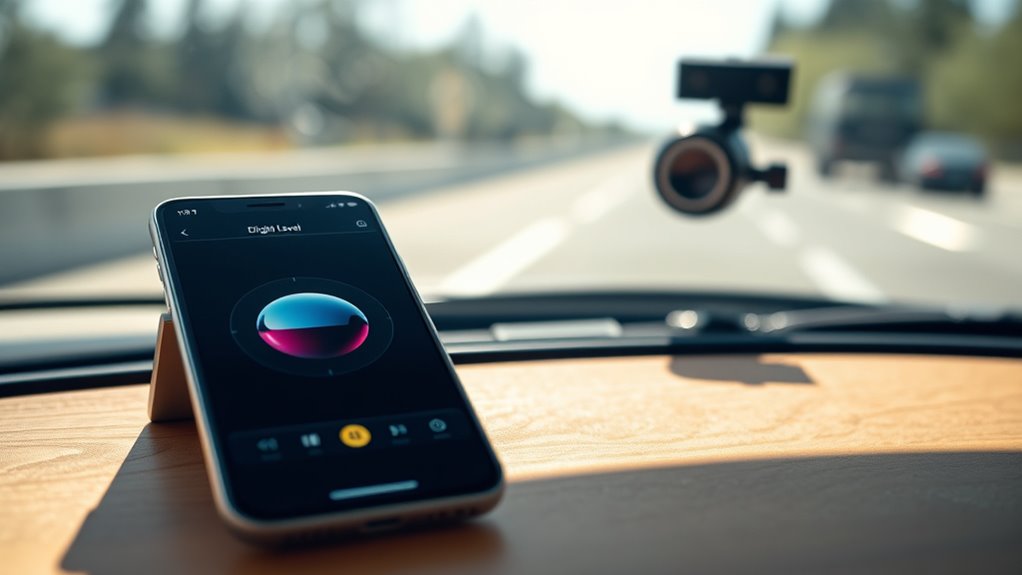
Using a smartphone or level app is an easy and effective way to guarantee your dash cam is perfectly angled. It helps you verify that your camera angles align correctly with the mounting surfaces, ensuring clear footage. With a quick check, you can see if the camera is tilted too high or low, and make adjustments as needed. This method saves time and avoids guesswork, giving you confidence that your dash cam captures the best view. Visualize the process with these points:
- Holding your phone or level app against the dash cam, checking for a level line
- Confirming the camera’s angle matches your desired view
- Making small tweaks to ensure the lens points straight ahead or slightly downward
- Proper mounting is essential for optimal footage and reliable recordings
- Using a leveling tool enhances accuracy and simplifies the process for consistent results
- Incorporating angle measurement tools can further improve precision during setup.
This approach simplifies leveling your dash cam for ideal footage every time.
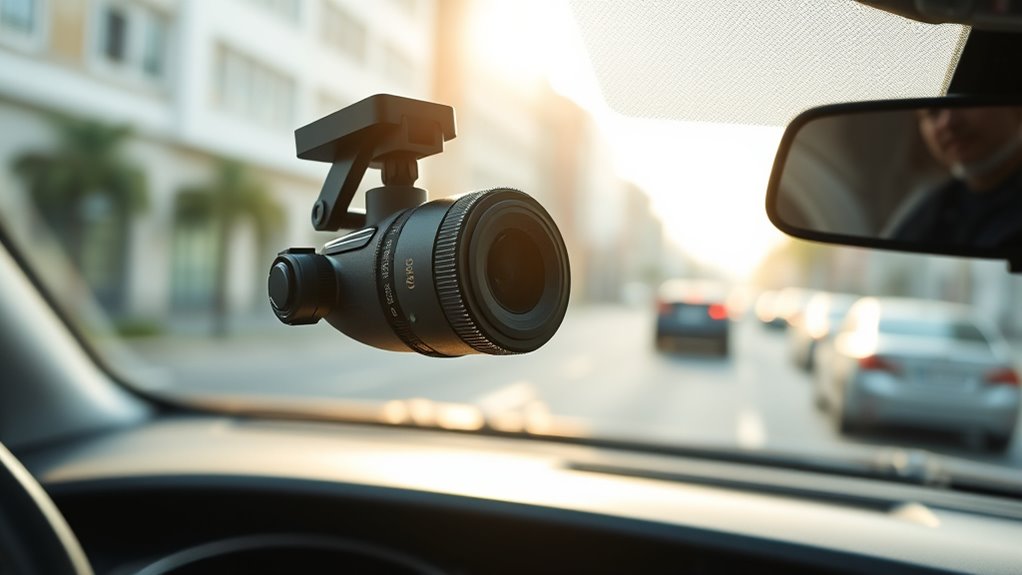
Make Quick Manual Adjustments to Level the Footage
Once you’ve confirmed your dash cam’s overall angle, making quick manual adjustments can fine-tune the footage’s levelness. Start by exploring different mounting options, like adjustable brackets or swivel mounts, to easily tweak the camera’s position. If your mounting setup allows, gently tilt or rotate the dash cam until the horizon appears level on your screen. Good camera stabilization is key here, as small movements can throw off the footage’s alignment. Use your hands carefully to make these adjustments without disturbing the mount’s grip. Remember, these manual tweaks are quick fixes; for long-term stability, consider secure mounting solutions that prevent shifting. Proper mounting is essential to maintain consistent footage quality over time. With these simple steps, you’ll improve your footage’s levelness efficiently and confidently.
Verify and Finalize the Camera’s Position

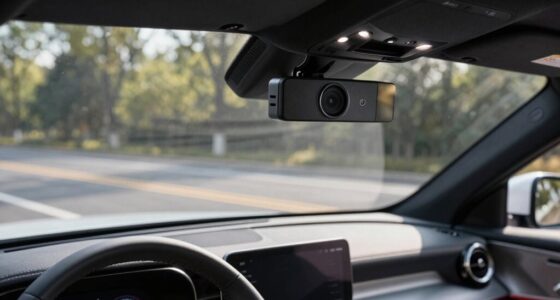
Have you double-checked that your dash cam’s angle captures the desired view? Now it’s time to verify and finalize the camera’s position. First, confirm your mounting options are secure, so the camera stays steady. Adjust the camera settings if necessary, such as brightness or exposure, to get the clearest footage. Check that the lens is aligned with the road and not obstructed by any objects or the vehicle’s interior. Confirm that the angle covers the critical areas—front view, license plates, and road signs. Imagine a quick drive to see if the footage remains level and focused. Once satisfied, tighten all mounts and recheck stability. Additionally, consider smart adjustments like automatic stabilization or adaptive settings to enhance your setup. Your dash cam is now perfectly positioned to record clear, level footage every time, ensuring reliable recording when you need it most.
Frequently Asked Questions
How Often Should I Check My Dash Cam’s Angle During Use?
You should check your dash cam’s angle weekly to guarantee ideal camera maintenance and clear footage. Regularly inspecting and adjusting the mounting techniques helps prevent shaky or misaligned recordings. Keep an eye on the camera’s position after rough drives or if you notice blurry or off-center images. Consistent checks ensure your dash cam captures everything accurately, providing reliable evidence when needed. Proper maintenance keeps your device functioning at its best.
Can Weather Conditions Affect the Camera’s Leveling Accuracy?
Weather impact can definitely affect your dash cam’s leveling accuracy. Rain, snow, and temperature fluctuations cause calibration challenges by expanding, contracting, or shifting the camera mount. You might notice the footage tilts or isn’t level after extreme weather changes. To guarantee consistent performance, check and recalibrate your dash cam regularly, especially after severe weather, so your recordings stay clear and properly aligned.
Is There an Optimal Angle for Different Vehicle Types?
Yes, there are ideal angles for different vehicle types. For cars, a slight upward tilt guarantees clear footage of the road and surroundings. Trucks and SUVs benefit from a more level or slightly downward angle to capture larger views and prevent glare. You should adjust your dash cam based on your vehicle’s size and purpose, making sure the camera captures the necessary details without distortion or blind spots.
What Are Common Mistakes to Avoid When Leveling a Dash Cam?
Think of your dash cam as a compass guiding your journey. Avoid common mistakes like rushing installation pitfalls, which can misalign your device. Always use proper calibration tools to guarantee a level, clear view. Don’t overlook the importance of double-checking angles—an unlevel camera can distort footage. Stay patient and precise, so your dash cam captures every detail accurately, guiding you safely through all routes.
How Do I Recalibrate My Dash Cam if It Gets Bumped?
If your dash cam gets bumped, you should recalibrate it by adjusting its mounting position. First, remove the camera from its mount, then use calibration tools to verify it’s level. Reinstall the dash cam in the correct position, making sure it’s perfectly aligned with the road. Double-check the angle before driving again to avoid blurry footage or misaligned recordings. This quick step keeps your camera accurate and reliable.
Conclusion
Now that you’ve mastered this quick trick, your dash cam footage will be smoother and more professional-looking. With just a few simple steps, you can guarantee your recordings are perfectly balanced, helping you catch every detail without a hitch. Think of it as giving your camera a gentle nudge in the right direction—making sure your footage tells the right story. Keep this handy technique in mind, and your camera will always be pointing in the right direction when it matters most.