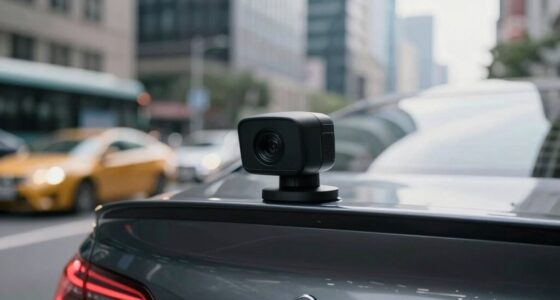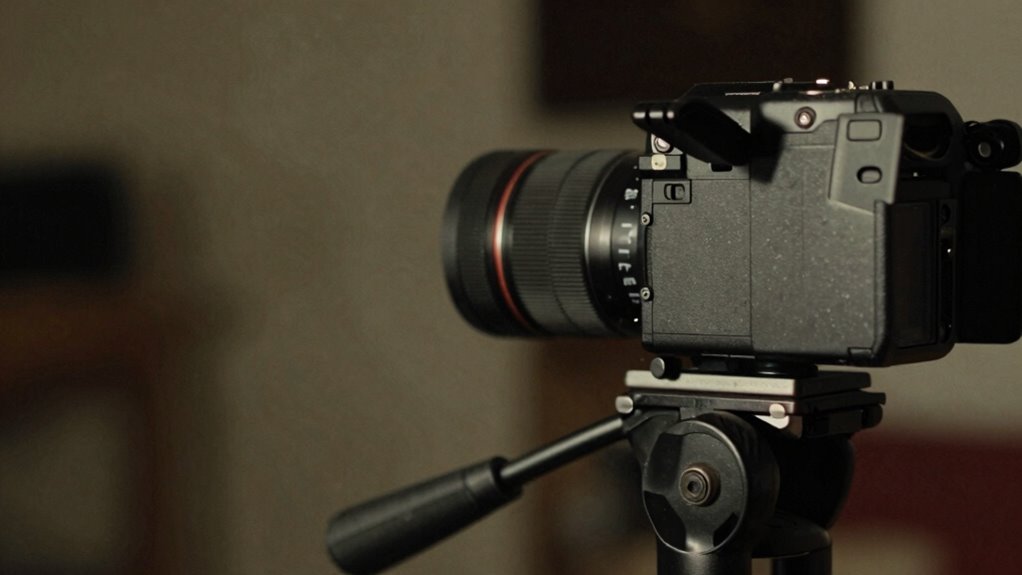
Using shaky or unstable mounts instantly makes your footage look cheap and unprofessional. If you neglect proper mounting techniques, your videos will appear jittery and distracting, undermining your message and quality. Avoid letting your camera wobble or sway during shoots by investing in stable mounts or tripods. Steady footage keeps viewers focused on your content, not your shaky video. Keep watching to discover more simple tips to elevate your production quality and avoid common pitfalls.
Key Takeaways
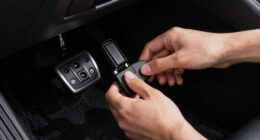
- Using unstable or makeshift mounts causes shaky, unprofessional-looking footage.
- Mounting the camera too close or at awkward angles can distort perspective.
- Neglecting proper stabilization tools results in jittery, distracting videos.
- Avoiding secure, high-quality mounts leads to unintended movement and poor framing.
- Relying on quick, temporary fixes rather than dedicated mounting equipment decreases footage quality.

If the lighting is off, even the best camera mounted perfectly can look cheap. Aim for natural light whenever possible, positioning yourself to catch soft, even illumination that highlights your subject without harsh shadows. When shooting indoors, invest in affordable diffusers or softboxes to create a gentle, flattering light. Avoid direct overhead or backlighting, which can cause silhouettes or unflattering shadows. Proper lighting makes your footage look crisp and professional, and it helps the viewer focus on your content rather than struggling to see details. When combined with solid camera mounting, good lighting creates a seamless, high-quality appearance that draws viewers in. Additionally, neglecting camera stability is the most common shortcut that makes footage look cheap. Using a steady mounting setup eliminates unwanted shake and jitter, reinforcing the impression of professionalism. Remember, lighting quality directly impacts the perceived production value of your footage. Ensuring camera stabilization is as important as good lighting for a polished, professional look. Investing in proper equipment can significantly elevate the overall quality of your footage, making it appear more engaging and credible.

K&F CONCEPT 64 inch/163 cm Camera Tripod,Lightweight Travel Outdoor DSLR Tripods with 360 Degree Ball Head Load Capacity 17.6 lbs/8 kg,Cellphone Clip for Smartphone Live Streaming Vlog O234A1+BH-36
【Lightweight and Portable】4 section leg can adjust tripod height from 20.4''/52cm to 64.1''/163cm; it can be folded to…
As an affiliate, we earn on qualifying purchases.
As an affiliate, we earn on qualifying purchases.
Frequently Asked Questions
What Are Common Signs of Cheap-Looking Footage?
You’ll notice cheap-looking footage often has poor color grading that makes colors appear washed out or unnatural. Audio clarity is also a giveaway—if the sound is muffled, inconsistent, or noisy, it screams low quality. Additionally, shaky camera work, bad lighting, and inconsistent framing contribute to the cheap feel. These signs distract viewers and diminish your production’s professionalism, so always focus on good color grading and clear audio to elevate your footage.
How Does Lighting Affect Footage Quality?
Lighting plays a vital role in footage quality—who knew? Natural illumination adds authenticity, making scenes feel real and inviting. Poor or uneven lighting, on the other hand, can turn a professional shot into a cheap-looking mess. Color grading helps enhance or correct lighting, creating mood and consistency. When you neglect proper lighting, even the best camera can’t save your footage from looking flat or amateurish. It’s the secret sauce to polished, cinematic results.
Can Editing Techniques Improve Low-Quality Footage?
Yes, editing techniques can markedly improve low-quality footage. You can use filming techniques like stabilizing shaky shots or adjusting exposure during shoot. In post-production, apply effects such as noise reduction, color correction, and sharpening to enhance clarity. These post-production effects help mask imperfections and elevate the overall look. Carefully combining these editing techniques and filming strategies can make your footage appear more professional and visually appealing.
What Camera Settings Contribute to Poor Footage Appearance?
Did you know that poor camera settings can degrade footage quality by up to 40%? You contribute to this by neglecting your camera sensor’s settings, like ISO and shutter speed, which influence image clarity. Low lens quality also worsens footage, creating softness or distortion. To improve, match your camera sensor’s capabilities with appropriate settings and invest in high-quality lenses, ensuring your footage looks professional and sharp.
Are There Affordable Tools to Enhance Footage Quality?
Yes, there are affordable tools to enhance footage quality for budget filming. You can use free or inexpensive editing software like DaVinci Resolve or HitFilm Express to correct color, stabilize shaky footage, and sharpen images. Additionally, investing in affordable accessories like lens filters or portable lighting can notably improve your footage. Staying updated on filmmaking trends helps you make smart choices without breaking the bank, ensuring your project looks professional despite budget constraints.
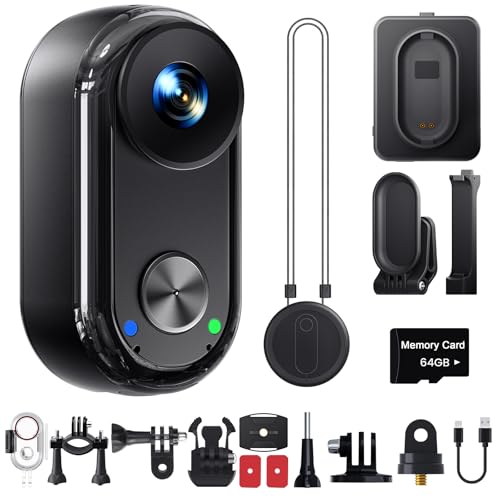
4K 30FPS Vlogging Camera, 64GB Hands-Free POV Camera, 98FT Waterproof Action camera with Case, Tiny Sport Cam 6-axis Stabilization, 150° Lightweight Thumb Bodycam 270min runtime, Mount Anywhere
UHD Bodycam: 4K 30FPS, EIS stabilization, and distortion correction capture the perfect moment. The 20M photo retains the…
As an affiliate, we earn on qualifying purchases.
As an affiliate, we earn on qualifying purchases.
Conclusion
So, next time you’re editing, avoid that quick mounting trick—it’s like inviting chaos into your footage! Ignoring proper mounting can instantly turn your professional look into a pixelated disaster, making your work look cheaper than a bargain bin find. Don’t let a simple shortcut sabotage your hard work. Instead, take the time to mount carefully; it’s the secret weapon to keep your footage sleek, sharp, and truly worthy of applause. Trust me, your viewers will thank you!

Torjim Softbox Photography Lighting Kit, 16'' x 16'' Professional Softbox Lighting Kit with 85W 3000-7500K LED Bulbs, Studio Lights for Photography/Video Recording/Live Streaming/Portraits Shooting
【Illuminate Your Creativity】 Torjim softbox lighting kit is made of high-quality PET fabric and a foldable nylon cover,…
As an affiliate, we earn on qualifying purchases.
As an affiliate, we earn on qualifying purchases.

DJI RS 3 Mini, 3-Axis Gimbal Stabilizer for Cameras Canon/Sony/Panasonic/Nikon/Fujifilm, 2 kg (4.4 lbs) Tested Payload, Camera Gimbal with Native Vertical Shooting, Black
795g (1.75lbs) Lightweight and Portable – DJI RS 3 Mini is an ultra-compact gimbal stabilizer for camera convenient…
As an affiliate, we earn on qualifying purchases.
As an affiliate, we earn on qualifying purchases.