
To make adhesive stick in cold weather, guarantee surfaces are thoroughly cleaned, dry, and roughened for better grip. Use adhesives formulated for low temperatures that remain flexible and resist becoming brittle. Preheat surfaces or use heating tools to improve adhesion and curing. Maintain proper temperature and humidity levels during application and curing. Employ surface primers if needed, and choose products designed for cold environments. Following these steps helps prevent failures—continue to explore more tips for reliable bonding in cold conditions.
Key Takeaways
- Use adhesives formulated for low temperatures that maintain flexibility and resist becoming brittle.
- Properly clean, dry, and roughen surfaces to enhance adhesion and remove contaminants that weaken bonds.
- Preheat surfaces and apply primers designed for cold weather to improve bond penetration and curing.
- Control environmental conditions with heating tools or blankets to maintain optimal temperature during application and curing.
- Follow manufacturer instructions carefully, allowing extended curing times and verifying bond strength through testing.
Understanding Why Cold Weather Hampers Adhesive Performance
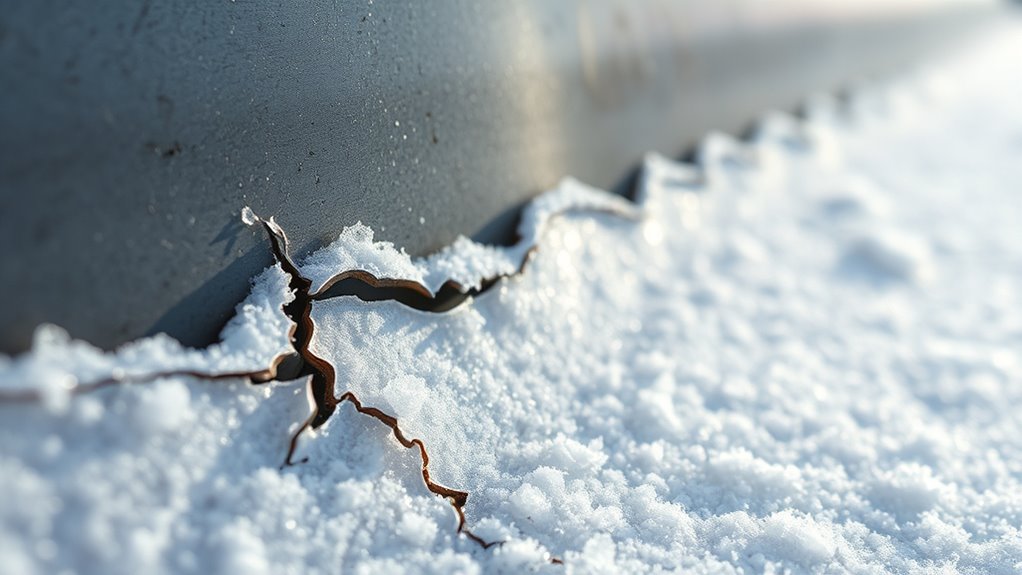
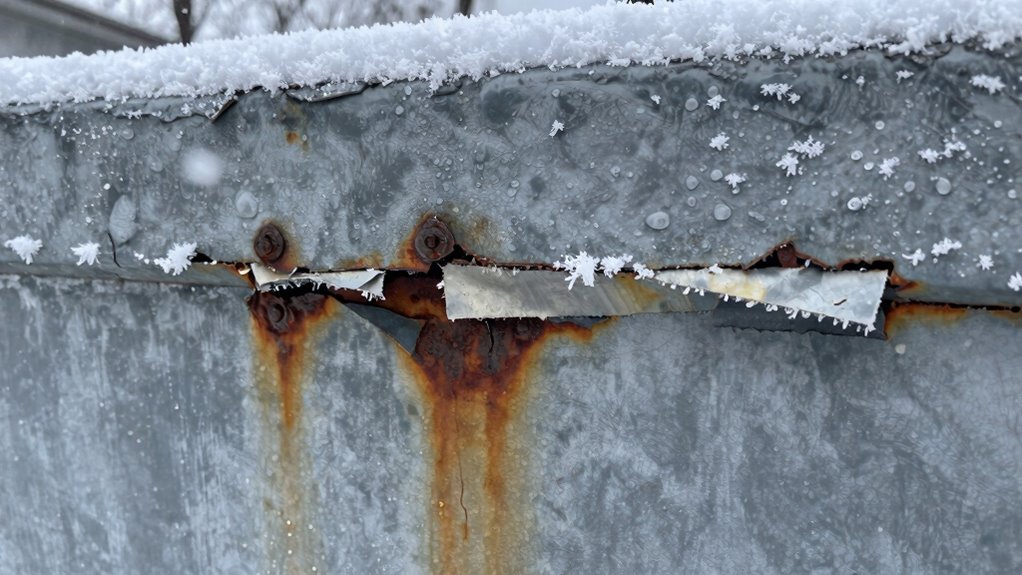
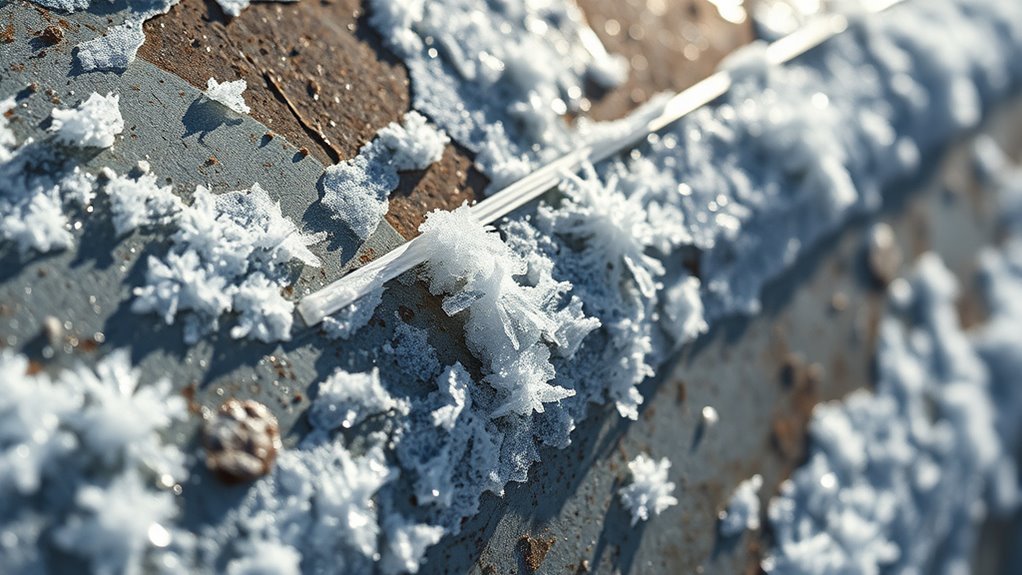
Cold weather can substantially weaken adhesive bonds, making them more prone to failure. Temperature effects play a critical role in this process because low temperatures slow down the chemical reactions involved in adhesive chemistry. When it’s cold, adhesives become less flexible and lose their ability to form strong, durable bonds. The reduced kinetic energy limits the adhesive’s capacity to chemically interact with surfaces, resulting in weaker adhesion. Additionally, cold temperatures can cause adhesives to become more viscous or even freeze, preventing proper spreading and penetration into surface pores. This compromised chemistry and altered physical state hinder the adhesive’s effectiveness, increasing the risk of failure once the bond is under stress. Understanding these temperature effects helps you grasp why cold weather demands different approaches for effective bonding. Understanding adhesive chemistry is essential for selecting the right materials and techniques in low-temperature conditions. Moreover, considering the temperature sensitivity of adhesives can guide you in choosing formulations that perform better in cold environments. Recognizing how material properties change with temperature can further improve bonding success in cold conditions and prevent mount failure during harsh weather. Being aware of adhesive viscosity changes at low temperatures can help in selecting products that maintain optimal flow and penetration.
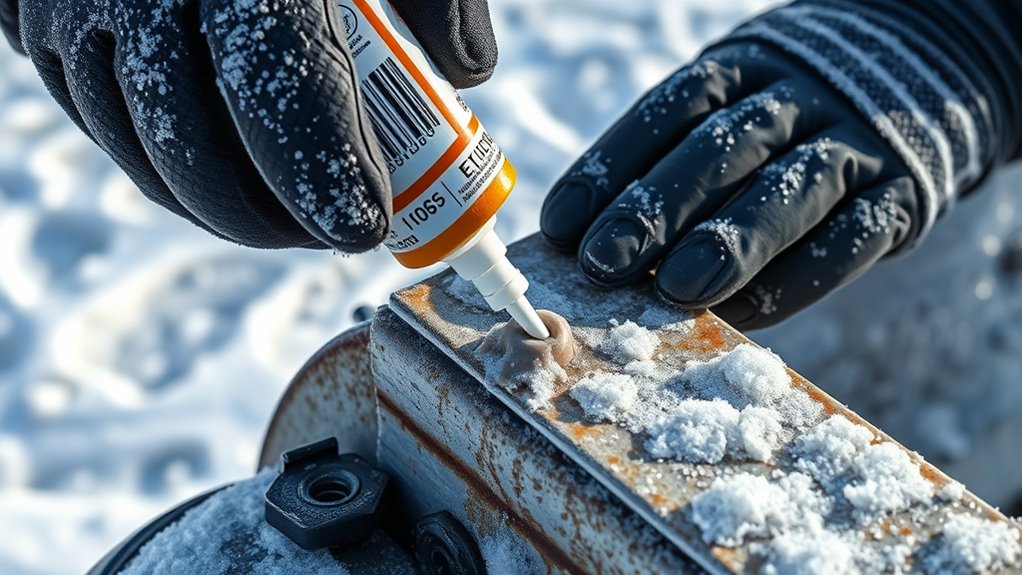
Preparing Surfaces for Better Bonding in Chill Conditions
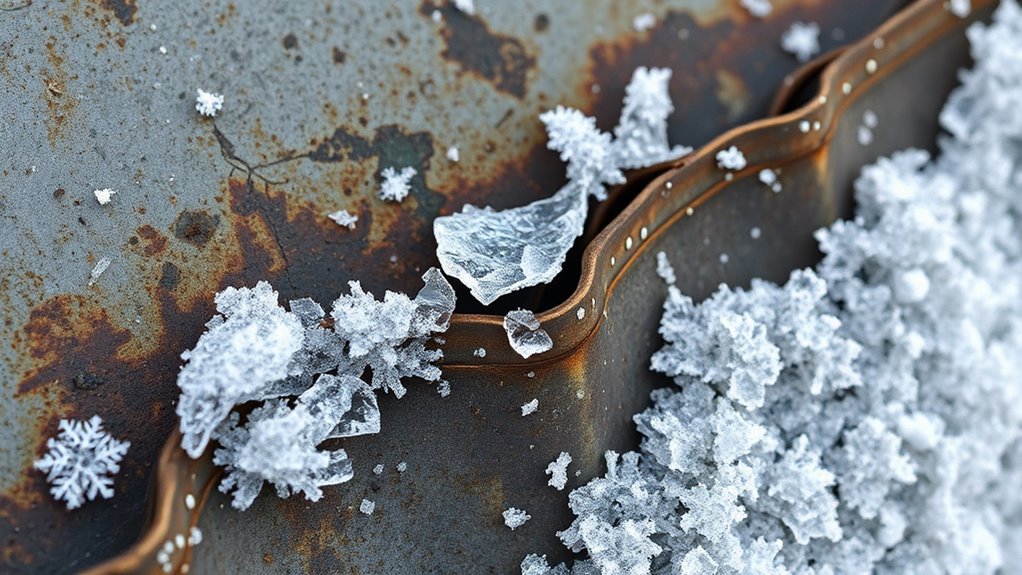
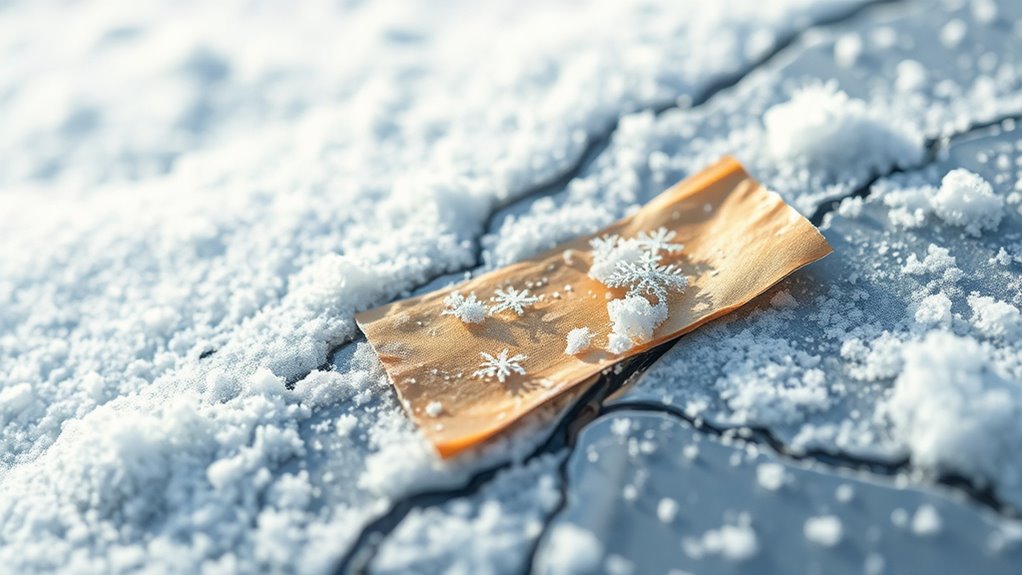
To guarantee strong bonds in chilly conditions, you need to pay close attention to surface preparation. First, thoroughly clean the surface to remove dirt, grease, and moisture that can weaken adhesion. Next, roughen the surface using abrasive tools to increase grip and create micro-mechanical bonds. Proper cleaning and roughening enhance adhesion quality, ensuring the adhesive bonds effectively. Finally, verify the surface is dry and free of frost or ice, as moisture can interfere with adhesive bonding. Additionally, avoid using harsh chemicals that may damage the surface or interfere with adhesion air purifier maintenance, ensuring the surface remains suitable for bonding. Proper surface prep is essential for adhesives to perform reliably in cold conditions, especially when glycolic acid is involved, as it can influence skin surface properties. Being aware of gelato ingredients can also help in selecting compatible adhesives that won’t react adversely. It is also beneficial to check the adhesive’s temperature range to ensure it is suitable for cold environments. Here are 3 key steps to improve bonding in cold weather:
Ensure strong cold-weather bonds by cleaning, roughening, and thoroughly drying surfaces before applying adhesives.
- Clean thoroughly to eliminate contaminants.
- Roughen the surface for better mechanical grip.
- Ensure dryness by removing frost and moisture.
Choosing the Right Adhesive for Cold Environments
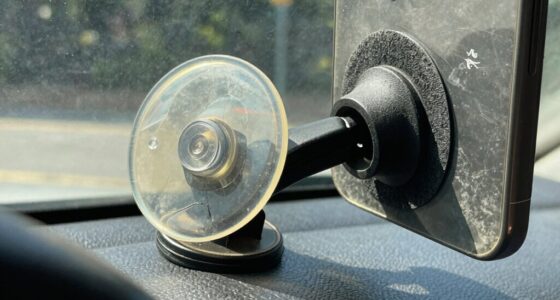
Choosing the right adhesive for cold environments is essential to guarantee your bonding holds up under low temperatures. Cold conditions can cause materials to contract, leading to stress from thermal expansion that weakens bonds. Look for adhesives specifically formulated for low temperatures, which maintain flexibility when it’s cold. An adhesive with good flexibility can absorb stress caused by temperature fluctuations, preventing cracks or failures. Some adhesives remain pliable and resist becoming brittle, ensuring they stick effectively even in freezing weather. Avoid standard adhesives that harden or lose their grip in the cold. Instead, select products designed for thermal expansion, which accommodate material movement without losing adhesion. Properly choosing an adhesive that remains flexible ensures your mount will withstand the challenges of cold weather. Additionally, checking for adhesives with low-temperature performance guarantees reliable adhesion in freezing conditions. To further ensure success, consider adhesive durability in low-temperature environments to select the most resilient options. Incorporating thermal flexibility into your choice can make a significant difference in maintaining bond integrity under harsh conditions. Being aware of performance in cold helps ensure your adhesive remains effective over time.
Techniques to Enhance Adhesion in Low Temperatures
When working in low-temperature environments, applying surface preparation techniques can considerably improve adhesion. Properly cleaning and roughening surfaces reduces moisture intrusion and creates better contact, which is crucial as thermal expansion differs with cold conditions. To enhance adhesion, consider these techniques:
Enhance adhesion in cold environments by cleaning, roughening, and preheating surfaces for better bonding.
- Use a primer designed for cold weather—it helps seal moisture intrusion and promotes stronger bonding.
- Preheat surfaces slightly—warming materials minimizes the effects of thermal expansion and improves adhesive flow.
- Ensure surfaces are dry and free of contaminants—moisture and debris weaken bonds, especially in cold environments where moisture intrusion is more likely.
- Utilize Free Floating materials—they accommodate thermal movement, reducing stress on the bond and preventing failures.
- Additionally, selecting adhesives formulated for cold climate conditions ensures better performance and durability over time. This is especially important because adhesive formulations vary significantly depending on environmental factors.
- Incorporating proper testing methods can help verify bond strength and ensure long-term durability in challenging conditions.
Tips for Proper Application and Curing in Cold Weather
Proper application and curing of adhesives in cold weather require careful attention to conditions that can hinder bonding. Temperature effects can slow down chemical reactions, leading to weak or incomplete cures. To ensure strong adhesion, work in a controlled environment when possible, or use heating tools to raise surface temperatures. Always start with a clean, dry surface—any dirt, moisture, or grease can compromise adhesion, especially in cold conditions. Remove contaminants thoroughly and ensure surfaces are dry before applying adhesive. Follow manufacturer instructions precisely, as cold temperatures may extend recommended curing times. Keep the adhesive and substrates at appropriate temperatures during application and curing to promote proper bonding. Additionally, consulting Room‑size wattage guides can help determine the appropriate conditions for heating solutions when working in cold environments. Proper surface preparation is crucial to achieve a durable bond in low temperatures. Using thermal blankets or portable heaters can help maintain optimal working conditions and improve adhesion outcomes. Managing ambient humidity levels is also important, as excess moisture can further impede curing processes. Employing proper temperature control techniques can significantly enhance bond strength and longevity in cold weather. By managing temperature effects and surface cleanliness, you improve the chances of a durable, lasting bond in cold weather.
Frequently Asked Questions
Can Heated Tools Improve Adhesive Bonding in Cold Weather?
Heated tools can definitely improve adhesive bonding in cold weather by increasing the adhesive temperature, which helps it cure properly. When you use heated tools, you guarantee the adhesive stays workable and bonds effectively, even in low temperatures. Just be careful not to overheat, as excessive heat can weaken the adhesive. Maintaining ideal adhesive temperature with heated tools makes your bonding process more reliable and durable in cold conditions.
How Long Should I Wait for Adhesive to Fully Cure in Low Temperatures?
In cold weather, you should wait at least 24 to 72 hours for adhesive to fully cure, depending on the product’s temperature considerations. Lower temperatures slow down curing time, so give it extra time to guarantee a strong bond. Keep the surface warm if possible, and avoid stress on the mount during this period. Patience is key—rushing the process can lead to failures in cold conditions.
Are There Specific Storage Tips for Adhesives Used in Cold Climates?
You should store adhesives in a cool, dry place with stable temperature conditions, ideally above freezing, to prevent temperature sensitivity issues. Keep them sealed tightly and away from direct sunlight or moisture, as these factors can compromise their effectiveness. Proper storage conditions guarantee the adhesive maintains its properties, especially in cold climates. Always check manufacturer instructions for specific temperature ranges, and consider using insulated containers if needed.
What Safety Precautions Are Necessary When Working With Adhesives in Winter?
When working with adhesives in winter, you should always wear personal protective equipment like gloves and goggles to prevent skin and eye contact. Guarantee proper ventilation to avoid inhaling fumes, especially in enclosed spaces. Keep the work area warm enough to maintain adhesive effectiveness, and follow manufacturer safety instructions. By taking these precautions, you protect yourself from potential hazards while ensuring the adhesive performs correctly.
How Does Humidity Affect Adhesive Performance in Cold Conditions?
Imagine you’re mounting a sign outdoors in winter, and humidity impacts adhesion. High humidity introduces moisture interference, which can weaken the bond by preventing proper curing. Moisture interference causes adhesives to fail, especially in cold conditions where moisture condenses on surfaces. To guarantee a strong hold, keep surfaces dry and choose adhesives resistant to humidity impact, as this minimizes moisture interference and enhances adhesion even in chilly, damp environments.
Conclusion
Now that you know how cold weather can make adhesives falter like brittle ice, you’re equipped to beat the chill. Picture your surfaces coming together like a warm embrace, even in freezing air. With proper prep, the right glue, and careful application, your bond will hold strong against winter’s grip. So, embrace the cold with confidence—your adhesive can thrive in the frost when you follow these expert tips.