To avoid a crooked dash cam view, start by carefully evaluating its current position and making sure it doesn’t block your visibility. Gently remove the mount using plastic tools or a heat source, then reposition it higher or lower as needed. Adjust the camera angle to ensure the horizon lines up straight, and secure everything firmly. Fine-tune the settings to get a balanced view, and you’ll end up with clear, level footage. Keep going to learn the full step-by-step process.
Key Takeaways
- Use leveling tools like a bubble level or painter’s tape to ensure the dash cam is mounted straight during installation.
- Adjust the camera’s vertical angle to about 40% above the horizon for daytime clarity and 10° below for better low-light footage.
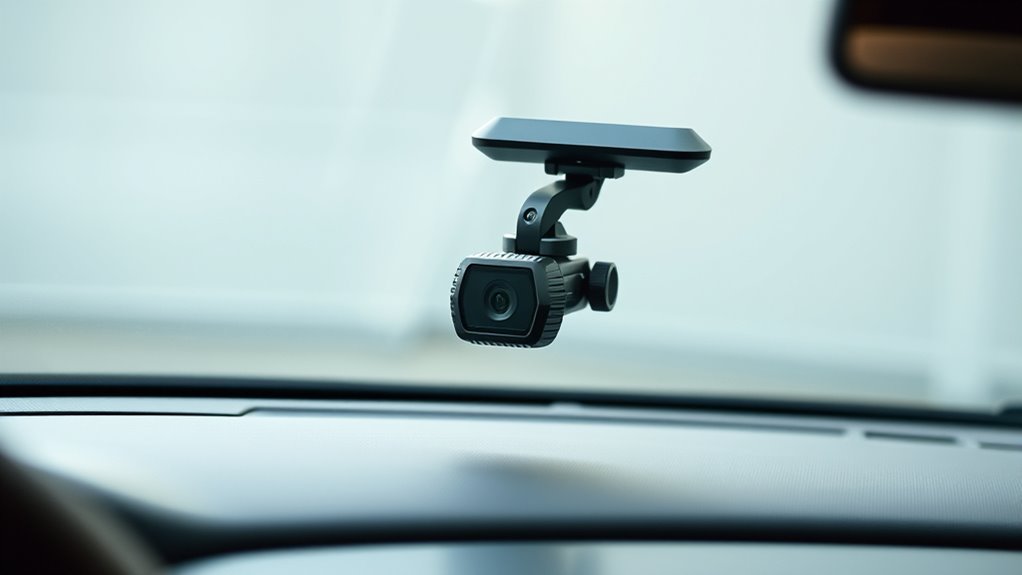
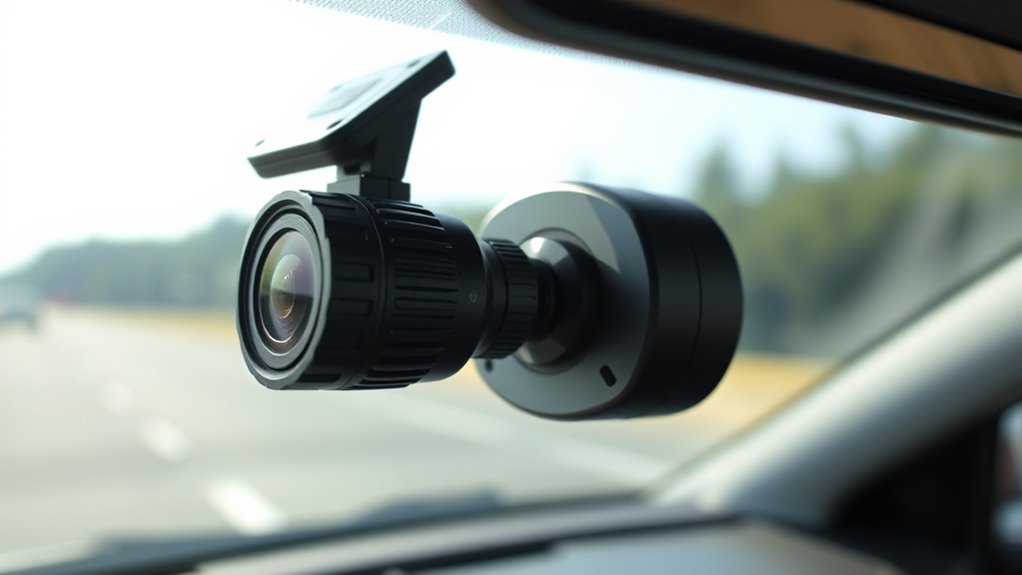
- Mount the dash cam high on the windshield behind or below the rearview mirror to prevent tilt and vibration.
- Fine-tune the lens alignment by loosening screws, shifting the lens, then tightening carefully for a straight view.
- Always review footage after repositioning to confirm the camera is level, centered, and providing an unobstructed, straight view.
Assessing the Current Mounting Position
To assess your current dash cam mounting position effectively, start by sitting in the driver’s seat and checking whether the camera obstructs your view of the road, signals, or signs. Make sure the camera is placed where it doesn’t block your line of sight or interfere with your visibility of essential driving cues. Verify that windshield wipers and defroster lines don’t cross or obscure the lens, and avoid tinted or obstructed glass areas like shade bands or stickers that can degrade footage. Adjust sun visors and mirrors to see if they intrude into the camera’s field of view. Also, look for reflections or glare from dashboard surfaces and metallic trims, which can appear in footage when the sun hits at different angles. Proper assessment guarantees safe, clear recordings. Additionally, ensure the mounting position allows for easy access to the SD card slot and controls for quick adjustments or retrieval of footage. Considering mounting stability is also crucial to prevent vibration or movement that could blur your recordings, especially since some fridges are designed with rugged construction to withstand outdoor conditions. Incorporating proper installation techniques can further enhance the durability and clarity of your dash cam footage over time. To further improve recording quality, consider the impact of vibrations caused by rough roads and how they can be minimized through proper mounting methods. Furthermore, taking steps to minimize vibration and shock can help maintain video quality on uneven roads.
Choosing the Right Tools for Adjustment
To reposition your dash cam effectively, you need to select the right tools for the job. Using the proper equipment guarantees you can make precise adjustments without damaging the mount or trim. Once you’ve gathered your tools, applying the correct technique will help you secure a stable, long-lasting fit. Tools like alligator clip removal tools and wire cutters are essential for making clean adjustments and ensuring your wiring remains intact and safe. Additionally, understanding the appropriate concentration of glycolic acid for your skin type can maximize exfoliation benefits while minimizing irritation. Knowing how to properly adjust your dash cam’s angle ensures the best view and avoids issues like a crooked view. Proper calibration techniques are also important for maintaining optimal positioning and image quality. Being aware of the best hotels with water parks in your area can also turn routine maintenance into a fun family outing when visiting nearby attractions. Taking the time to use the right adjustment tools can save you time and frustration, ensuring your dash cam stays securely in place.
Selecting Proper Tools
Choosing the right tools is essential for safely and effectively repositioning your dash cam. Start with plastic trim removal tools to pry off adhesive mounts without scratching the glass or headliner. Use microfiber cloths and isopropyl alcohol (70–90%) to clean the windshield before re-mounting, ensuring a strong adhesive bond. A razor blade or plastic scraper helps remove old adhesive residue gently. A suction cup mount allows you to test placement and angle before permanent adhesion. For adhesive removal, a heat gun or hair dryer softens old glue, making removal easier. Small hex keys or precision screwdrivers help adjust brackets and alignments. A bubble level prevents crooked horizons. These tools ensure a smooth, damage-free repositioning process, resulting in a properly aligned dash cam with a clear view. Additionally, ensuring your vehicle’s electrical system is compatible with the hardwire kit can prevent power issues during and after installation, maintaining a steady and safe power supply for your dash cam. Proper planning and the right tools also help avoid unintended damage to your vehicle’s interior or exterior during the adjustment process. Using appropriate tools can also reduce the risk of damaging delicate components or surfaces.
Using Correct Technique
Using the correct technique for adjusting your dash cam requires selecting the right tools and applying them carefully. First, guarantee you have a small spirit level to verify horizon alignment. Second, use the camera’s settings menu to select horizontal placement and vehicle height. Third, reference the user manual or installation videos for model-specific tilt and rotation instructions. Fourth, keep windshield surfaces clean with a microfiber cloth and lightly moisten the suction mount for stability. Proper tool selection is also essential for precise adjustment, ensuring the camera remains stable during vehicle movement. Additionally, utilizing calibration techniques can help fine-tune the angle for optimal view. These tools help you achieve best angle positioning, aligning the crosshairs straight ahead and including a bit of the hood for depth. Always verify your adjustments with on-screen guides and periodically recheck after repositioning, assuring a clear, centered view without skew. Incorporating visual reference points during setup can further enhance alignment accuracy. Ensuring your setup accounts for sensor calibration helps maintain consistent image quality over time.
Ensuring Secure Adjustment
Selecting the right tools is essential for securely adjusting your dash cam and ensuring it stays in place. Use a T6 star screwdriver supplied with your dash cam to detach side panels and tighten locks. For lens adjustments, a hex key paired with a barrel key helps position the road-facing lens relative to your windshield’s slope. When wiring, a fuse puller or pliers safely remove fuses without damage. A plastic trim removal tool gently lifts headliners and trims without cracks or scratches, especially around airbags. Fuse taps and add-a-circuit cables ensure proper electrical connections, while automotive test lights verify power circuits. Securing cables with zip ties or adhesive clips prevents rattling. Proper tools are vital for a safe and efficient installation, helping you make precise, firm adjustments, keeping your dash cam stable and properly aligned. Additionally, using appropriate torque specifications prevents overtightening that could damage mounting points or distort the camera’s position. For added stability, consider using mounting accessories designed specifically for dash cams to enhance the secure fit and reduce vibrations. Utilizing the right installation techniques can also improve the longevity and stability of your setup. Moreover, paying attention to manufacturer instructions can help ensure your adjustments are both safe and effective.
Detaching the Dash Cam Safely

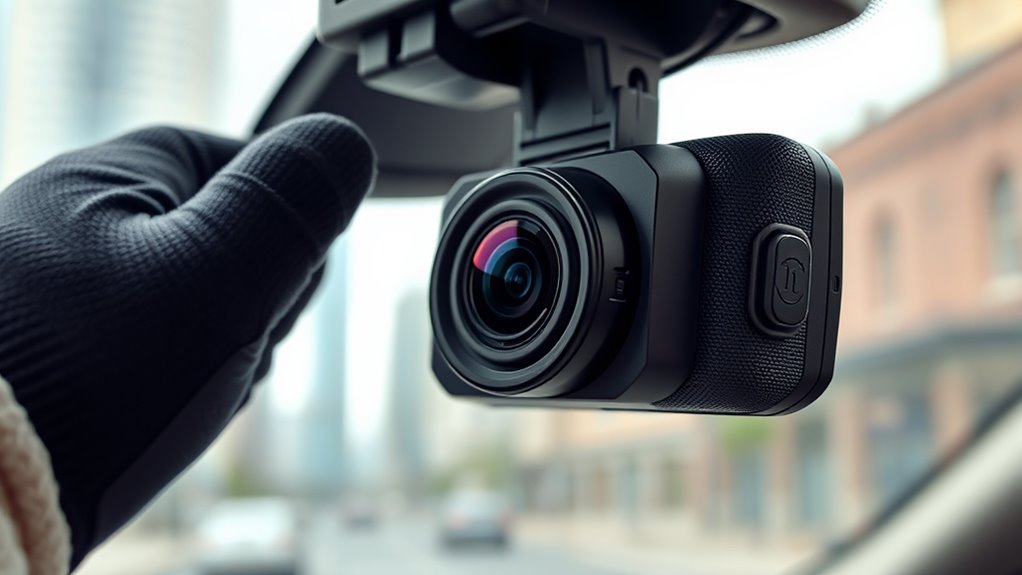
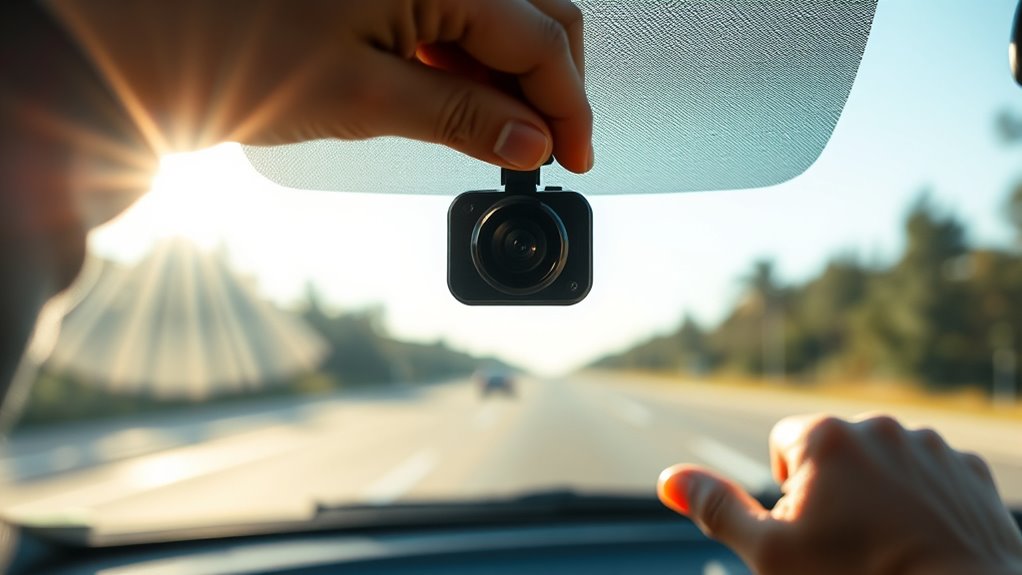
To detach your dash cam safely, start by selecting the right tools, such as a plastic pry tool or dental floss, to avoid damaging the mount or glass. Use gentle, controlled techniques like applying heat or carefully working around the edges to loosen the adhesive without forcing it. Additionally, understanding adhesive properties ensures you choose the best method for a clean removal without harming the glass. Applying Proper removal techniques helps prevent windshield damage and makes the process smoother. You can also consider testing the adhesive strength on a small, inconspicuous area first to minimize risks. Familiarizing yourself with adhesive removal methods can further improve your success rate and reduce potential damage. Knowing how different adhesive types respond to various removal techniques allows for a more tailored and safe approach.
Use Proper Tools
Safely detaching a dash cam requires the right tools to prevent damage to your windshield and interior components. First, use thin plastic trim tools or pry bars to gently separate the mount without scratching the glass. Second, a flexible metal spatula or rounded putty knife helps slide under stubborn adhesive when plastic tools aren’t enough. Third, apply a low heat source like a hair dryer or heat gun at a safe distance to soften adhesive, making removal easier. Fourth, be cautious to avoid applying excessive heat which could damage sensitive interior plastics or wiring. Fifth, it’s helpful to know the proper technique for applying heat evenly to avoid hotspots that may harm your vehicle’s interior. Sixth, using a heat source with temperature control can ensure you don’t overheat delicate components. Seventh, ensuring proper tool selection minimizes the risk of damage during removal. Finally, have adhesive removers such as isopropyl alcohol, citrus-based solutions, or automotive adhesives ready to clean residue without harming glass or plastics. Using these tools ensures a controlled, damage-free detachment, which is essential for a safe repositioning of your dash cam.
Gentle Detachment Technique
When detaching your dash cam, it’s essential to proceed with care to prevent damage. Start by leaving a gap between the camera and rearview mirror during initial mounting; this makes removal easier and avoids obstruction. Firmly press the mount against the glass until you hear an audible click, confirming it’s securely seated without forcing. Gently lift the rubber seal or weather stripping at the edge to tuck cables underneath, keeping everything secure without removing panels. Use a plastic trim removal tool to gently lift the headliner, avoiding damage while routing cables or accessing the A-pillar. Handle all components delicately, avoiding aggressive pulling or force. Light, controlled movements ensure safe detachment and maintain the integrity of your dash cam setup. Additionally, proper handling reduces the risk of damaging the adhesive or mount, which can compromise future reinstallation. Being mindful of your vehicle’s adhesive characteristics helps extend the lifespan of your mounting components and ensures a reliable hold over time. Recognizing the quality of mounting surfaces can also assist in choosing the right removal technique to minimize residue or damage. Furthermore, understanding the type of surface can guide you in selecting appropriate tools and methods for detachment, ensuring a clean and damage-free removal process. Also, considering the surface texture can influence your approach to prevent scratches or marks during removal.
Clean and Prepare Surface
Before removing your dash cam, take time to clean the windshield surface thoroughly. Use isopropyl alcohol (70–99%) to eliminate oils and road-film, guaranteeing no residue remains. Wipe the area with a lint-free microfiber cloth and let it fully evaporate to prevent trapping moisture under the adhesive. Remove silicone-based cleaners and wax first, as they weaken the bond, using dedicated glass cleaners or alcohol. Clean both the windshield and mounting pad surfaces for maximum contact. Avoid touching cleaned areas with bare fingers afterward, since oils from your skin can reduce adhesion.
To guarantee a secure remount:
- Use alcohol to degrease surfaces.
- Dry completely before applying new adhesive.
- Remove old residues with heat and gentle scraping.
- Press firmly and wait for the adhesive to cure.
Repositioning the Mount for a Level View
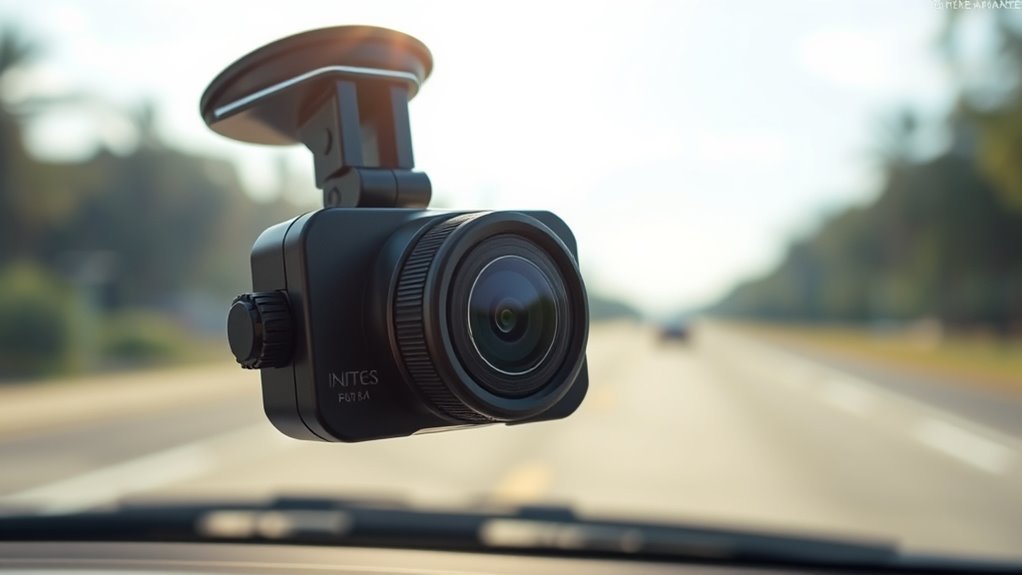
Repositioning your dash cam mount to achieve a level view is essential for peak footage and reliable operation. Start by using leveling tools like your phone’s camera level function or a bubble level against the camera housing. A carpentry level with painter’s tape can also help mark a horizontal line on your windshield. Many dash cam install assistants display correct orientation via the screen or app, guiding you to adjust accordingly. During setup, visually align the camera with the horizon while the vehicle is powered on to confirm levelness. Keep in mind that the ideal lens angle captures about 60% road and 40% sky, with a slight downward tilt to include the road ahead. Regularly check and fine-tune your mount to maintain a straight, level view.
Securing the Camera Firmly in the New Spot
To guarantee your dash cam stays securely in its new position, start by thoroughly cleaning the mounting surface. Use alcohol or glass cleaner with a microfiber cloth to remove dust, grease, and dirt. make certain the area is free of debris and moisture to promote proper adhesion. Avoid cleaning in cold or humid conditions to prevent bond failure. Before permanent attachment, test the camera angle by powering it on. For specific mounts, consider using an electrostatic sticker on clean glass. Mount high on the windshield, behind or below the rearview mirror Here are four key steps:
- Peel the protective film from the adhesive pad or 3M VHB tape.
- Press the mount firmly against the glass with hand pressure for at least 10 seconds.
- Apply additional pressure after mounting to strengthen the bond.
- Avoid tinted or sensor areas to keep the lens clear.
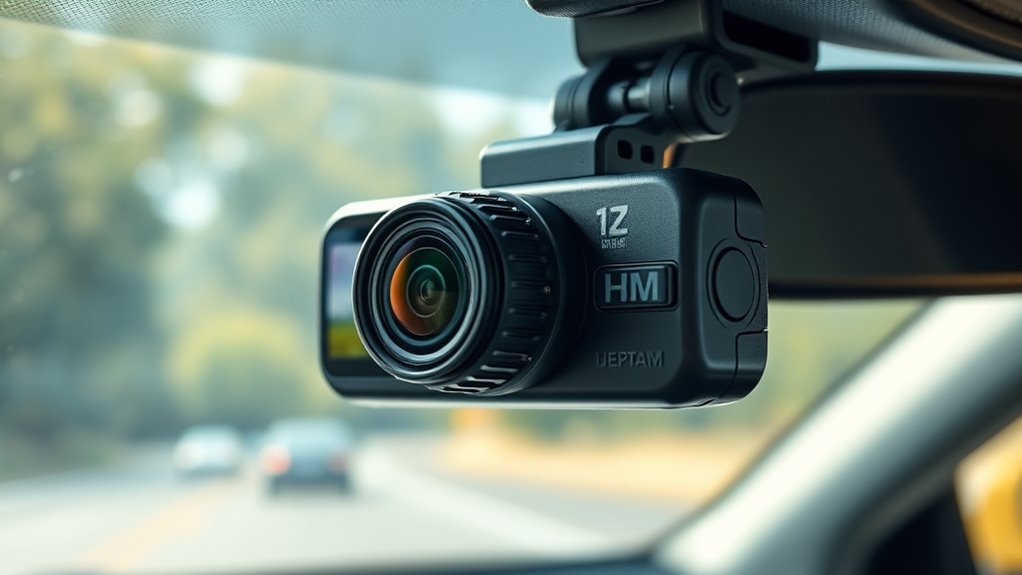
Fine-Tuning the Angle and Orientation
Adjusting your dash cam’s angle and orientation guarantees you capture clear, useful footage. Start by tilting the camera slightly downward—aim for about 40% above the horizon during the day or 25% for clearer road readings. For models like Blackvue, position it about 10 degrees below horizontal. Adjust based on your vehicle type: sedans need a slight downward tilt, SUVs a broader view. Use the following table to fine-tune your settings:
| Aspect | Recommendations |
|---|---|
| Vertical Angle | 40% above horizon (day), 25% for clarity, 10° below horizontal |
| Field of View (FOV) | 140–160° for balanced view, up to 170° for wider coverage |
| Lens Alignment | Loosen screws, shift lens, tighten carefully, check footage |
Review test footage after adjustments to guarantee precise view and straightness.
Verifying the Correct Position in the Driver’s Seat
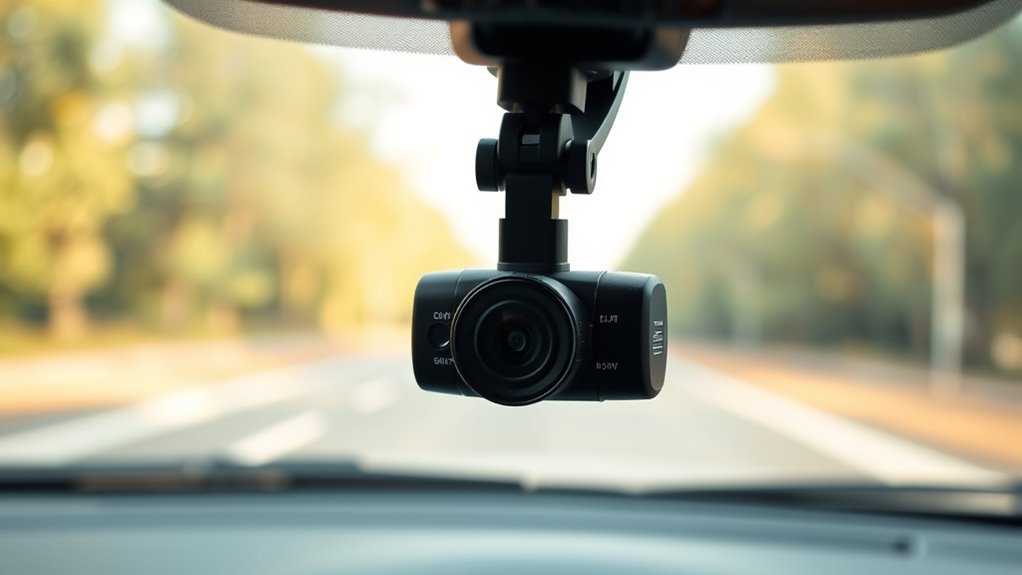
Ensuring your dash cam is correctly positioned in the driver’s seat is essential for ideal footage and safety. You need to sit in your seat and verify that the camera doesn’t block your view or interfere with driving. Check that the inward-facing lens isn’t obstructed by the dashboard or visor. Confirm the camera remains stable and doesn’t impede car functions or wipers. Position it high on the windshield to prevent shake and ensure clear videos.
Position your dash cam high on the windshield, ensuring clear view and stability for safe, unobstructed footage.
Focus on these key points:
- Confirm no obstruction of your forward visibility.
- Ensure the inward-facing view is unobstructed.
- Verify the mount is stable and secure.
- Test that the camera doesn’t block the rear-view mirror or sensors.
Final Checks to Ensure a Crook-Free Recording
After confirming your dash cam is securely mounted and properly positioned, it’s time to perform final checks that guarantee your recordings will be clear and reliable. Start your car to ensure the dash cam powers on automatically, and look for the record light or voice alert to confirm it’s recording. Use the app via Bluetooth to verify settings and check for power interruptions during engine start. Use the real-time video feed to confirm the camera’s angle is level, centered, and unobstructed, adjusting the polarizer filter to reduce glare. Wipe the lens and inspect the mount for firm adhesion, removing dust and fingerprints. Play back initial footage to verify clarity, proper horizon alignment, and visibility of license plates. Additionally, checking the SD card’s storage capacity ensures there is enough space for continuous recording and prevents data loss. Finally, check wiring, storage integrity, and ensure no obstructions or issues with loop recording.
Frequently Asked Questions
How Can I Prevent the Camera From Slipping After Repositioning?
To prevent your camera from slipping after repositioning, press firmly on the mount to guarantee a strong bond. Clean the windshield thoroughly beforehand for better adhesion. Use an adhesion promoter like LLP with 3M tape for extra grip, especially in extreme temperatures. Repress the mount for at least 10 seconds and gently tug to check stability. Regularly verify the position and repress if you notice any wobbling or slippage.
What Is the Best Way to Hide the Mounting Hardware?
You can hide the mounting hardware by using adhesive wire clips or suction cup mounts that blend with your interior. Secure the wires along the headliner, dashboard, or behind panels to keep them out of sight. Applying electrical tape along the cable routes adds extra concealment. If possible, choose low-profile mounts or extension arms behind the rearview mirror, ensuring the hardware stays discreet and doesn’t distract from your view.
How Do I Avoid Damaging the Windshield During Removal?
Think of removing your dash cam like peeling a sticker carefully—you don’t want to tear the paint. To avoid windshield damage, gently soften the adhesive with a heat gun or hairdryer, then use plastic prying tools to lift the mount slowly. Avoid excessive force or metal tools, and work patiently. This careful approach prevents cracks, scratches, and damage, ensuring your windshield stays pristine during removal.
Can I Reposition the Camera Without Removing the Adhesive Entirely?
Yes, you can often reposition your dash cam without removing the entire adhesive. If your camera has a removable head or mounting plate, detach it first, then gently adjust the angle or position. Applying low heat can soften the adhesive for minor shifts, but avoid pulling harshly to prevent damage. For small adjustments, use plastic pry tools carefully and press firmly around the edges to prevent peeling or residue buildup.
How Do I Ensure the Camera Doesn’T Interfere With Driver Visibility?
You want your dash cam to stay out of your way, so start by mounting it just behind the rearview mirror and slightly below the windshield’s tinted band. Sit in your usual driving position to check if the view is clear and unobstructed. Make sure the camera’s angle doesn’t block lane markers, traffic lights, or pedestrians. Regularly verify that the camera doesn’t distract or obscure your sightlines, adjusting as needed.
Conclusion
Once you’ve repositioned your dash cam, you’ll wonder how you ever tolerated a crooked view. This simple adjustment can transform your driving experience, making every recording crystal clear and perfectly aligned. Don’t let a misaligned camera ruin your footage or peace of mind—think of it as the key to a safer, more confident drive. Take a few minutes now, and enjoy a flawlessly level view that’s as steady as the road itself.